Premiere Pro Keyboard Customization: How to Build Your Perfect Editing Setup
- Why Should You Customize Your Premiere Pro Keyboard?
- How Do You Open and Use the Keyboard Shortcuts Panel?
- What Is the Difference Between Application and Panel Shortcuts?
- What Are the Best Shortcuts to Remap First?
- The Pixflow Starter Layout: A Step-by-Step Custom Setup You Can Copy
- How Do You Save Your Layout as a Preset (and Where Is the .kys File)?
- How Do You Transfer Custom Shortcuts to Another Computer?
- Can You Use Final Cut Pro or Avid Shortcuts in Premiere Pro?
- Why Are Your Custom Shortcuts Not Working? (Troubleshooting)
- Are Editing Keyboards, Keyboard Covers, and Stream Decks Worth It?
- Conclusion
The default keyboard layout in Premiere Pro is built for everyone, which means it is optimized for no one. Some of the most used commands are buried under two-key combinations, while dozens of easy-to-reach keys sit completely unassigned. The good news: Premiere Pro has one of the most flexible keyboard customization systems in any editing software, and setting it up takes less than 15 minutes.
In this guide, you will learn how to customize keyboard shortcuts in Premiere Pro from start to finish: how the visual keyboard layout works, which shortcuts editors remap first, how to save your layout as a preset, how to move it to another computer, and how to fix shortcuts that stop working. You will also get a copy-ready starter layout you can set up today. Combine a fast keyboard with drag-and-drop assets like Artistic Smooth Transitions and you can cut your editing time dramatically without cutting corners on quality.
TL;DR: To customize keyboard shortcuts in Premiere Pro, go to Edit > Keyboard Shortcuts on Windows or Premiere Pro > Keyboard Shortcuts on macOS (Ctrl+Alt+K / Cmd+Opt+K). Search for any command, drag it onto the visual keyboard or double-click to type a new key, then click Save As to store your layout as a preset. Your layout is saved as a .kys file that you can back up and copy to any other computer.
Why Should You Customize Your Premiere Pro Keyboard?
There are three practical reasons editors invest in a custom layout:
- Speed: single keys beat two-key chords, and chords beat menu clicks. Moving your most used commands to unmodified keys removes friction from every edit.
- Ergonomics: default Premiere makes your left hand stretch for combinations like Shift+Delete while keys like X or D sit idle. A custom layout reduces wrist travel and strain across long sessions.
- Consistency: once your layout is saved as a preset, you can carry the same muscle memory to every machine you edit on.
If you are still learning what the defaults even are, start with our guide to the 100 essential Premiere Pro shortcuts first. Knowing the stock layout helps you decide what deserves a better key.
How Do You Open and Use the Keyboard Shortcuts Panel?
- On Windows, go to Edit > Keyboard Shortcuts, or press Ctrl+Alt+K.
- On macOS, go to Premiere Pro > Keyboard Shortcuts, or press Cmd+Opt+K.
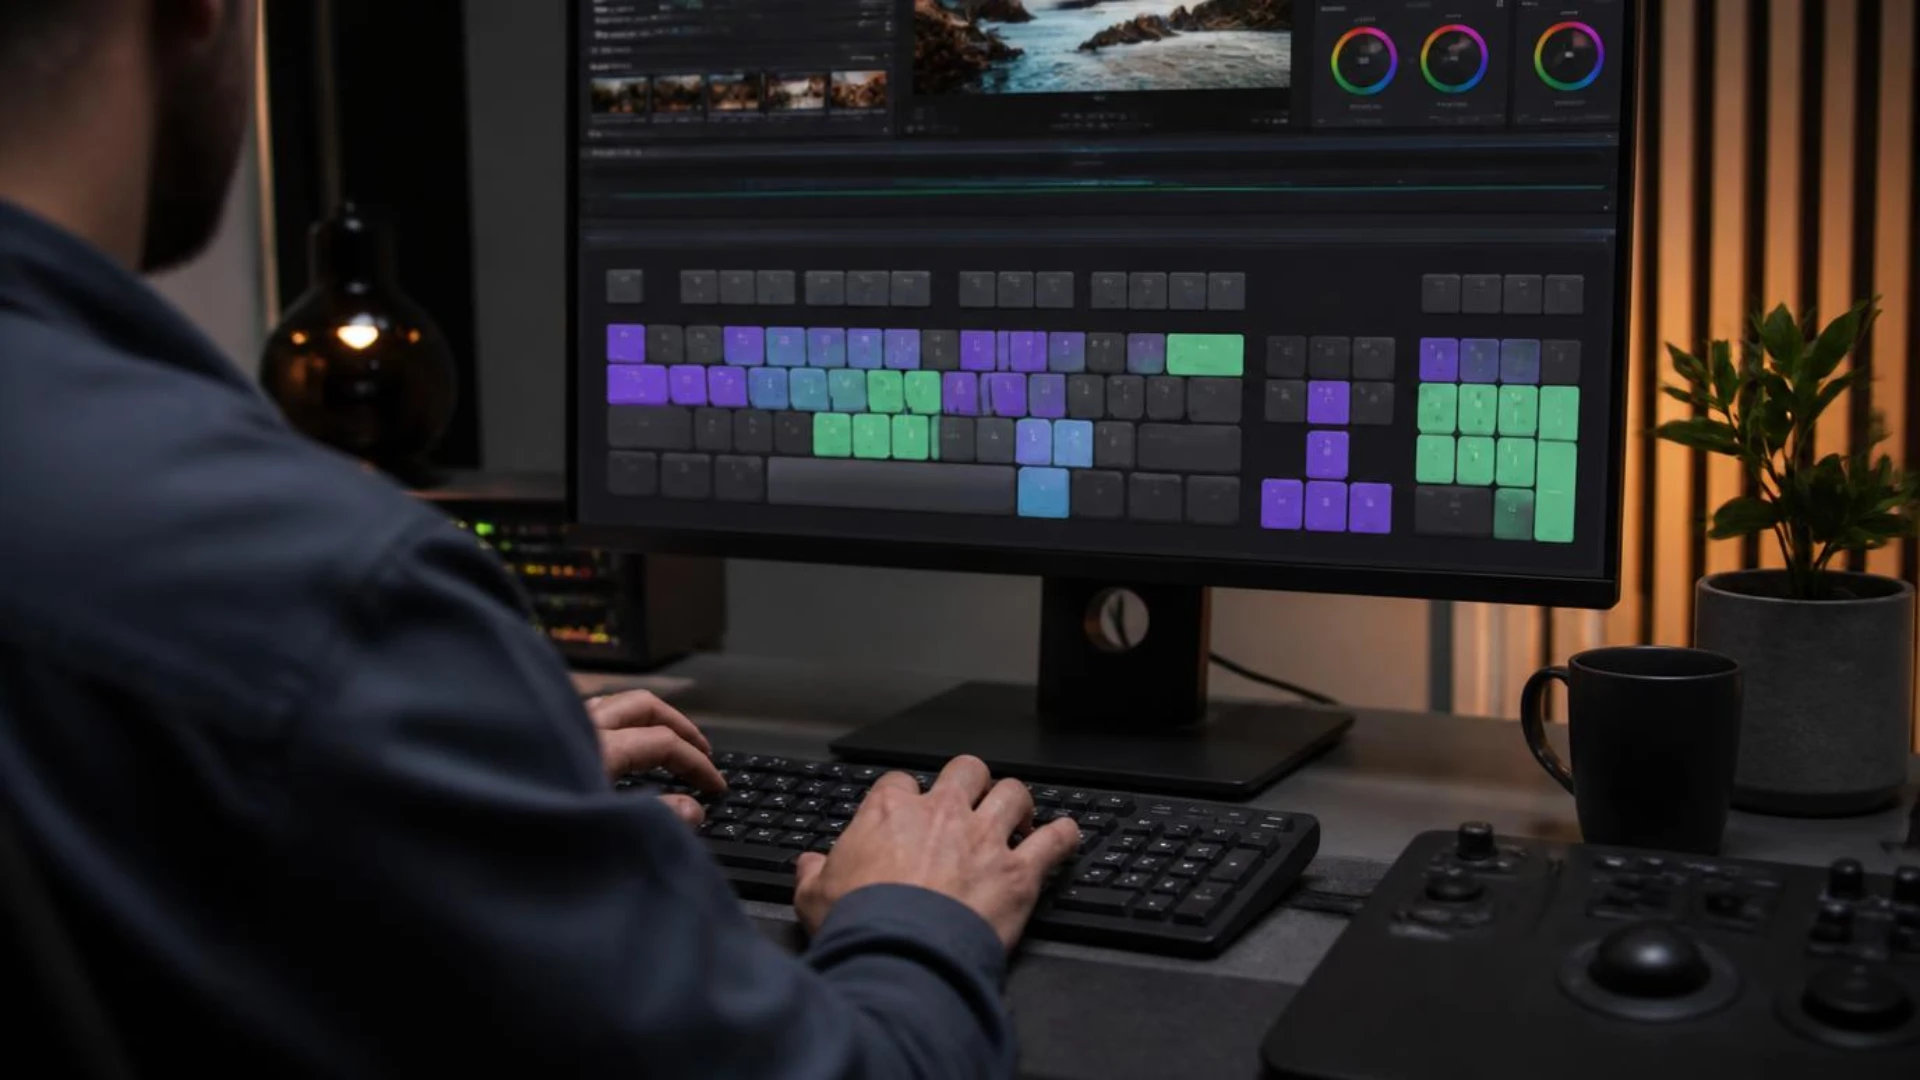
- At the top, you will see a visual, clickable image of your actual keyboard, automatically matched to your hardware layout and language.
- Below it sits a searchable command list containing every command in Premiere Pro, including hundreds that have no default shortcut at all.
You can assign shortcuts three ways:
- Drag and drop: search for a command in the list, then drag it directly onto any key in the visual keyboard. Hold modifier keys (Shift, Ctrl, Alt, Cmd) while dropping to assign a combination.
- Type it: click a command in the list, click into its shortcut column, and press the keys you want to assign.
- Copy an existing key: click any key on the visual keyboard to see what is assigned to it, including every modifier variation, shown in a small panel on the right.
The search box is the real power feature. Premiere Pro has far more commands than menu items, and many gems (like Add Edit to All Tracks or individual Export presets) only surface when you search for them. Adobe keeps a full reference of the system in its official customize keyboard shortcuts documentation.
What Do the Purple, Green, and Gray Keys Mean?
The color coding on the visual keyboard confuses almost everyone the first time. Here is what each color tells you:
What Is the Difference Between Application and Panel Shortcuts?
- Application shortcuts work globally, no matter which panel is active. Save, Undo, and Export are application shortcuts.
- Panel shortcuts only fire when their panel has focus (the panel with the blue outline). The Timeline, Project panel, and Effect Controls each have their own set.
The critical rule: when the two conflict, the panel shortcut wins in its own panel. If you assign a key as an application shortcut but the Timeline panel already uses that key for something else, your shortcut will silently do the panel action whenever the Timeline is focused.
How to choose which type to assign:
- Use application shortcuts for commands you want everywhere: cutting, markers, export, playback.
- Use panel shortcuts for context-specific tricks, like a key that means one thing while trimming in the Timeline and another while browsing the Project panel.
- When a custom key misbehaves, open the Keyboard Shortcuts dialog, click that key, and check whether a green panel assignment is overriding your purple application assignment.
What Are the Best Shortcuts to Remap First?
- Q and W (Ripple Trim Previous and Next Edit to Playhead) are the backbone of fast rough cutting. They are already well placed; build your other cutting keys around them.
- Nest has no default key at all. If you work with nested sequences regularly, mapping it is one of the highest-value changes you can make.
- Audio commands are chronically under-mapped. Keys for Audio Gain and track targeting speed up mixing sessions dramatically, especially combined with the audio mixer in Premiere Pro.
- Unmapped goldmines: the numeric keypad, F-keys above F5, and most Shift combinations on the right side of the keyboard.
The Pixflow Starter Layout: A Step-by-Step Custom Setup You Can Copy
Step by step:
- Open Edit > Keyboard Shortcuts (Ctrl+Alt+K / Cmd+Opt+K).
- Search “Add Edit” and assign it to X.
- Search “Ripple Delete” and assign it to D.
- Search “Nest” and assign it to Shift+N.
- Search “Add Marker” and confirm M is assigned (default), then assign Shift+M to Go to Next Marker.
- Search “Audio Gain” and confirm G is assigned (default).
- Leave the defaults that already work: Q/W for ripple trims, C for Razor, V for Selection, S for Snap, I/O for In and Out, JKL for playback, Up/Down arrows for jumping between edit points.
- Click Keyboard Layout Preset > Save As and name it something like “MyLayout_v1”.
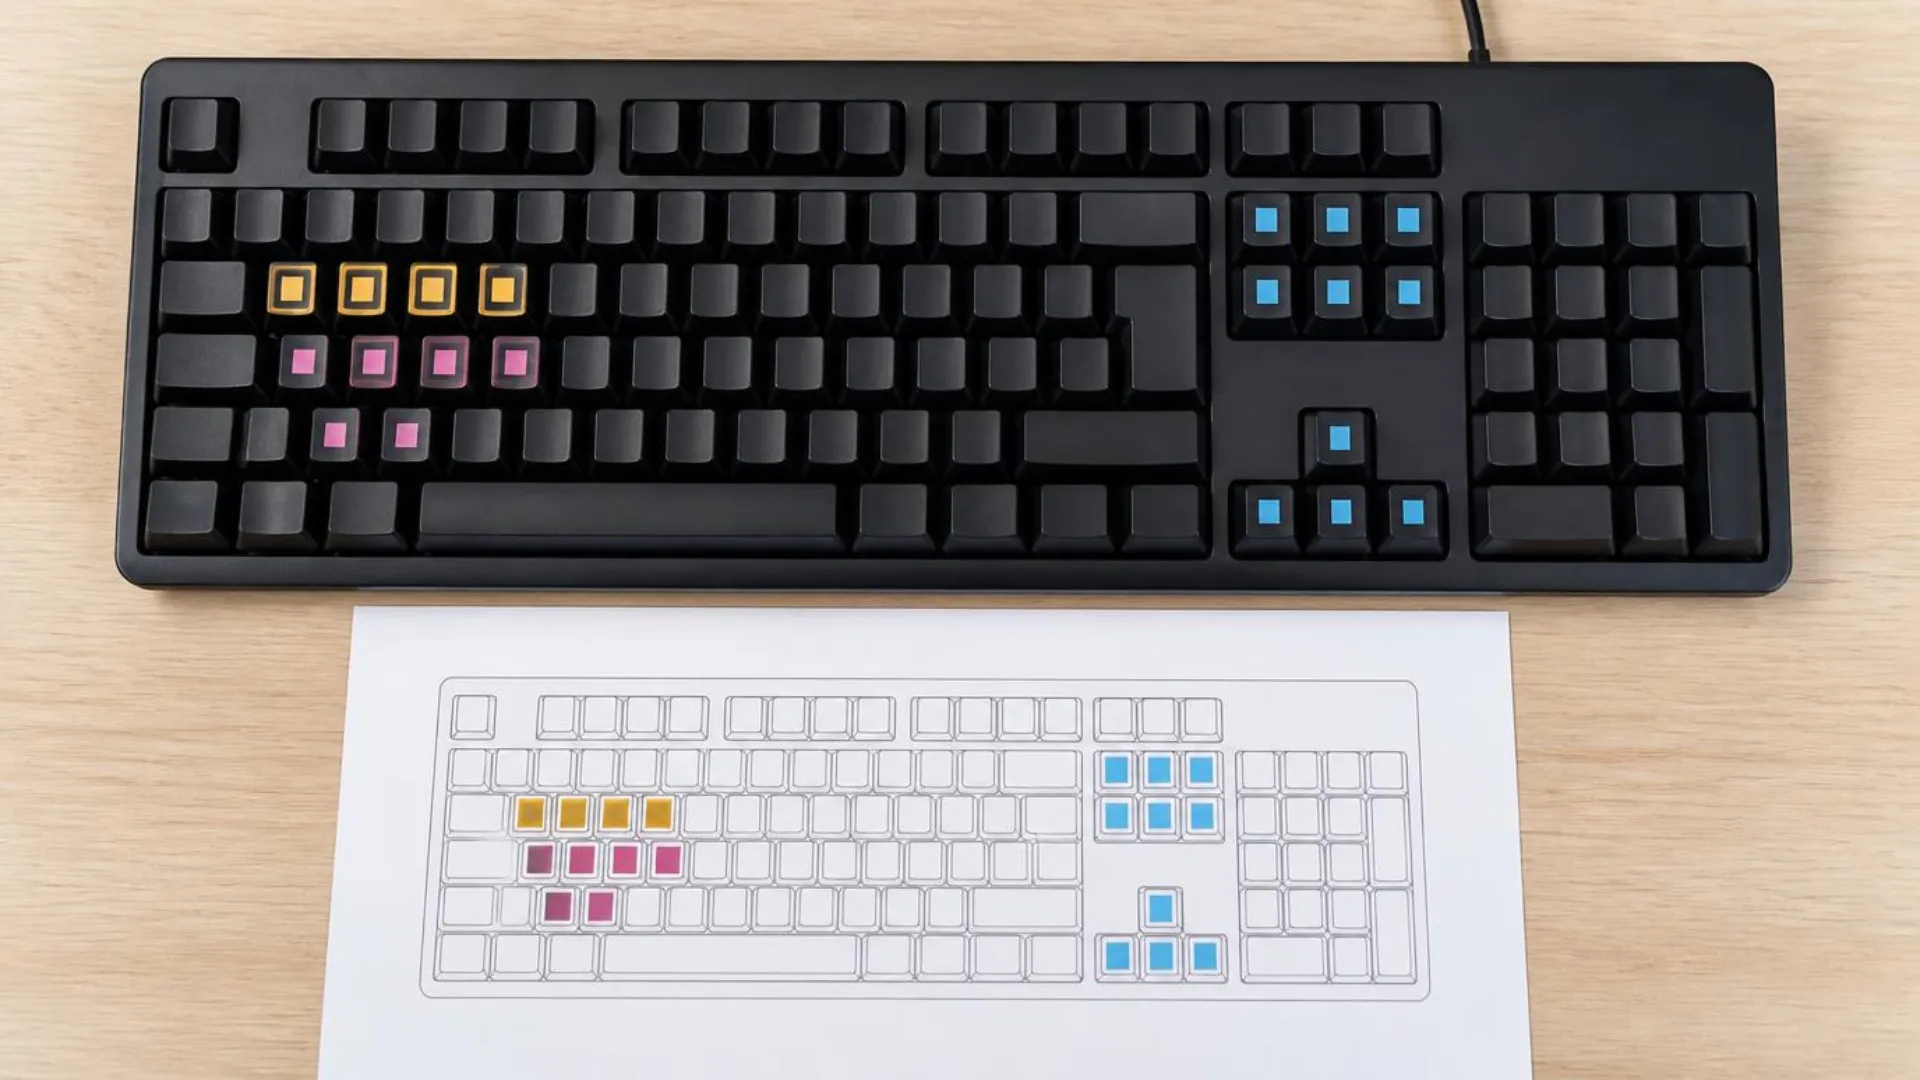
The finished layout at a glance:
- Multicam editors: keys 1 through 9 switch camera angles during playback. Keep them free of custom assignments if you cut multi-camera projects. Our complete multicam editing workflow guide covers how angle-switching keys fit into a live cutting session.
- Motion graphics-heavy editors: if you drop a lot of titles into your timelines, map a key to Add Track and one to Insert. Template-based titles like TypeToon Animated Titles go from bin to timeline in seconds when insert and track commands are one press away.
How Do You Save Your Layout as a Preset (and Where Is the .kys File)?
- In the Keyboard Shortcuts dialog, click Save As next to the Keyboard Layout Preset dropdown.
- Give it a clear, versioned name like “Hassan_Editing_v2”. Versioning matters: when you experiment later, you can always roll back.
- Premiere Pro writes the preset to disk as a .kys file.
Where the .kys file lives:
- The [version] folder matches the major version (for example 25.0), not the marketing year. If you have upgraded several times, you may have multiple version folders; your active preset lives in the newest one.
- If you signed in with Creative Cloud sync in the past, your profile folder may be named “Profile-CreativeCloud-” followed by your account name instead of your OS username.
Back this file up. Your entire muscle memory lives in a file smaller than a photo, and the Adobe Community’s keyboard shortcuts file directory FAQ is full of editors who wished they had copied it before a crash or reinstall.
How Do You Transfer Custom Shortcuts to Another Computer?
- On your current machine, find your .kys file in the profile folder shown above.
- Copy it to a USB drive or cloud storage. Email works too; the file is tiny.
- On the new computer, paste the file into the same folder path for the installed version of Premiere Pro.
- Restart Premiere Pro, open Keyboard Shortcuts, and select your preset from the Keyboard Layout Preset dropdown.
Gotchas to check when it does not appear:
- Version mismatch: pasting the file into the 24.0 folder does nothing if the new machine runs 25.0. Match the folder to the installed version.
- Cross-platform moves: a Windows .kys goes in the Win folder, a Mac .kys in the Mac folder. Layouts transfer between platforms, but modifier keys map differently (Ctrl becomes Cmd, Alt becomes Option), so review your combos after switching.
- Missing profile folder: launch Premiere Pro at least once on the new machine so it creates the profile directory structure.
Adobe documents the process in its guide to copying keyboard shortcuts between computers. If you edit as part of a distributed team, standardizing one shared .kys file across editors keeps handoffs smooth, the same way shared project structure does in collaborating with remote editors.
Can You Use Final Cut Pro or Avid Shortcuts in Premiere Pro?
- Final Cut Pro 7.0: puts the classic FCP muscle memory onto Premiere, ideal for editors who switched years ago and never re-trained.
- Avid Media Composer 5.0: maps Premiere commands to the Avid layout, a lifesaver for long-form and broadcast editors moving between systems.
Using them is one click: open Keyboard Shortcuts, pick the preset from the dropdown, done. You can also use one as a starting point, layer your own changes on top, and save the result as a new custom preset.
If you want inspiration from the pros instead, editor Vashi Nedomansky (Deadpool, Gone Girl workflows) publishes his famous ultimate keyboard layout, which clusters all cutting commands around the left hand for one-handed editing.
Why Are Your Custom Shortcuts Not Working? (Troubleshooting)
- Check panel focus first. Most “broken” shortcuts are panel shortcuts firing in the wrong panel, or an application shortcut being overridden by a green panel assignment. Click the panel you expect the command to act on, then try again.
- Look for conflict warnings. When you assign a key that is already taken, Premiere Pro shows a conflict notice at the bottom of the dialog and moves the old command to unassigned. Search the old command and give it a new key.
- Check OS-level conflicts. macOS Spotlight (Cmd+Space), screenshot shortcuts, and Windows system combos intercept keys before Premiere Pro ever sees them. Change the conflicting shortcut at the OS level or pick a different key.
- Confirm the right preset is loaded. After updates or crashes, Premiere Pro can fall back to the default preset. Open Keyboard Shortcuts and re-select your custom preset.
- Check your keyboard hardware layout. If Premiere Pro thinks you are on a different language layout, keys can shift. The visual keyboard shows what Premiere believes your hardware is.
- Reset as a last resort. Select Adobe Premiere Pro Default in the preset dropdown to get a clean slate, or delete the .kys file to force regeneration. Your saved custom presets stay available in the dropdown either way.
Are Editing Keyboards, Keyboard Covers, and Stream Decks Worth It?
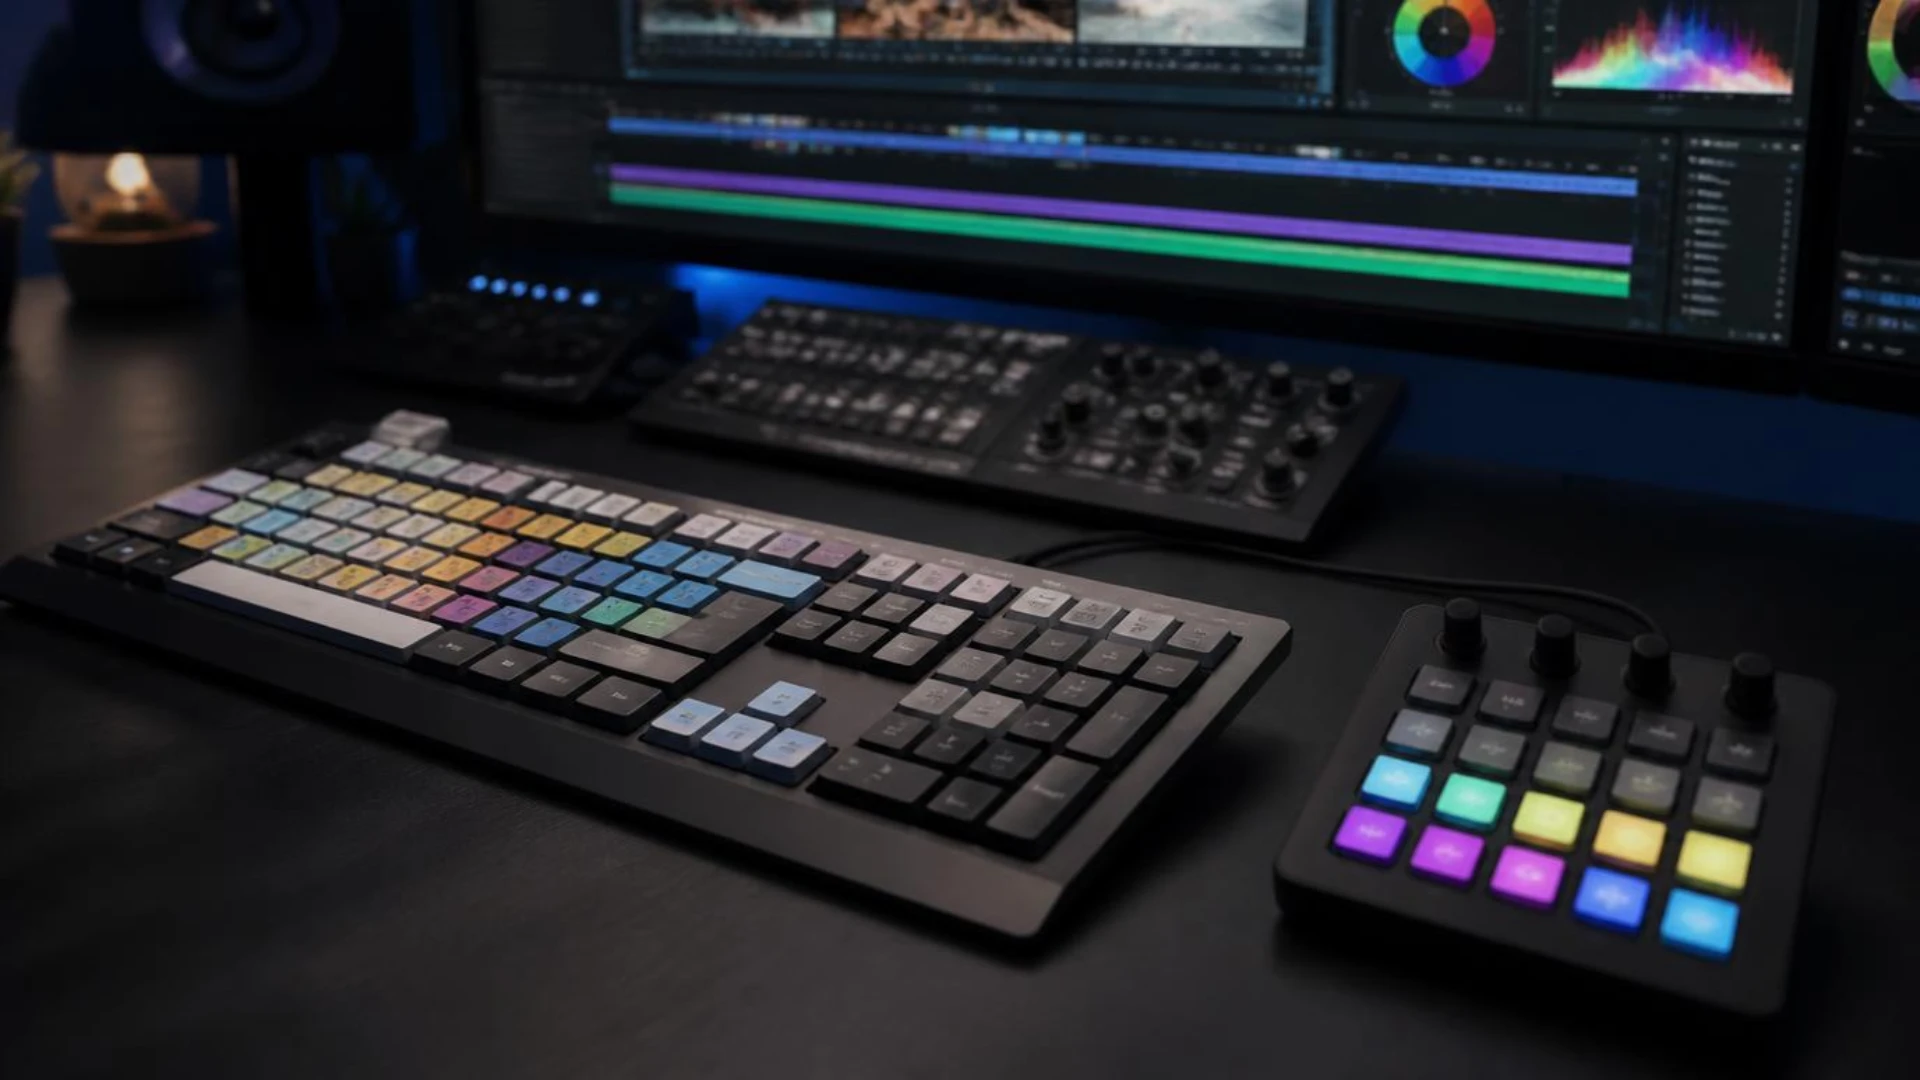
- Printed keyboards and covers show the default layout, so heavy customizers outgrow them; they cannot re-print themselves when you remap X to Add Edit.
- A Stream Deck or macro pad shines for chained actions. One button can select a clip, apply your standard effect stack, and add a marker. Since every button just fires keyboard shortcuts under the hood, your custom .kys layout is the foundation the hardware builds on.
- The order of operations that pays off: master the software layout first, then buy hardware to extend it. Gear amplifies a good setup; it cannot fix a bad one.
Conclusion
Then let your new speed compound. The faster your hands move through cuts and trims, the more time you have for the creative layer: polished openers, cinematic titles, and clean pacing. Ready-made packs like CineTitles drop professional title sequences straight into Premiere Pro, so the minutes you save on mechanics go into the work your audience actually sees.
Disclaimer : If you buy something through our links, we may earn an affiliate commission or have a sponsored relationship with the brand, at no cost to you. We recommend only products we genuinely like. Thank you so much.
Blog Label:



Write for us
Publish a Guest Post on Pixflow
Pixflow welcomes guest posts from brands, agencies, and fellow creators who want to contribute genuinely useful content.
Fill the Form ✏