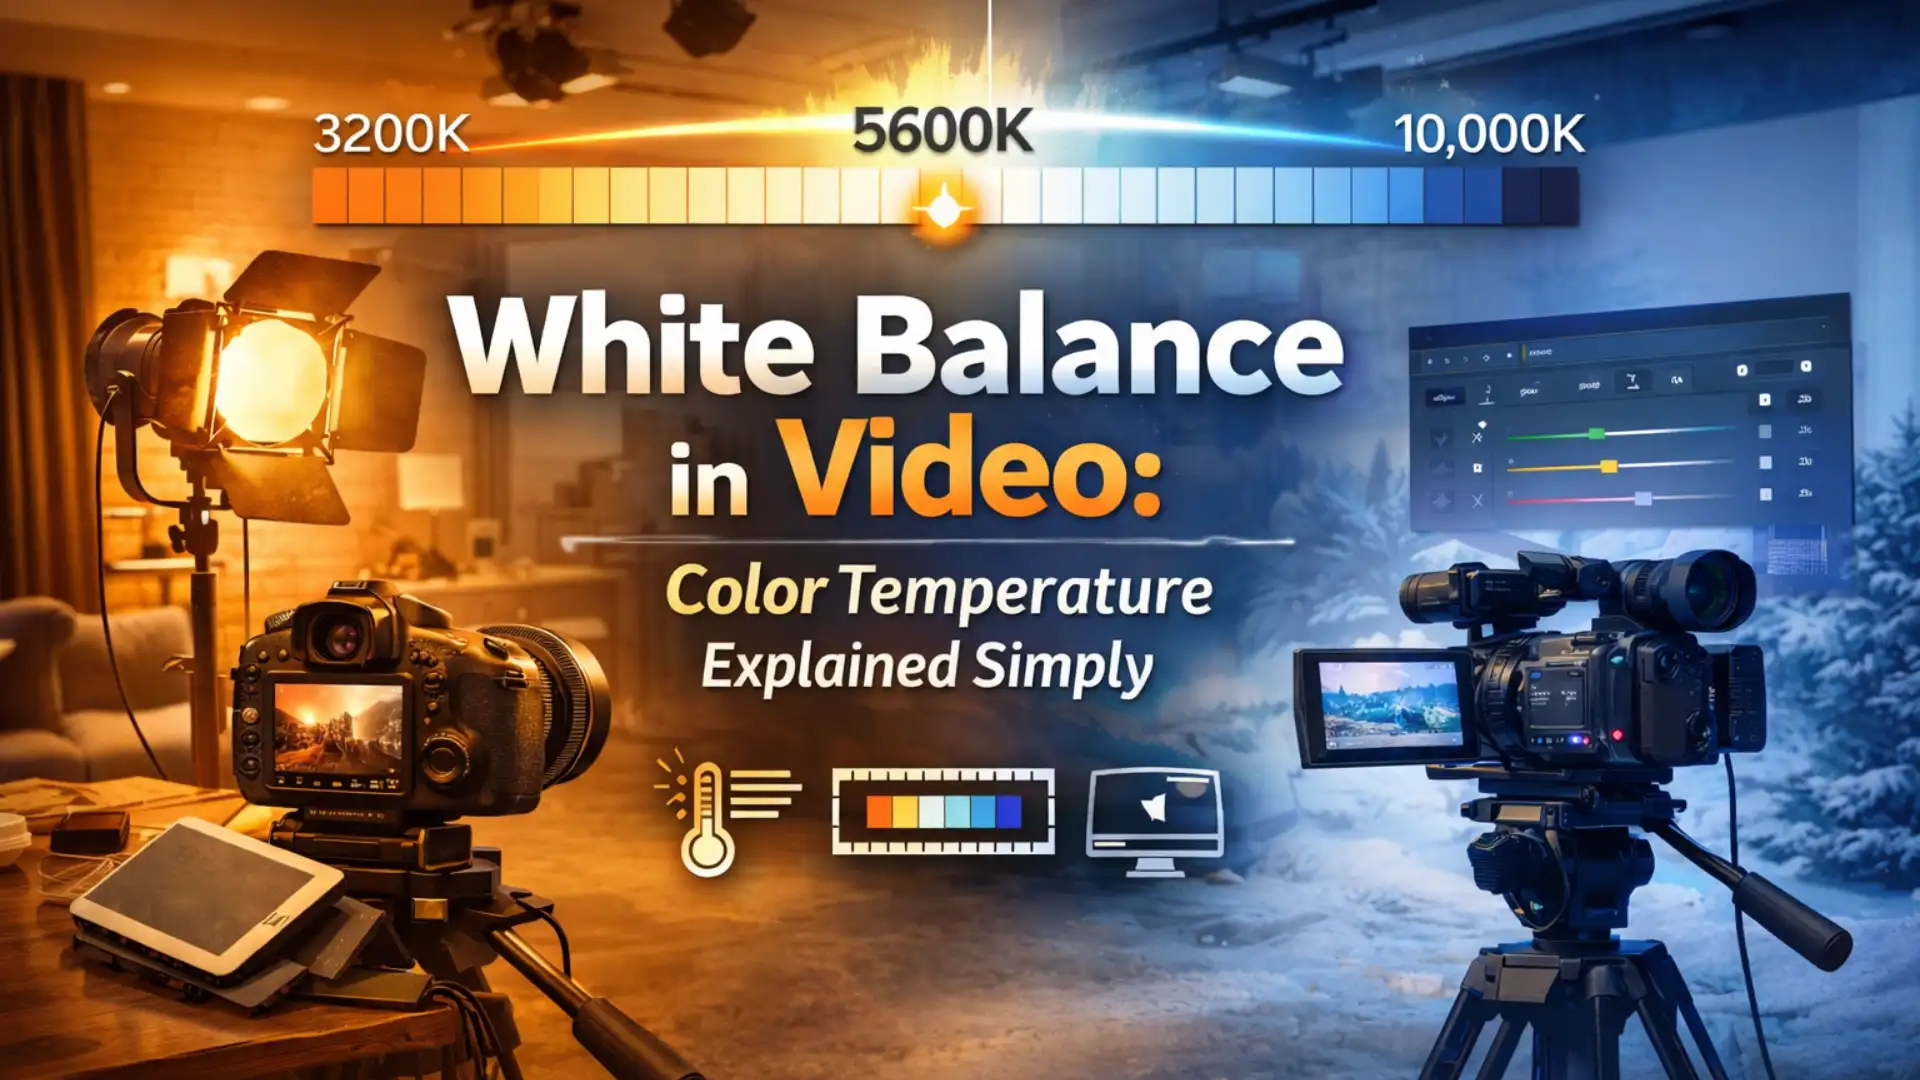
White Balance in Video: Color Temperature Explained Simply
- What is White Balance
- Understanding Color Temperature and the Kelvin Scale
- How White Balance and Color Temperature Work Together
- White Balance Modes on Your Camera
- How to Set White Balance Before You Shoot
- How to Fix White Balance in Adobe Premiere Pro
- How to Fix White Balance in DaVinci Resolve
- How to Fix White Balance in After Effects
- How to Fix White Balance in Final Cut Pro
- Creative White Balance - Color Temperature as a Storytelling Tool
- White Balance Tips for Different Video Genres
- Advanced White Balance Techniques for Professionals
- Conclusion
Here’s the thing: that color shift isn’t random. It’s a white balance issue, and it’s one of the most common problems video creators face, whether you’re a seasoned cinematographer or just starting out with your first camera.
White balance and color temperature are two of the most fundamental concepts in video production and photography. Get them right, and your footage looks clean, professional, and true to life. Get them wrong, and even the most beautifully composed shot can feel off.
In this guide, we’re breaking down everything you need to know about white balance and color temperature, from the basics of the Kelvin scale to advanced creative techniques used in Hollywood films. You’ll learn how to nail your white balance on set, fix it in post-production across Premiere Pro, DaVinci Resolve, After Effects, and Final Cut Pro, and even use it as a storytelling tool. Let’s dive in.
What is White Balance?
Your eyes are remarkably good at adapting to different lighting conditions. Walk from a sunlit park into a room lit by warm tungsten bulbs, and within seconds, a white piece of paper still looks white to you. Your brain automatically compensates for the shift in light color.
Cameras can’t do that on their own. They need to be told what “white” looks like under the current lighting conditions. That’s exactly what white balance does: it establishes a reference point for true white, and from that baseline, every other color in the scene is rendered accurately.
When white balance is set correctly:
- White objects appear genuinely white
- Skin tones look natural and healthy
- All colors in the scene are represented accurately
When white balance is off:
- The entire image gets an unwanted color cast (too orange, too blue, too green)
- Skin tones look unnatural
- Colors appear distorted or muddy
While white balance matters in both photography and video, it’s especially critical for video creators. In photography, you’re dealing with individual frames. In video, a white balance error affects every single frame in a clip, and inconsistent white balance between shots makes editing and color correction significantly harder.
Understanding Color Temperature and the Kelvin Scale
Color temperature describes the color characteristics of a light source. It’s measured in degrees Kelvin (K), named after physicist Lord Kelvin who studied the relationship between heat and light color. The concept comes from heating a theoretical “black body” object: as it gets hotter, it glows from red to orange to white to blue.
Here’s what can feel counterintuitive at first: lower Kelvin values produce warmer (more orange/yellow) light, while higher Kelvin values produce cooler (more blue) light. This is the opposite of how we typically think about “warm” and “cool.”
The Kelvin Scale at a Glance
How White Balance and Color Temperature Work Together
When you set your white balance to 5,600K (daylight), you’re telling the camera: “The light hitting the scene is approximately 5,600K. Adjust colors accordingly so white looks white.”
If the light actually is 5,600K, the image looks neutral and accurate. But here’s what happens when there’s a mismatch:
- Camera set to 5,600K but you’re shooting under 3,200K tungsten light: The camera thinks the light is neutral daylight, so it doesn’t compensate for the warm tungsten. Result: everything looks orange.
- Camera set to 3,200K but you’re shooting in daylight: The camera overcompensates for warmth that isn’t there. Result: everything looks blue.
Think of it this way: the white balance setting and the actual light temperature need to match for accurate colors. When they don’t match, you get a color cast in the direction of the mismatch.
This relationship works the same way in photography and video. The key difference? In video, you often can’t go back and reshoot. That’s why understanding this relationship is so critical before you hit record.
White Balance Modes on Your Camera
Auto White Balance (AWB)
Auto white balance lets the camera analyze the scene and set the color temperature automatically. Modern cameras are surprisingly good at this, especially in single-light-source environments.
When AWB works well:
- Run-and-gun shooting where speed matters
- Evenly lit environments with a single dominant light source
- Quick social media content and vlogs
When AWB fails:
- Mixed lighting scenarios (tungsten + daylight in the same room)
- Scenes with a dominant color that confuses the sensor (a red wall, green foliage)
- Continuous shooting where consistency between clips matters
The biggest problem with AWB for video specifically is consistency. AWB can shift mid-take if the camera detects a change in the scene, creating a visible color shift that’s extremely difficult to fix in post. For professional work, manual control is almost always preferred.
Camera Presets
Most cameras offer preset white balance modes calibrated for common lighting scenarios:
- Daylight / Sunny (~5,200K – 5,600K): For outdoor shooting in direct sunlight
- Cloudy (~6,000K – 6,500K): Adds warmth to compensate for the cooler overcast light
- Shade (~7,000K – 8,000K): Adds even more warmth for blue-toned shade
- Tungsten / Incandescent (~2,700K – 3,200K): Cools down the warm orange from indoor bulbs
- Fluorescent (~4,000K – 5,000K): Corrects the green-ish tint from fluorescent tubes
- Flash (~5,500K – 6,000K): Calibrated for the neutral-to-cool output of electronic flash
Presets are a solid middle ground between fully automatic and fully manual. They’re fast to switch and give you consistent results within their intended scenario.
Manual Kelvin
Setting the Kelvin value manually gives you the most precise control. You dial in an exact number on the Kelvin scale, and the camera adjusts accordingly.
This is the preferred method for professional video work because:
- You have complete control over the exact color temperature
- The setting stays locked and won’t shift mid-take
- You can fine-tune to match mixed or unusual lighting conditions
- It stays consistent across every clip in a shoot
Custom White Balance (Using a White or Gray Card)
For the highest accuracy, professionals use a physical reference: a white balance card or an 18% gray card.
The process is straightforward:
- Place the card in your scene under the same light that’s hitting your subject
- Fill the frame with the card
- Use your camera’s custom white balance function to sample it
- The camera reads the card and calibrates white balance to that exact lighting condition
A gray card is often preferred because its neutral tone gives the camera a more reliable reference point than pure white, which can sometimes clip and confuse the sensor.
How to Set White Balance Before You Shoot
Step 1: Assess Your Lighting
Before you even touch your camera settings, look at your scene and identify the light sources:
- Is it natural daylight, artificial light, or a mix?
- Are there multiple light sources with different color temperatures?
- Will the lighting change during your shot (moving from indoors to outdoors, changing time of day)?
Step 2: Choose Your Method
- Single, consistent light source: Use a preset or dial in the appropriate Kelvin value
- Controlled environment (studio, interview setup): Use a gray card for custom white balance
- Run-and-gun, fast-changing conditions: AWB can work, but lock it if your camera allows
- Mixed lighting: Set your Kelvin to the dominant light source, or use gels to match your lights
Step 3: Do a Quick Test
Record a few seconds of test footage, then review it on your monitor. Check:
- Do white objects look white?
- Do skin tones look natural?
- Is there any visible color cast?
Adjust if needed. This quick 30-second check can save you from discovering a problem only when you’re back in the edit suite.
Step 4: Re-balance When Conditions Change
This is the rule many beginners forget: every time your lighting changes, re-check your white balance. Moving from one room to another, stepping outside, or even a cloud passing over the sun can shift the color temperature enough to create inconsistency in your footage.
Common White Balance Mistakes (and How to Avoid Them)
Even experienced filmmakers make white balance errors. Here are the most common ones and how to steer clear of them.
Mistake 1: Trusting AWB for an Entire Shoot
AWB is convenient, but it’s reactive. It can shift color between takes or even mid-shot. For any project where color consistency matters (which is most projects), switch to manual or preset.
Fix: Lock your white balance manually before each setup. Only use AWB as a starting point, then note the Kelvin value it chose and set it manually.
Mistake 2: Ignoring Mixed Lighting
Shooting in a room with both a window (5,600K daylight) and overhead tungsten lights (3,200K) creates a scenario where no single white balance setting will make everything look correct. Part of your frame will always have a color cast.
Fix: Whenever possible, gel your lights to match. Use CTB (Color Temperature Blue) gels on tungsten lights to bring them up to daylight temperature, or CTO (Color Temperature Orange) gels on daylight sources to warm them down to tungsten. If you can’t gel, set your white balance to the dominant light source illuminating your subject.
Mistake 3: Forgetting to Re-balance Between Setups
You set perfect white balance for your wide shot, then move to a close-up at a different angle where a different light is now dominant. If you don’t re-balance, the two shots won’t match.
Fix: Make it a habit to check white balance every time you change your camera position or lighting setup. It takes seconds and saves hours in post.
Mistake 4: White Balancing Off a Non-Neutral Surface
Using a piece of paper, a wall, or clothing that isn’t truly neutral white or gray can throw off your custom white balance. Many “white” surfaces actually have a slight warm or cool tint.
Fix: Invest in a proper gray card or white balance card. They’re inexpensive and purpose-built for accuracy.
Mistake 5: Not Shooting RAW or Log
If you’re shooting in a compressed format with baked-in color settings, fixing white balance in post becomes much harder. The data simply isn’t there for significant corrections.
Fix: Whenever your camera and workflow support it, shoot in RAW or a log profile. This preserves the maximum color data and gives you the most flexibility to adjust white balance later. For more on how bit depth affects your color flexibility, check out our guide on 8-bit vs 10-bit video.
How to Fix White Balance in Adobe Premiere Pro
Method 1: Using the Temperature Slider
- Select your clip on the timeline
- Open the Lumetri Color panel (Window > Lumetri Color)
- In the Basic Correction section, find the Temperature slider
- Drag it right to add warmth (correct a blue cast) or left to add coolness (correct an orange cast)
- Use the Tint slider to correct any green-magenta shifts (especially common with fluorescent lighting)
The Temperature slider works on a Kelvin-inspired scale. Small adjustments go a long way, so move in small increments and keep checking your whites and skin tones.
Method 2: Using the White Balance Eyedropper
- In the Lumetri Color panel, under Basic Correction, find the WB Selector (eyedropper icon)
- Click the eyedropper, then click on something in your footage that should be neutral white or gray
- Premiere Pro automatically adjusts the Temperature and Tint to make that reference point neutral
This method is fast but depends on having a visible neutral reference in your shot. If you used a gray card on set, use a frame where the card is visible as your reference, then apply the correction to all clips from that setup.
Method 3: Using the Comparison View
For matching white balance across multiple clips:
- Open the Reference Monitor (click the comparison view icon in the Program Monitor)
- Load a correctly balanced clip as your reference
- Use the Temperature and Tint sliders on your current clip to visually match the reference
For a deeper dive into color work in Premiere Pro, including LUTs and cinematic grading, check out our Premiere Pro Color Grading Tutorial. And if you want to speed up your color workflow, explore Pixflow’s Color LUTs library for professionally crafted grading presets that give you a polished starting point.
Pro Tips for Premiere Pro
- Use Adjustment Layers: Apply your white balance correction to an adjustment layer above multiple clips for batch correction
- Check the Lumetri Scopes: Open the vectorscope to see if your colors are skewing in one direction; neutral footage should cluster near the center
- Save presets: Once you nail the correction for a setup, save it as a Lumetri preset and apply it to all clips from that setup
How to Fix White Balance in DaVinci Resolve
Method 1: Using the Temperature and Tint Controls
- Switch to the Color page
- Select your clip in the timeline
- In the bottom-left panel, find the Color Wheels section
- Use the Temp (Temperature) slider to shift between cool and warm
- Use the Tint slider to correct green-magenta shifts
Method 2: Using the White Balance Picker
- On the Color page, look for the eyedropper tool in the toolbar (or the Color Wheels panel)
- Click it and select a neutral white or gray area in your footage
- Resolve automatically adjusts the Lift, Gamma, and Gain wheels to neutralize the color cast
Method 3: Using the Primaries Controls (Advanced)
For more precise adjustments:
- Switch to the Primaries – Bars mode in the Color Wheels
- Adjust the Offset controls to shift the overall color balance
- Use Lift (shadows), Gamma (midtones), and Gain (highlights) independently to correct color casts that vary across the tonal range
This is especially useful when your color cast isn’t uniform, for example, when mixed lighting makes the shadows warm but the highlights cool.
Method 4: Using Color Space Awareness (Resolve Color Management)
For advanced workflows:
- Enable DaVinci Resolve Color Management (DaVinci YRGB Color Managed) in project settings
- Set your input and output color spaces
- Use the Color Space Aware grading tools for mathematically accurate corrections
This approach is particularly powerful when working with RAW footage or log-encoded video. If you’re working with professional cinematic presets, Pixflow’s Color LUTs are compatible with DaVinci Resolve and can serve as a creative starting point after your white balance is corrected.
Pro Tips for DaVinci Resolve
- Use Still Galleries: Save a correctly balanced frame as a still, then reference it when grading other clips from the same scene
- Node-based workflow: Create a dedicated node for white balance correction at the start of your node tree, keeping it separate from creative grading
- Use the Parade scope: The RGB Parade shows you exactly which color channel is dominant, making it easy to identify and correct color casts
How to Fix White Balance in After Effects
Method 1: Using the Lumetri Color Effect
Since After Effects includes the same Lumetri Color engine as Premiere Pro:
- Select your footage layer
- Go to Effect > Color Correction > Lumetri Color
- In the Effect Controls panel, open Basic Correction
- Adjust the Temperature and Tint sliders exactly like in Premiere Pro
Method 2: Using Color Balance (HLS)
- Apply Effect > Color Correction > Color Balance (HLS)
- Adjust the Hue rotation to shift the overall color
- Combine with Levels or Curves effects for finer control
Method 3: Using Curves for Precision
- Apply Effect > Color Correction > Curves
- Select individual color channels (Red, Green, Blue)
- Adjust each channel’s curve to eliminate color casts:
- Too orange? Pull down the Red and Green midtones slightly
- Too blue? Lift the Red and Green midtones
- Use the eyedropper to sample neutral points in your footage
For a complete walkthrough of color work in After Effects, including grading techniques and using LUTs as creative tools, check out our guide on how to color correct and color grade in After Effects.
Pro Tips for After Effects
- Use Adjustment Layers: Just like Premiere Pro, apply corrections to an adjustment layer above your comp for non-destructive editing
- Animate corrections: If lighting changes within a shot, keyframe your Temperature and Tint values to compensate over time
- Work in 32-bit: Switch your project to 32 bits per channel for the highest quality color corrections
How to Fix White Balance in Final Cut Pro
Method 1: Using the Color Inspector
- Select your clip in the timeline
- Open the Color Inspector (Window > Show in Workspace > Inspector, then click the Color tab)
- Click the Color Board or Color Wheels button
- Adjust the Global control point to shift the overall color balance
- For Temperature-specific adjustment, drag the control point toward blue (cool) or orange (warm)
Method 2: Using the Balance Color Feature
Final Cut Pro has a one-click auto white balance:
- Select your clip
- In the Color Inspector, click Balance Color (the magic wand icon)
- Final Cut Pro analyzes the clip and applies an automatic correction
- Fine-tune with the Color Wheels if needed
Method 3: Using the White Point Eyedropper
- In the Color Board or Color Wheels, find the white point eyedropper
- Click on a neutral white or gray area in your footage
- Final Cut Pro adjusts the color balance to make that reference neutral
Pro Tips for Final Cut Pro
- Use Color Presets: Save your corrections as presets for batch application
- Copy and paste corrections: Right-click a corrected clip, copy effects, then paste to matching clips
- Use the Color Conformance feature: When importing footage from different cameras, Final Cut Pro can automatically manage color space conversions
Creative White Balance: Color Temperature as a Storytelling Tool
Color temperature is one of the most powerful emotional tools in a filmmaker’s toolkit. Some of the most iconic visual styles in cinema are built on intentional white balance choices.
Warm Color Temperature for Intimacy and Nostalgia
Pushing your white balance toward warmer tones (or grading warm in post) creates feelings of:
- Comfort and safety
- Nostalgia and memory
- Romance and intimacy
- Golden hour beauty
Film examples:
- The Godfather – warm amber tones create a sense of old-world power and family tradition
- Amelie – warm greens and golds give Paris a fairy-tale quality
- Mad Max: Fury Road – intense warm orange in the desert sequences amplifies the heat and danger
Cool Color Temperature for Tension and Isolation
Shifting toward cooler tones evokes:
- Clinical detachment and sterility
- Tension and unease
- Loneliness and isolation
- Futuristic or technological settings
Film examples:
- The Revenant – cool blue tones during winter scenes amplify the harsh survival conditions
- Moonlight – blue-toned night scenes reflect the protagonist’s emotional vulnerability
- Blade Runner 2049 – cool teal and blue tones create a dystopian atmosphere
Mixed Temperature for Psychological Contrast
Some of the most striking visual storytelling uses contrasting color temperatures within the same film to signal different emotional states or worlds.
The Matrix is the textbook example: scenes inside the Matrix have a distinctive green tint, while scenes in the “real world” use cooler blue tones. The audience subconsciously registers which world they’re in before any dialogue explains it.
Traffic uses this technique across three storylines: warm yellow for Mexico, cool blue for Washington D.C., and neutral for suburban Ohio. The color temperature itself becomes a narrative device.
For a deep dive into how color shapes cinematic storytelling, check out our guide on mastering digital color grading techniques.
White Balance Tips for Different Video Genres
Corporate Interviews and Talking Heads
- Goal: Natural, accurate skin tones above all else
- Approach: Use a gray card to set custom white balance under your interview lights. Match all lights to the same color temperature (usually 3,200K for tungsten or 5,600K for LED panels set to daylight)
- Common pitfall: Office environments often have mixed lighting (overhead fluorescents + window daylight). Gel the windows or overpower them with your key light
YouTube Videos and Vlogs
- Goal: Consistent, appealing look across different filming environments
- Approach: Pick a Kelvin value that works for your primary filming location and stick to it. Many YouTubers shoot slightly warm (around 5,800K – 6,200K) for a more inviting, approachable look
- Common pitfall: Filming in multiple locations without re-balancing. AWB can work for vlogs, but check for consistency in post
Cinematic Narrative / Short Films
- Goal: Intentional, controlled color temperature that supports the story
- Approach: Set white balance manually based on your creative intent. Plan your color temperature as part of pre-production alongside your lighting design
- Common pitfall: Over-correcting to neutral in post when the slightly warm or cool tones were an intentional on-set choice. Communicate your creative intent with your colorist
Product Demos and E-commerce
- Goal: Accurate product colors (critical for fashion, food, cosmetics)
- Approach: Use a gray card and a color checker chart for the most accurate calibration. Shoot under consistent, controlled lighting
- Common pitfall: LED lights with poor CRI (Color Rendering Index) can make colors look inaccurate even with correct white balance. Invest in high-CRI lighting
Wedding and Event Videography
- Goal: Beautiful skin tones and consistent color across changing environments
- Approach: Re-balance frequently as you move between ceremony, reception, outdoors, and dance floor. Shoot in RAW or log for maximum flexibility
- Common pitfall: DJ lighting with extreme color casts. For these situations, embrace the creative color or isolate skin tones in your grade using LUTs designed for wedding and event footage
Advanced White Balance Techniques for Professionals
Dual-Illuminant White Balance
In scenes with two distinct light sources at different color temperatures (like a window providing daylight and a practical lamp providing tungsten), you have to make a choice. Advanced technique: set your white balance to split the difference, then selectively correct regions in post using masks or power windows.
For example, if your scene has 3,200K tungsten and 5,600K daylight, you might set your camera to 4,400K. Both light sources will have some color cast, but neither will be extreme, giving you the most flexibility in the grade.
Using Color Gels Creatively on Set
Instead of fighting mixed lighting, use it intentionally:
- Place a CTO gel on a daylight-balanced light to create a warm practical effect
- Use a CTB gel on a tungsten source and set your camera to daylight balance for a cool, cinematic background
- Use colored gels (not just correction gels) to create intentional color contrast between foreground and background
RAW and Log Workflows for Maximum Flexibility
Shooting in RAW or log format gives you the widest latitude for white balance adjustment in post-production. RAW footage doesn’t have a “baked in” white balance at all; it records the sensor data directly, allowing you to change the color temperature in post with zero quality loss.
Log profiles (like S-Log, C-Log, V-Log) preserve significantly more color data than standard Rec.709 profiles, giving you much more room to push and pull color temperature without introducing artifacts or banding.
For a deeper understanding of high dynamic range workflows, see our guide on HDR video production.
Using a Color Checker Chart
Beyond a simple gray card, professional colorists use color checker charts (like the X-Rite ColorChecker) that include a grid of precisely calibrated color patches. In post-production, you can:
- Photograph the chart under your scene’s lighting
- Use software to compare the recorded colors against their known true values
- Generate an automatic correction profile that fixes not just white balance but all color rendition errors
This is the most scientifically accurate method of color calibration available.
Matching Cameras with Different Color Science
When shooting with multiple cameras from different manufacturers (a Sony A7 and a Canon C70, for example), their color science processes white balance differently. Even at the same Kelvin setting, the footage can look different.
Fix: Use a color checker chart for each camera under identical lighting, then create matching profiles in post. DaVinci Resolve’s color management system is particularly effective for this, as it can map camera-specific color spaces to a common working space.
Conclusion
But the real power comes when you move beyond “correct” and start using color temperature intentionally, shaping mood, guiding emotion, and telling stories through warmth and coolness.
Whether you’re fixing a color cast in Premiere Pro, fine-tuning your grade in DaVinci Resolve, or planning the color palette for your next short film, the principles are the same: understand the light, control the color, and let your creative vision drive the decisions.
Ready to take your color work to the next level? Explore Pixflow’s Color LUTs library for professionally designed grading presets that give your footage a cinematic starting point. (Your color workflow will thank you.)
Disclaimer : If you buy something through our links, we may earn an affiliate commission or have a sponsored relationship with the brand, at no cost to you. We recommend only products we genuinely like. Thank you so much.
Blog Label:


Write for us
Publish a Guest Post on Pixflow
Pixflow welcomes guest posts from brands, agencies, and fellow creators who want to contribute genuinely useful content.
Fill the Form ✏