DaVinci Resolve Proxy Workflow: Edit 4K and 8K Footage Smoothly on Any Computer
DaVinci Resolve Proxy Workflow: Edit 4K and 8K Footage Smoothly on Any Computer
You bought the camera that shoots gorgeous 4K, 6K, or even 8K, and now your timeline crawls. Playback stutters, the viewer freezes for a second every time you scrub, and a simple cut feels like a fight with your own computer. The good news: you almost certainly do not need a new machine. You need a better workflow.

This guide walks you through the complete DaVinci Resolve proxy workflow so you can edit heavy 4K and 8K footage smoothly on almost any computer, from a maxed-out workstation to an aging laptop. We will cover what proxies really are, why your footage stutters in the first place, which proxy format and resolution to pick, and every way to create, enable, link, and deliver proxies like a pro. If you are brand new to the software, start with our complete DaVinci Resolve beginner’s guide first, then come back here to speed things up. And when your edit is flying, you can spend your energy on storytelling and polish, adding cinematic titles from packs like the Dramatic Movie Title Templates for DaVinci Resolve instead of waiting on a spinning cursor.

What Is a Proxy Workflow in DaVinci Resolve?

A proxy is a lower-resolution, easier-to-play copy of your original clip. Same content, same length, same start and end timecode, just far lighter for your computer to handle. Think of it as a digital stunt double: the proxy stands in for your high-resolution footage during the risky, demanding work of editing, and your pristine original steps back in for the final shot.

Here is the key part that makes the whole thing painless: you edit with proxies, but when you export, Resolve automatically switches back to your original camera files for full quality. You get buttery-smooth playback while cutting, and a full-resolution master on delivery.

Original camera filesProxy files
ResolutionFull (4K, 6K, 8K+)Reduced (often 1080p or a fraction)
File sizeLarge to massiveSmall and portable
PlaybackCan stutter on many machinesSmooth on almost any machine
Best used forColor grading, VFX, final exportCutting, scrubbing, collaboration
The payoff is not only speed. Because proxy files are small, they are perfect for portability and remote collaboration, which we cover later in this guide. You can read Blackmagic’s own overview of the software on the official DaVinci Resolve page for the full feature picture.

Why Your 4K and 8K Footage Stutters

Here is the counterintuitive truth: a bigger file is not always harder to play. Very often the opposite is true. To choose the right proxy, you need to understand the two ways video is compressed, because that is the real source of choppy playback.

Intraframe (all-I) compression

In an intraframe codec, every single frame is stored as a complete, self-contained image, like a strip of film where frame 15 is simply frame 15. Nothing needs to be reconstructed. This makes scrubbing and playback smooth, though file sizes can be larger. Common examples: Apple ProRes and Avid DNxHR.

Interframe (long-GOP) compression

Interframe codecs store groups of frames and only save what changes between them. You get three frame types:

  • I-frame: a full image (largest).
  • P-frame: stores only the changes from a previous frame (smaller).
  • B-frame: stores changes using both previous and future frames (smallest, most complex to decode).

Common examples: H.264 and H.265 (HEVC). These make wonderfully small files, which is why cameras love them. But to show you one frame in the middle of a group, your computer has to rebuild it from the surrounding frames. That decoding work is why highly compressed 4K and 8K footage can stutter even on powerful machines.

In short: many cameras record in interframe formats because they save space, but editing software prefers intraframe formats because they are easier to decode. A proxy workflow lets you convert heavy, hard-to-decode footage into light, edit-friendly proxies. If shrinking file sizes without wrecking quality is a recurring headache for you, our guide on how to compress large video files without losing quality is a useful companion read.

Concept image comparing a large 8K original video file with a small DaVinci Resolve proxy file

Proxy Media vs Optimized Media vs Timeline Playback Resolution

Resolve gives you three tools that solve slow playback in different ways. People mix them up constantly, so here is a quick, clear comparison before we go deep on proxies.
ToolWhat it doesWhen to use it
Proxy mediaCreates portable, low-res stand-in files that live next to your originalsThe most flexible option, great for portability and collaboration
Optimized mediaCreates cache-managed lighter files stored in Resolve's cache folderSolo, local projects where you do not need to move files around
Timeline playback resolutionTemporarily drops viewer resolution to half or quarter on the fly, no new filesA quick, instant boost when you do not want to transcode anything
This guide focuses on proxy media, because it is the most versatile choice for editing heavy footage and the only one that travels well between machines and collaborators. Keep timeline playback resolution in your back pocket as an instant fix, and reach for proxies as your real, dependable workflow.

Choose the Right Proxy Format and Resolution First

Before generating a single proxy, make two decisions: what format (codec) and what resolution. Getting these right up front saves you from regenerating everything later.

Best proxy format

FormatTypeFile sizeBest forPlatform notes
ProRes 422 ProxyIntraframeSmallest ProResSmooth playback, balanced qualityMac, and Windows in recent Resolve versions
ProRes 422 LTIntraframeSmall to mediumA little more quality headroomMac and Windows
DNxHR LBIntraframeSmallThe go-to ProRes Proxy equivalentWindows and Mac
DNxHR SQIntraframeMediumHigher-quality proxiesWindows and Mac
H.264InterframeVery smallGeneral use on modern machinesPlayback depends on hardware decoding
H.265 (HEVC)InterframeSmallestCloud and remote collaborationExcellent on Apple Silicon, inconsistent on some Windows setups
Practical recommendation: if you mainly want smooth playback and are not worried about disk space, use ProRes 422 Proxy (Mac) or DNxHR LB (Windows). If file size matters more, for example you want to upload proxies to the cloud, try H.265. Just know that H.265 shines on Apple Silicon thanks to its dedicated media engine, while on some Windows machines, especially with the free version’s limited hardware decoding, it can still stutter. For a real-world take on why many editors have moved to H.265 proxies made with the Proxy Generator, see this breakdown of the best proxy format for Resolve.

The free version versus paid version difference matters here, because Studio unlocks better hardware decoding and higher resolutions. If you are weighing the upgrade, our DaVinci Resolve free vs Studio comparison breaks down exactly what you get.

Best proxy resolution

SettingWhat it doesUse when
Choose automaticallySizes proxies proportional to your timeline resolutionThe safe default for most editors
Half50 percent of original resolutionMild performance issues
Quarter25 percent of original resolutionOlder machines or heavy timelines
Eighth or Sixteenth12.5 or 6.25 percentVery weak hardware, when quarter still stutters
For most people, Choose automatically is the smart pick: it makes 4K footage half resolution on an HD timeline, 8K footage quarter resolution, and so on. If playback is still bumpy, force a smaller fraction like quarter or eighth. Yes, the viewer looks softer while editing, but it plays smoothly, and the softness never touches your final export.

Set Up Your Proxy Workflow (Project Settings and Preferences)

Resolve keeps these controls in two separate menus. Configure both once and you are set.

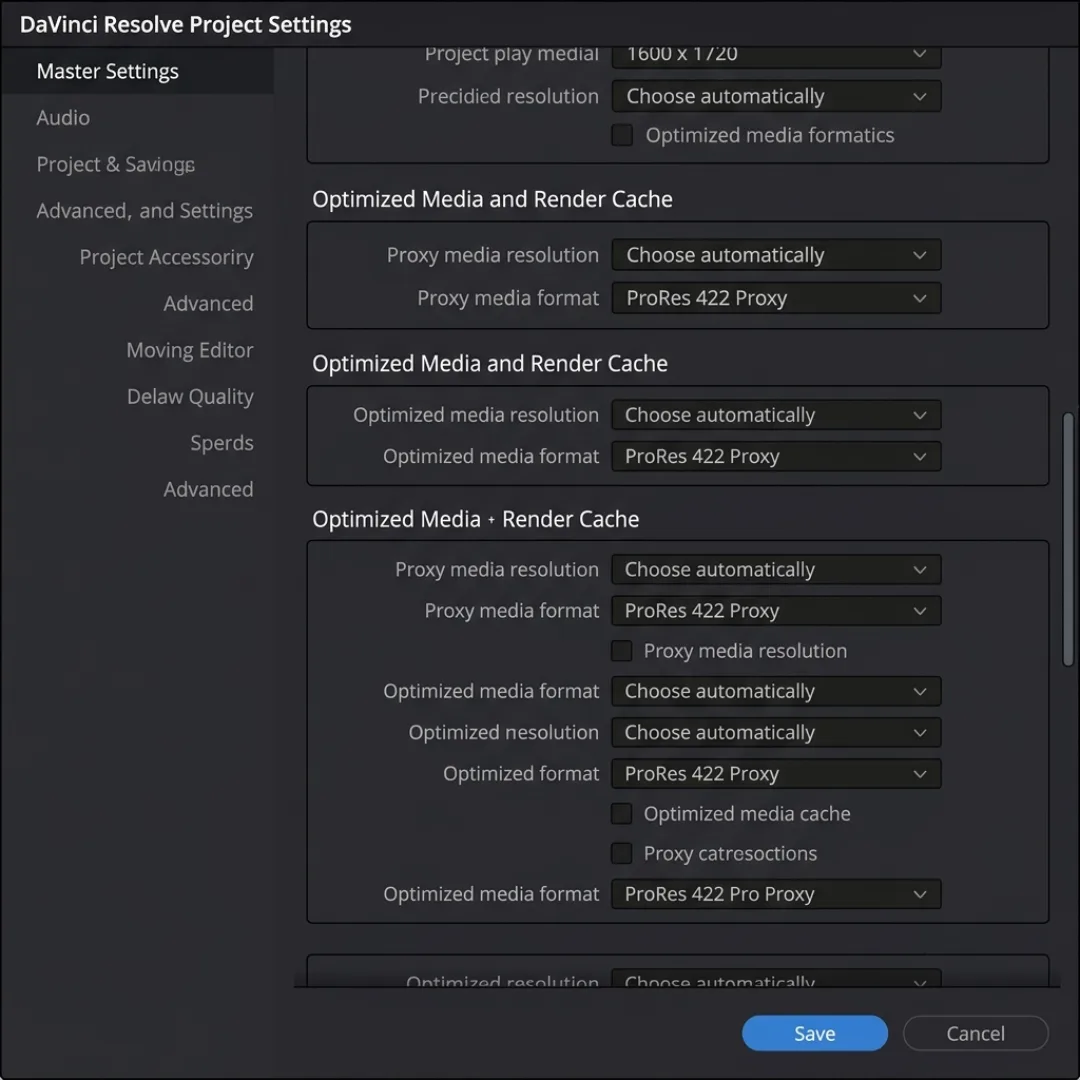
Step 1: Project Settings

  1. Click the gear icon in the bottom-right corner (or press Shift + 9) to open Project Settings.
  2. Go to Master Settings and scroll to Optimized Media and Render Cache.
  3. Set Proxy media resolution (Choose automatically is a good start).
  4. Set Proxy media format (ProRes 422 Proxy or DNxHR LB for smoothness, H.265 for tiny files).

Step 2: Preferences (where proxies get saved)

Open Preferences (top menu, or Command/Control + comma), go to System, then Media Storage, and find Proxy generation location. You get three options:

  • Proxy subfolders in media file locations: saves proxies in a tidy Proxy folder right next to the original clips. Resolve auto-links them, and you always know where they are. This is the recommended choice for most editors.
  • Use project setting: follows the folder you set in Project Settings.
  • Ask when creating: lets you pick a new location every time.

Keeping proxies next to your originals means Resolve can automatically relink them, and cleanup later is as easy as deleting one Proxy subfolder.
Editor configuring proxy media resolution and format in DaVinci Resolve project settings

Method 1: Generate Proxies Manually Inside Resolve

This is the fastest route when you only have a handful of clips.

  1. Import your footage into the Media Pool.
  2. Select the clips you want to convert.
  3. Right-click and choose Generate Proxy Media.
  4. Wait for the progress bar. Time depends on clip count, length, and your computer’s power.

When finished, each clip shows a small PXY icon, and a Proxy folder appears next to your footage on disk. The one downside: this method locks up Resolve while it works, so you cannot edit until it finishes. That is fine for a few clips, but painful for hundreds, which is exactly what the next method solves.

Method 2: Batch Create Proxies with the Blackmagic Proxy Generator

The Blackmagic Proxy Generator is a separate app that installs alongside Resolve (called Proxy Generator Light in the free version, with the only real limitation being no 10-bit proxies). Its superpower is running in the background so you can keep editing.

  1. Open Blackmagic Proxy Generator (search your Start menu on Windows, or Applications on Mac).
  2. Click Add and select the folder that holds your footage. This becomes a watch folder.
  3. Choose your proxy format from the menu.
  4. Click Start.

From then on, any new video dropped into that watch folder is automatically transcoded into a Proxy subfolder next to the originals, and Resolve links them for you with no manual steps. It also includes Delete Proxies (to reclaim space) and Extract Proxies (to copy proxies to a drive for a remote editor).
FactorManual (inside Resolve)Blackmagic Proxy Generator
Best forA few clipsLarge projects and ongoing shoots
Runs in backgroundNo, it locks ResolveYes, keep editing while it works
AutomationManual per selectionWatch folders transcode automatically
LinkingAutomaticAutomatic via proxy subfolder
If you shoot high-volume projects, for example a wedding with 300+ clips, the Proxy Generator is the difference between a coffee break and a wasted afternoon.
Blackmagic Proxy Generator creating proxies in the background while editing continues in DaVinci Resolve

Enable and Switch Between Proxies and Originals

Once proxies exist, control which media Resolve plays from the Playback menu under Proxy Handling, or the dropdown in the top-right of the viewer. There are three modes:
ModeWhat Resolve playsWhen to use
Prefer ProxiesThe proxy if it exists, otherwise the originalStandard editing and cutting
Prefer Camera OriginalsThe original if online, otherwise the proxyColor grading, VFX, quality checks
Disable All ProxiesOriginals only (clips go offline if missing)Final check before rendering
Resolve also shows small status icons on clip thumbnails in the Media Pool and timeline so you always know what you are looking at:
IconMeaning
Purple PXY on whiteBoth files exist, you are viewing the proxy
White HQ on purpleBoth files exist, you are viewing the original
Purple PXY, no backgroundOnly the proxy is online, original is offline
No iconProxies disabled, or none generated for that clip
A practical rhythm: edit in Prefer Proxies for speed, then flip to Prefer Camera Originals when you move to the color page. Speaking of which, once playback is smooth you can dig into color grading for beginners and start applying custom LUTs on full-quality frames.

Use Camera Proxies and Third-Party Proxies

You do not always have to generate proxies in Resolve. Many cameras record proxy files in-camera at the same time as your main footage, and you can create proxies in apps like Adobe Media Encoder or Shutter Encoder. To connect them, select your clips in the Media Pool, right-click, and choose Link Proxy Media, then point Resolve to the proxy files.

External proxies must follow three strict rules, because the whole system is driven by metadata:

  • Same file name as the source (excluding the extension).
  • Matching start and end timecode.
  • Exactly the same frame rate.

You can also Unlink Proxy Media (this only removes the link, it does not delete the file) and Relink Proxy Media if you move proxies to a new location. Note that Resolve falls back to the original media for any clip that has no proxy, such as title cards or graphics. That is one more reason to keep drop-in assets like the Dramatic Movie Title Templates for DaVinci Resolve organized alongside your footage, so your titles stay online while your heavy clips ride on proxies.

Proxies for Collaboration and Remote Editing

Because proxies are small, they unlock genuinely portable editing. You can load a project file plus a set of lightweight proxies onto a portable SSD and keep cutting on a modest laptop anywhere.

For teams, Resolve can export a proxy-only project archive:

  1. In the Project Manager, right-click the project and choose Export Project Archive.
  2. In the dialog, check Proxy Media, and uncheck Media Files (the originals) and Render Cache.
  3. Click OK.

Resolve builds a compact archive with the project and its proxies. If a clip has no proxy, Resolve automatically includes its original so nothing goes offline. Your collaborator downloads it, chooses Restore Project Archive, and starts editing immediately without ever touching the multi-terabyte originals. Post-production platforms such as Frame.io document similar proxy-based review and collaboration flows if you want to go deeper on team workflows.

Exporting: Does Resolve Use Proxies or Originals?

This is the question that worries every new editor, and the answer is reassuring: by default, Resolve always renders from your original camera files, no matter what you were viewing while editing. You do not need to flip a setting back before export. Your master comes out at full quality automatically.

The one exception is deliberate. On the Deliver page, under a render job’s Advanced Settings, there is a checkbox labeled Use Proxy Media. Turn it on only when you want a fast, lower-quality export, for example a quick rough cut for client review under deadline. Leave it off for finals. When you are ready to lock delivery settings for YouTube, Instagram, or TikTok, our guide to the best export settings in DaVinci Resolve has you covered.
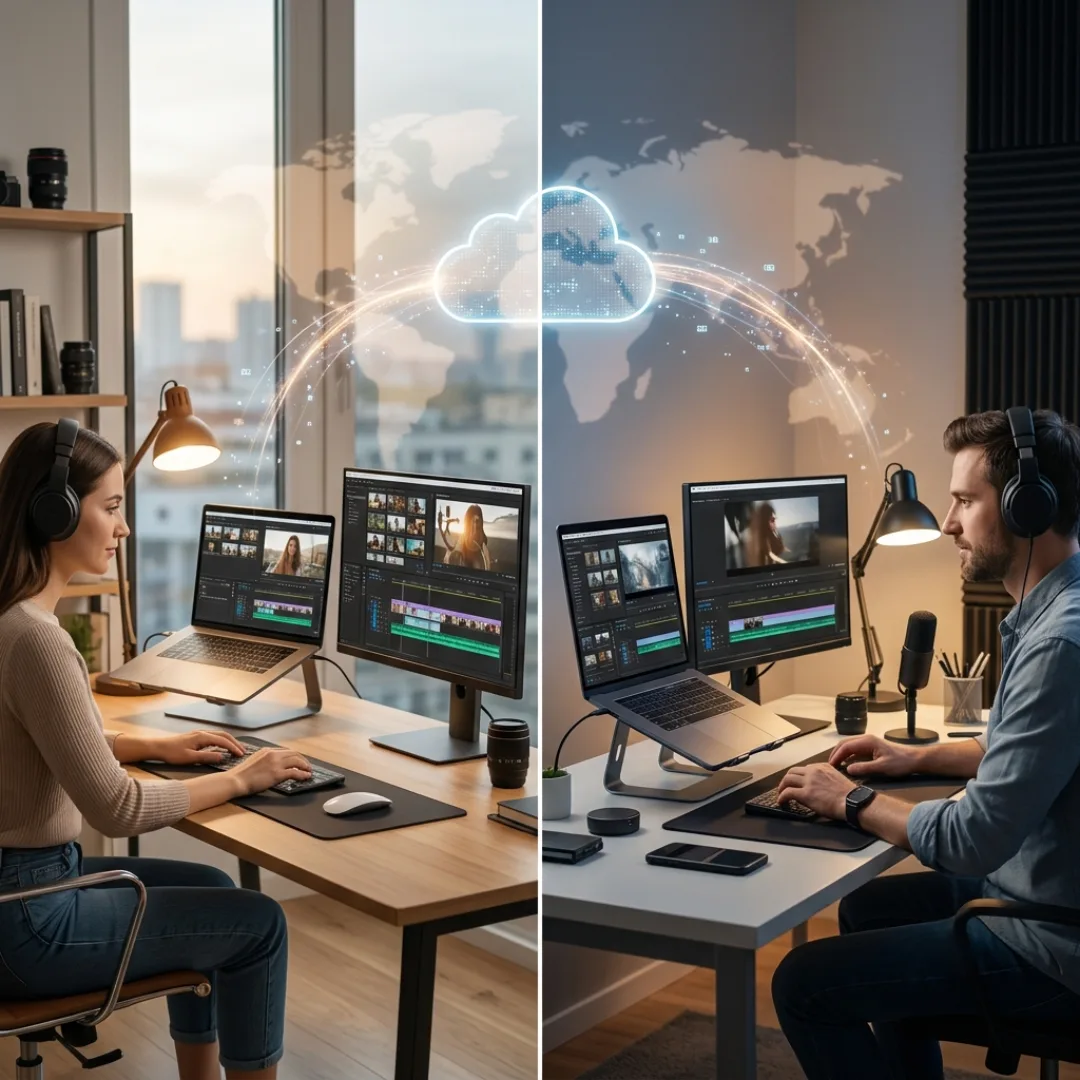
Remote collaboration in DaVinci Resolve using small proxy files shared over the cloud

Pro Tips and Troubleshooting

A few hard-won details separate a smooth proxy workflow from a frustrating one.
RegionIntermediate Hourly RateSenior Hourly RateNotes
United States$45-75$85-150+Highest paying, especially LA/NY/major markets
United Kingdom£30-50 ($38-63)£55-100+ ($69-126+)London 20-30% premium
Western Europe€35-60 ($38-65)€60-110+ ($65-119+)Berlin, Amsterdam, Paris highest
Eastern Europe$20-40$45-85Growing premium tier, especially for VFX/motion
APAC (Australia/Japan)$50-80$90-160Strong corporate market
APAC (India/SE Asia)$15-35$40-80Specialists at top of range
The slow-motion quirk worth knowing: if you change a clip’s frame rate in Clip Attributes to create slow motion, the external Blackmagic Proxy Generator will not recognize the reinterpreted frame rate, and relinking throws a frame-rate-mismatch error. The workaround is simple: for any footage you plan to slow down, generate proxies inside Resolve (right-click, Generate Proxy Media) rather than the external app, because Resolve knows about the interpretation and matches everything correctly. Alternatively, make the proxies before changing Clip Attributes.

One more efficiency tip: keep proxies for everything, even on a capable machine. Small files, effortless playback, and Resolve swaps them for originals on export automatically. Pair that with learning the essential keyboard shortcuts and your editing pace stops being limited by your hardware. If your slowdowns come from heavy noise reduction or effects rather than raw footage, resources like the Neat Video performance guide for Resolve are worth a look.

Still deciding whether Resolve is even the right editor for your machine and workflow? Our DaVinci Resolve vs Premiere Pro comparison lays out the trade-offs.

Conclusion

Choppy 4K and 8K playback is almost never a hardware death sentence, it is a workflow gap. Once you understand why compressed footage is hard to decode, the fix is straightforward: generate lightweight proxies, edit on them with Prefer Proxies, flip to originals for grading, and let Resolve deliver at full quality automatically. Set your format and resolution once, choose manual generation for small jobs and the Blackmagic Proxy Generator for big ones, and keep your proxies tidy next to your originals.

Do that, and even a modest laptop can cut 8K like butter. With smooth playback handled, the fun part is yours again: shaping the story and finishing with a professional look. Give your edits that cinematic polish with the Dramatic Movie Title Templates for DaVinci Resolve, and get back to creating instead of waiting.

Disclaimer : If you buy something through our links, we may earn an affiliate commission or have a sponsored relationship with the brand, at no cost to you. We recommend only products we genuinely like. Thank you so much.

Blog Label:

Write for us

Publish a Guest Post on Pixflow

Pixflow welcomes guest posts from brands, agencies, and fellow creators who want to contribute genuinely useful content.

Fill the Form ✏

Frequently Asked Questions

Editors find clients on freelance marketplaces (Upwork, Fiverr, Twine, Contra), through direct outreach on Instagram and LinkedIn, by posting their work on social media, through referrals and networking, and by partnering with agencies. The best results usually come from combining two or three of these channels consistently.
Create spec work by re-editing existing videos, use professional templates to make polished samples fast, and offer a free sample edit to a few target creators. A short, sharp showreel plus one strong testimonial is often enough to land your first paid gigs.
Niche down, target creators and brands with real budgets (YouTubers, B2B companies, agencies), and pitch outcomes like retention and conversions rather than just editing. Cold email and LinkedIn tend to reach higher-ticket clients than the lowest-priced marketplaces.
For beginners, Upwork and Fiverr help you build reviews quickly. For higher-tier work, Twine, Contra, and Toptal attract better clients. Instagram and LinkedIn are ideal for direct outreach. The best platform is the one where your specific niche of clients actually spends time.
Deliver on time, communicate clearly, and after a successful project propose a simple monthly package tied to the client's content schedule. Clear scope, easy invoicing, and reliable turnaround make renewing a no-brainer.