On This Cybermonday

Get Your Pixflow Subscription for Only $9.99

How to Shoot Cinematic Drone Footage with a Phone or Budget Drone
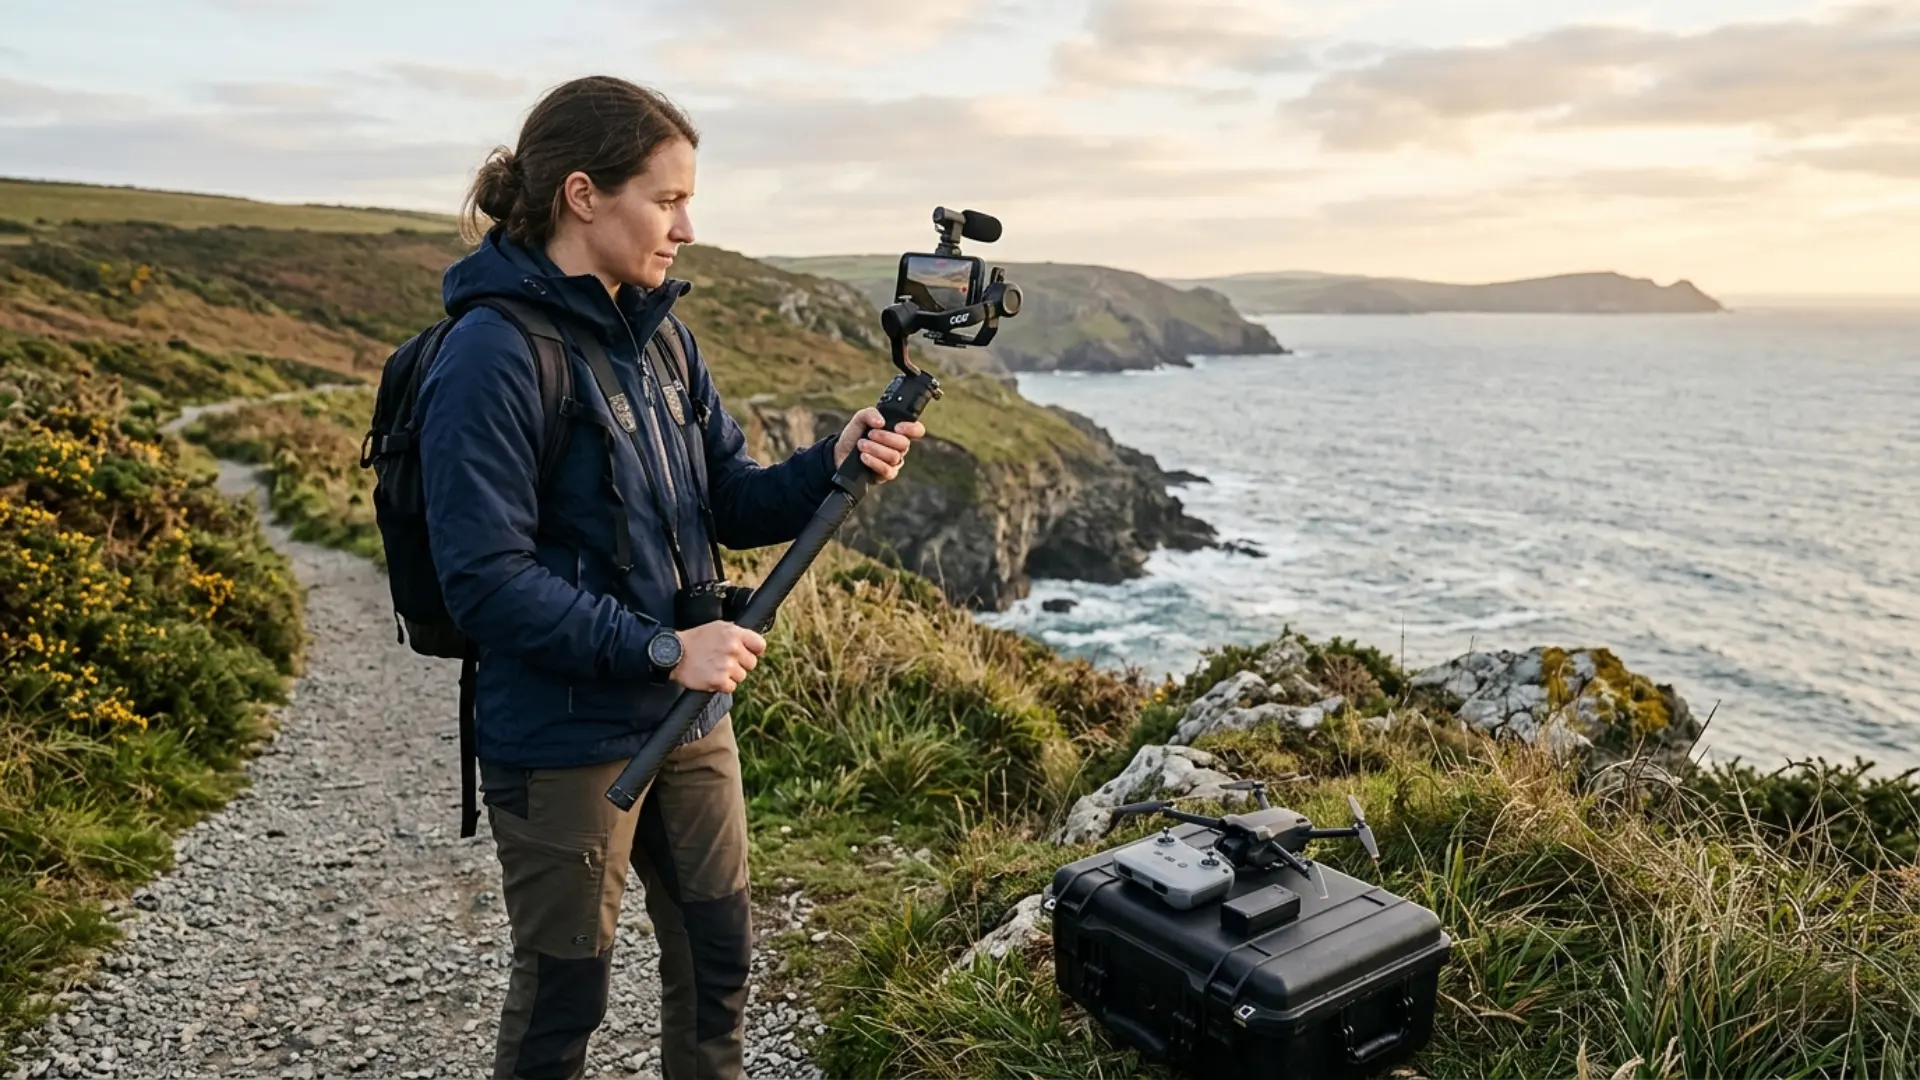
How to Shoot Cinematic Drone Footage with a Phone or Budget Drone

Quick Answer

You can create drone-like footage with a phone by making a slow, elevated camera move from a secure pole or a safe viewpoint. For genuine aerial shots beyond your reach, use a camera drone with stable footage and controls that fit your budget. Plan the movement, protect the highlights, and check the rules before you fly.

Introduction

You need an opening shot that gives your video a sense of place. The problem? Your camera bag contains a phone, not a drone, and renting one for a single shot doesn’t make much sense.

You have options. A gentle rise above a foreground object can give phone footage a drone-like feel, while a budget drone can get the wider aerial view a pole can’t. This guide walks through both, from safe setup and camera moves to settings and the edit. For the bigger picture, see our mobile filmmaking guide.

If you want to give the finished sequence a consistent film-inspired look, Film Emulation Pro offers LUTs and grain for desktop editors. It’s an optional finishing choice, not something you need to get the shot.

Can You Create Drone-Like Footage With Just a Phone?

Yes. A phone on a securely mounted pole can imitate a short crane rise, an elevated tracking shot, or a reveal over a foreground object. It won’t give you a true high-altitude bird’s-eye view, and the camera can only travel as far as you can safely carry the rig.

Think of it as an aerial-style shot rather than a substitute for every drone move. A reveal above a low fence can work beautifully in a travel edit; a sweeping view across an entire valley needs a different vantage point.

Phone and poleBudget camera drone
Best forShort elevated reveals, overhead details, close trackingWider establishing shots and genuine aerial viewpoints
Starting costA phone you own, plus a secure mount and compatible poleDrone, controller if needed, storage, and possible spare batteries
MovementLimited by your reach and clear walking pathControlled flight within the aircraft's capabilities and local rules
Main limitationHeight, reach, pole sway, and walking bounceWind, battery life, airspace, and available camera controls
SafetySecure the rig; avoid overhead wires, edges, and peopleCheck airspace, weather, aircraft, and local rules before takeoff

What Equipment Do You Need for a Safe Phone Setup?

Start with a phone, a clamp designed to hold it securely, and a pole rated for the combined weight of everything attached. A Bluetooth remote or a recording delay can help you start without reaching up to the phone. A gimbal is optional: use one only if its manufacturer supports the mounting arrangement and the pole can carry it safely.

Before extending the rig, check every connection and test it low to the ground. Work away from overhead power lines, traffic, crowds, and fragile objects. Keep both feet on stable ground, and don’t extend the setup over people or lean out from a roof or railing.

A shorter pole is easier to control and often enough to clear the foreground. If you already have a stabilizer, our guide to phone gimbal techniques covers balancing and walking technique. For other gear options, see mobile filmmaking accessories.
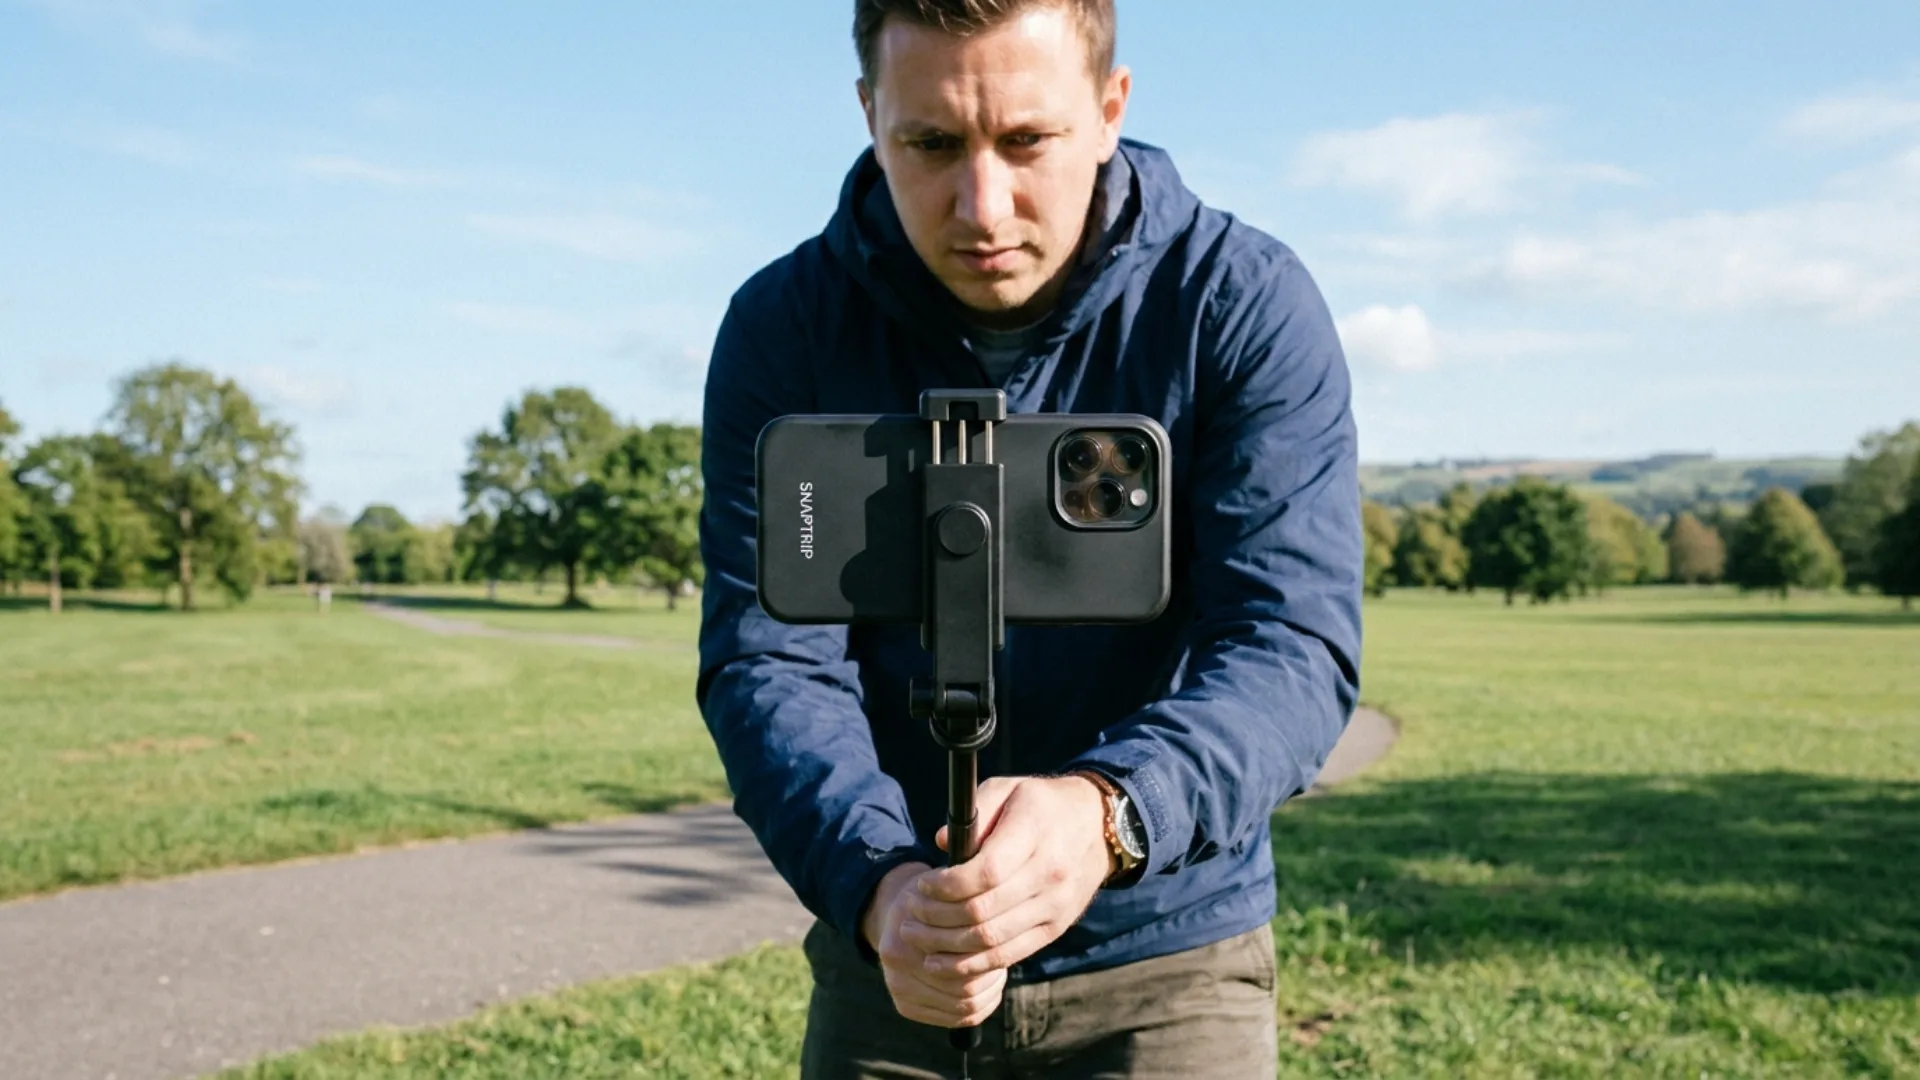
Testing a secure smartphone clamp and pole before filming a fake drone shot
Check the phone mount at a manageable height before extending the pole.

How Do You Film a Convincing Fake Drone Reveal?

A rise-and-reveal works because the foreground hides part of the scene at the start. As the camera moves upward, the viewer sees what was behind it.

  1. Choose a low foreground. A hedge, wall, or railing can frame the shot. Stay on the safe side with room to move.
  2. Set the phone’s view. Use a wide lens if it suits the scene, clean it, and frame a subject beyond the foreground. Lock focus and exposure if your camera app allows it.
  3. Start low. Hold the pole at a manageable angle. Record a moment before you move so you have room to cut.
  4. Raise it slowly. Lift in one controlled motion. If the angled pole makes the camera drift backward, take a small, safe step forward as you raise it. The 4K Shooters phone-rig walkthrough explains this adjustment.
  5. Finish with a hold. Let the movement settle, then keep recording briefly. Review the clip for bounce and repeat at a slower pace if needed.

Try the move with a bench in the foreground and a distant building as your subject. You don’t need to clear the entire bench: a partial reveal gives the edit a point of interest.

Which Aerial-Style Movements Can You Make Without Flying?

Choose one movement per take and give it a clear start and finish. These four are a useful starting kit:

ShotHow to make itWorks well forWatch out for
Rising revealRaise a secure pole from behind a low foreground objectIntroducing a locationPole sway and backward camera drift
Elevated trackingHold the rig at a fixed height and move slowly sidewaysFollowing a path or revealing a sceneUneven footing and steps that bounce
Push-inWalk forward slowly with the camera pointed at a subjectBringing attention to a doorway or landmarkMoving too fast or drifting off your path
Top-down detailPoint the phone downward from a secure, reachable positionPatterns, food, objects, or a small setupReaching over an edge or another person
For a parallax variation, move sideways with a nearby object on one side of the frame and a distant subject beyond it. The foreground will shift across the frame faster, giving a flat view more depth. Keep plenty of clearance rather than trying to squeeze the rig through a gap.

What Should You Look for in a Drone Under $400?

Look for stable video, predictable controls, and the features you will actually use before comparing resolution numbers. A low price is less helpful if the camera shakes, the battery has no replacement, or the controller you need costs extra.
FeatureWhat to checkWhy it matters
StabilizationMechanical gimbal, electronic stabilization, or bothDetermines how the aircraft handles rotation and vibration in the image
Camera controlsAvailable frame rates, exposure, white balance, and camera tiltGives you options for matching clips and controlling changing light
ControllerWhat's included, compatible phones, and control methodA basic aircraft-only price may not include the control setup you want
Flight safetyRated wind limits, positioning system, return-to-home behavior, and sensorsCapability differs by model; sensors are not a guarantee against collision
Kit costAircraft, controller, memory card, batteries, and chargerThe full kit may exceed the advertised starting price
SupportLocal availability, warranty, spare parts, and app supportMakes a used or discounted aircraft easier to maintain
A drone with a three-axis gimbal and one with electronic stabilization can both produce useful footage, but they won’t behave identically. Compare their actual sample footage, camera movement, and supported controls before buying. For example, the DJI Mini 4K specifications list a three-axis mechanical gimbal; the DJI Neo specifications list a single-axis tilt gimbal with electronic stabilization options. These are examples of different designs, not a claim that either is currently available under your budget in your region.

Prices, bundles, and availability change, especially between the US and Europe. Check the total in your local store before deciding. If a second battery pushes a kit past $400, a single battery and a shorter shot list may be the more useful starting point.

Is a Phone-Controlled or Controller-Equipped Drone Better for Cinematic Moves?

A phone-controlled aircraft can be convenient for short, simple shots. A dedicated controller gives you physical sticks, which many pilots find easier to adjust gradually when combining flight and camera movement. Neither control method makes a shot smooth by itself.

Check whether the aircraft supports manual directional control through a phone, whether the controller is included, and which automated moves it offers. If you want a slow lateral slide, make sure your chosen control setup can actually perform it. Practice in an open, permitted area before trying to film around obstacles.

How Do You Film Smooth Cinematic Shots With a Budget Drone?

Start with a clear composition and one gentle movement. Smooth flying makes the camera easier to edit; a subject and a reason for the move make the shot worth keeping.

How Do You Plan the Shot Before Takeoff?

Pick the story beat first. For a travel film, that might be revealing the trailhead before cutting to boots on the path. For a property video, it might be showing the building’s position in its surroundings, with permission to film.

Before every flight:

  1. Check local airspace, location rules, privacy, and any required authorization.
  2. Scout the area for wires, trees, buildings, people, and possible emergency landing spots. Keep a clear buffer around obstacles.
  3. Check the weather and the aircraft’s limits. If wind makes the drone hard to control, land and try another time.
  4. Inspect propellers, battery, storage, and controller. Confirm your return-to-home settings using the manufacturer’s instructions.
  5. Plan the start and end of each move, keep the drone in sight, and leave enough battery to return and land safely.

Beginners should practice basic hovering and single-direction movements in a clear, permitted space before adding camera tilts. A spotter can help you watch the surroundings, but the pilot remains responsible for the flight.

Which Beginner Drone Moves Create the Most Useful Footage?

MoveHow to fly itWhat it adds
Slow pushStart facing the subject and move forward gently at a steady heightDraws attention toward the subject
Pull-away revealStart with the subject framed, then move backward into a clear, checked pathShows the subject in context
Lateral slideFly sideways at a steady speed, keeping the camera angle fixedAdds depth as foreground and background shift
Rising revealClimb gradually while the camera faces the sceneIntroduces what lies beyond a low foreground
Top-down travelPoint the camera down and move slowly over a clear areaTurns paths, fields, or architecture into graphic shapes
For the first attempt, keep the gimbal angle fixed and fly in one direction. Once that feels comfortable, try a slow tilt as a separate move. Check the full path before a backward shot: the camera view may not show what is behind the aircraft.

Keep the subject visible long enough to cut into the next shot. A wide reveal, a medium view, and a phone-shot detail of the same location can make a sequence feel more intentional than several unrelated aerial clips. For a broader discussion of framing and camera movement, see our drone filmmaking techniques and color grading guide.
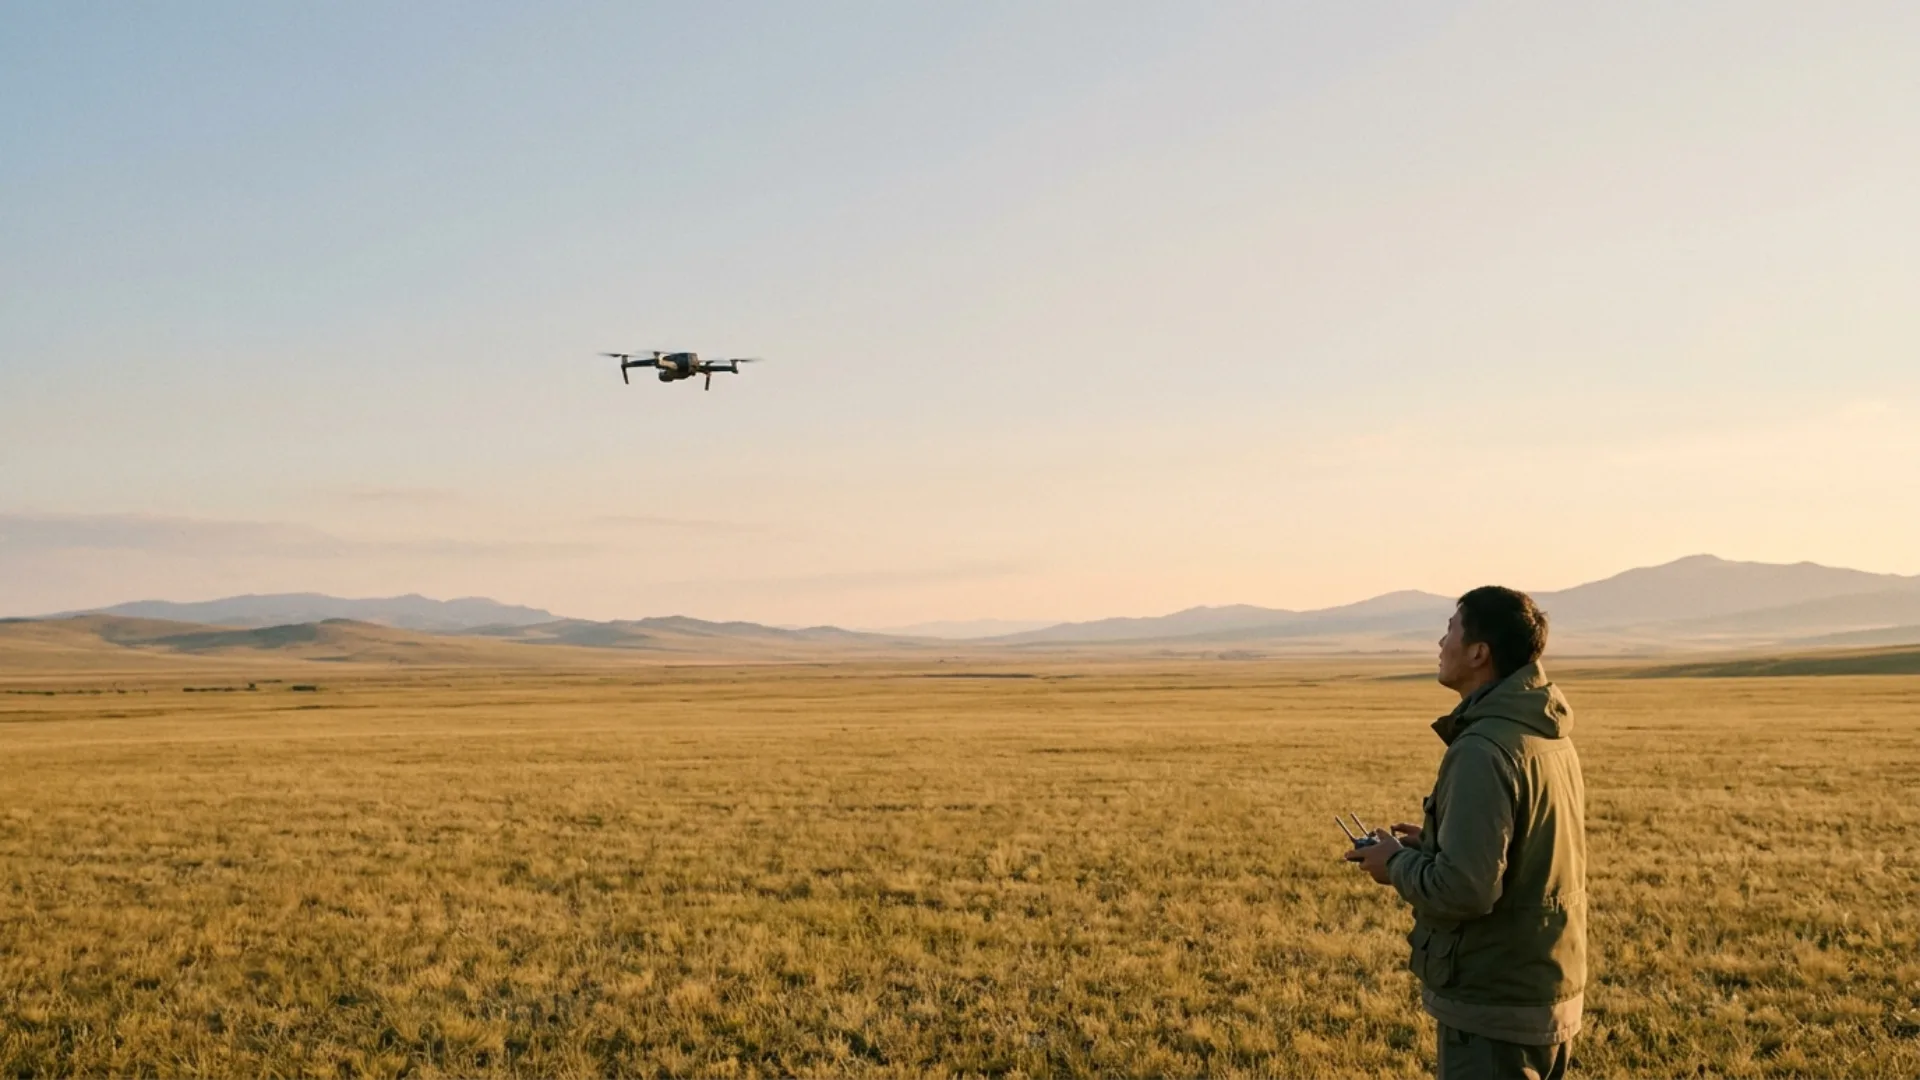
Beginner filming a slow drone movement in an open field
An open, permitted area gives beginners room to practice slow drone movements.

Why Does Drone Footage Look Shaky or Jittery?

First, work out whether the problem is in the original recording or only in playback. Then change one thing at a time.

What you seePossible causeWhat to try
Sudden changes in directionAbrupt stick or gimbal inputsSlow down; use a lower sensitivity or cine mode if available
Wobble or driftingGusts, vibration, or an unstable aircraftLand, inspect the aircraft, and wait for calmer conditions
Uneven motion on playbackFrame-rate or timeline mismatch, fast pans, or device playbackCheck clip and timeline rates; view the original file on another capable device
Brightness or color shifting mid-shotAutomatic exposure or white balance reacting to the sceneLock settings when supported, or reframe to reduce abrupt changes
Warped edges after editingToo much digital stabilizationReduce stabilization strength or choose a steadier take
If the original file has recording errors, check that the memory card meets the manufacturer’s requirements. Software stabilization can help a small shake, but it crops the image and may bend straight lines. It can’t restore a shot that was never safely under control.

What Camera Settings Make Phone and Drone Footage Look Cinematic?

Start with a frame rate that suits your final video, protect the bright parts of the image, and keep settings consistent between takes. Your phone and drone may offer different controls, so use the options each device actually provides.
SettingPractical starting pointIf manual control isn't available
ResolutionUse 4K when supported and storage allows; 1080p is fine for a 1080p deliveryChoose the highest useful stable recording mode
Frame rateUse 24, 25, or 30 fps for regular-speed footage; match your project where practicalPick one available rate and keep it consistent
Shutter speedAround 1/50 at 24 or 25 fps, or 1/60 at 30 fps, is a motion-blur starting pointLet the camera choose; prioritize correct exposure and controlled movement
ISO and exposureKeep ISO as low as practical while retaining a usable exposure; protect important highlightsTap or adjust exposure compensation if supported
White balanceLock it for a shot when the light is consistentUse auto, then check that color isn't changing during the move
Color profileStandard color is a sensible choice for quick edits or limited grading latitudeUse the normal profile supplied by the camera
The 180-degree shutter guideline suggests a shutter duration of roughly 1 divided by twice the capture frame rate. For example, that’s about 1/60 of a second at 30 fps. It’s a useful starting point, not a rule that makes every clip cinematic. In bright light, an ND filter can reduce the light reaching the camera if you want that slower shutter. Without one, use automatic exposure or a faster shutter and move carefully; the footage may have a crisper motion look.

For slow motion, record at a higher frame rate if your camera supports it, then conform or interpret the clip to your timeline rate in the editor. For example, 60 fps footage played at 30 fps runs at 50% speed; played at 24 fps, it runs at 40% speed. Simply placing a 60 fps clip on a lower-rate timeline does not automatically slow it down.

A flat or log profile can give you a different grading workflow, but it’s not automatically the best option on every phone or drone. Check the device’s recording format and use the correct conversion when needed. For phone-specific controls, see our cinematic iPhone video settings.

Where Can You Safely and Legally Fly in the US and Europe?

Rules depend on where you fly, the aircraft, and the purpose of the flight. A drone below 250 grams is not a universal permission slip. Check the official guidance and the local airspace for your exact location before every takeoff.
LocationStarting pointCheck before flying
United StatesFAA recreational flyer guidance and registration rulesWhether the flight qualifies as recreational; TRUST, registration, Remote ID, airspace authorization, and local restrictions
EU / EASA countriesEASA open-category guidanceDrone class, operator registration, training, national geographic zones, and local restrictions
United KingdomCAA Drone Code requirementsFlyer and operator ID requirements for your aircraft, plus local airspace and location rules
In the US, recreational flyers must take the FAA’s TRUST test and carry proof. The FAA’s registration exception for aircraft under 250 grams applies to qualifying recreational operations; Part 107 operations have different requirements. Client or other non-recreational work may require a Part 107 remote pilot certificate. Controlled airspace requires prior authorization, and recreational flights in uncontrolled airspace generally must stay at or below 400 feet.

In EASA’s open category, operator registration can be required even for a sub-250-gram camera drone if it is not a toy. EU countries also designate geographic zones and may impose local restrictions. The UK has its own CAA rules, so check its current weight, camera, and ID requirements rather than assuming the EU rules are identical.

Wherever you fly, maintain the required visual line of sight, give way to other aircraft, respect people’s privacy, and check whether the location permits takeoff and landing. Don’t fly over crowds. Even when an operation may be permitted near people, choose a clear area for practice.

A phone pole has a different risk profile: drone airspace rules don’t automatically apply to a handheld camera, but site permissions and privacy still matter. Keep the pole well clear of power lines and never hold it over people.

How Do You Edit Phone and Drone Clips Into One Cinematic Sequence?

Build the sequence around a subject, then match the clips closely enough that the cut feels deliberate. You can do this in a mobile editor or move the files to a desktop timeline.

  1. Choose the clean takes. Watch the original files and select the clips with a clear subject and a steady start and finish.
  2. Set the timeline. Pick the frame rate and aspect ratio for your delivery. Interpret high-frame-rate clips as slow motion only when that’s the intended effect.
  3. Cut for a reason. Try a wide reveal, a closer phone shot, and a detail. Cut when the movement or subject directs the viewer’s eye toward the next frame.
  4. Stabilize lightly. Apply stabilization only where needed, then check edges, crop, and any visible warping.
  5. Match the images. Balance exposure and white balance first. Adjust contrast and saturation gently so a phone clip doesn’t look like it came from a different afternoon than the drone shot.
  6. Export and review. Use the resolution and frame rate your delivery platform needs, then watch the exported file on a second screen if possible.

Our mobile video editing apps comparison can help you choose an editor, while the mobile color grading guide goes deeper into matching color.

If a transition needs a little warmth, Real Light Leaks provides recorded light-leak overlays. Try one briefly between clips rather than covering every shot, and check that your editor can import the supplied files and blend them as intended.
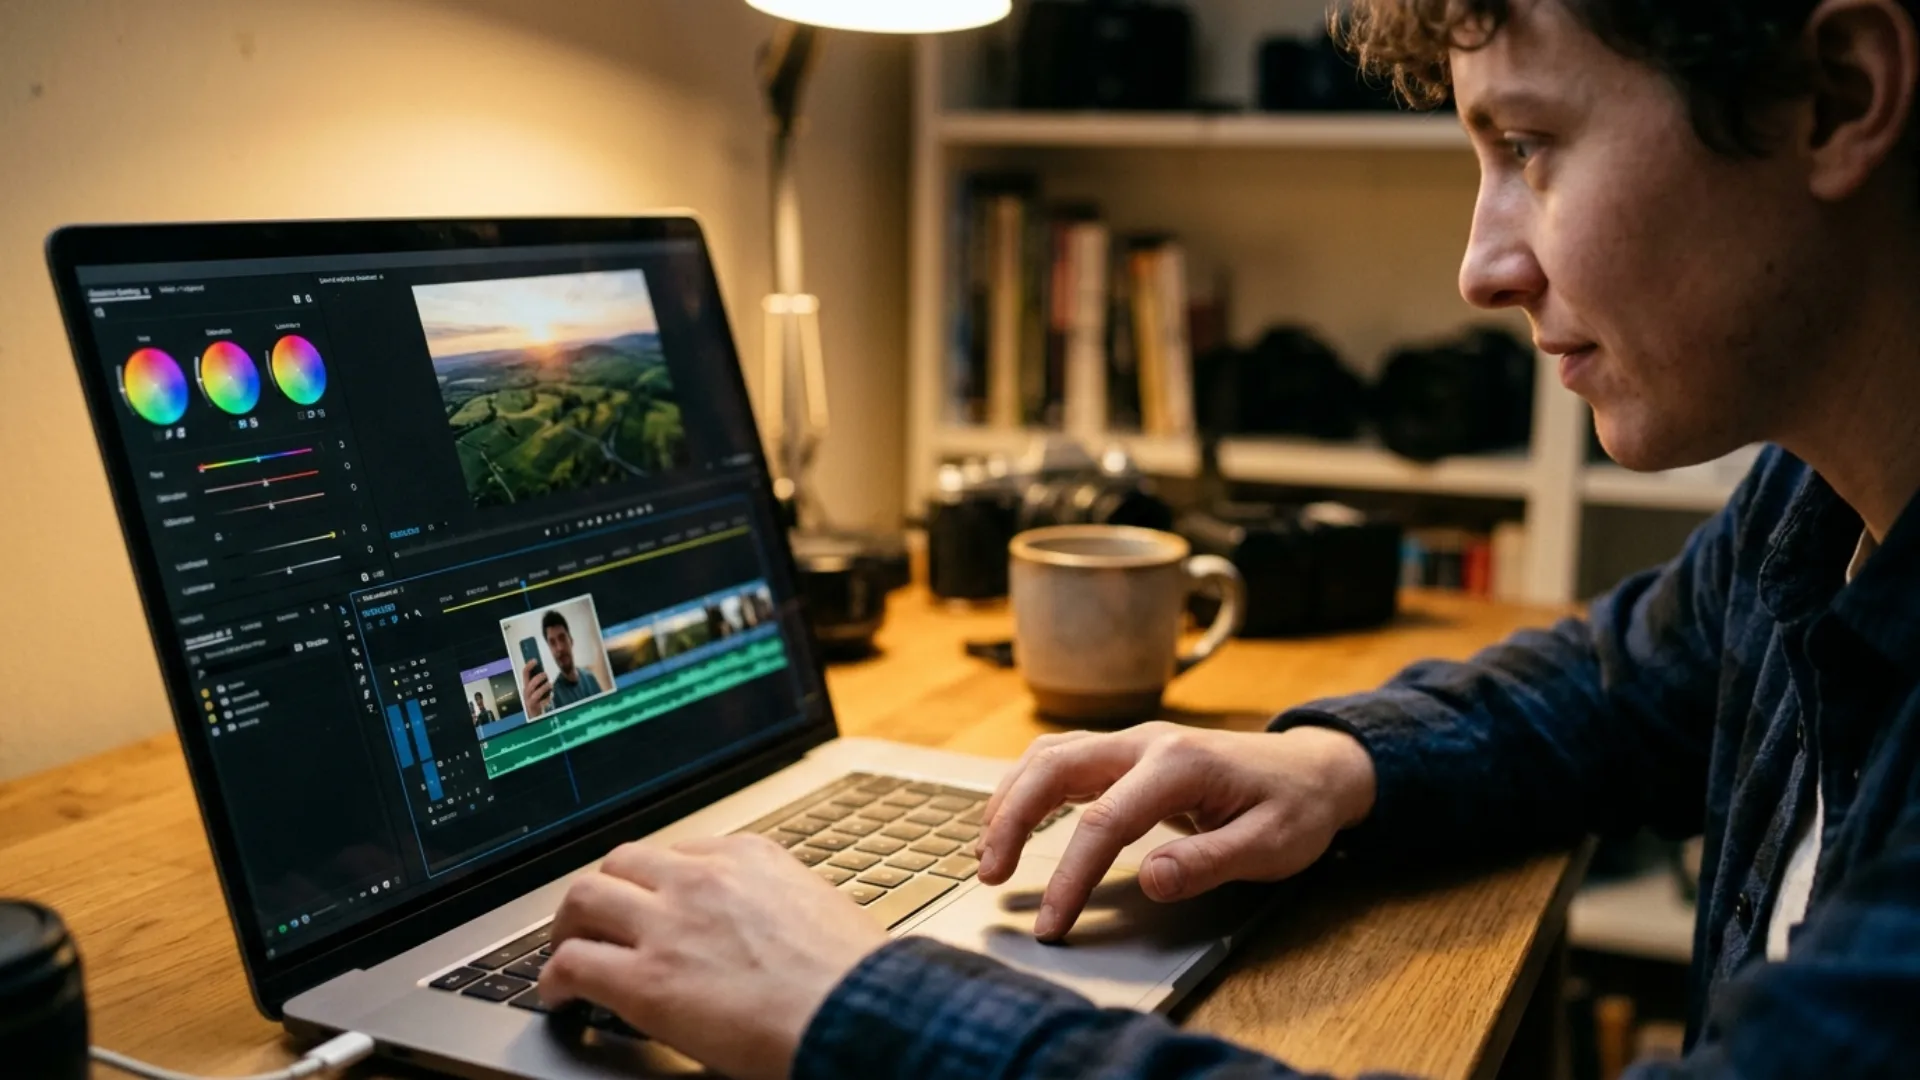
Editing and matching phone and drone footage on a video timeline
Match exposure and color to bring phone and drone clips together in the edit.

Conclusion

Pick a location you can film safely and try one reveal. Shoot it with the gear you have, then see how it works beside a close-up from the same scene. The first version doesn’t have to be perfect; it just has to give you something to learn from.

When you’re ready to connect shots in the edit, Luminous Light Leak Transitions offers pre-rendered MP4 transitions for an optional creative accent. Use them where they fit the scene, or keep the cut clean if it works better.

Wrap Up

  • A phone on a secure pole can make a convincing low-height reveal, but it cannot replace a true aerial viewpoint.
  • For a drone under $400, compare stabilization, controls, battery and controller costs, not just the listed resolution.
  • Practice one slow move at a time, and troubleshoot the original footage before adding heavy stabilization.
  • Match capture and timeline settings to the intended speed; 60 fps becomes 50% speed when played at 30 fps.
  • Check the FAA, EASA, or UK CAA guidance and local restrictions for each flight. Keep phone rigs away from power lines, edges, and people.

Disclaimer : If you buy something through our links, we may earn an affiliate commission or have a sponsored relationship with the brand, at no cost to you. We recommend only products we genuinely like. Thank you so much.

Blog Label:

Write for us

Publish a Guest Post on Pixflow

Pixflow welcomes guest posts from brands, agencies, and fellow creators who want to contribute genuinely useful content.

Fill the Form ✏

Frequently Asked Questions

A phone can imitate short crane-like rises and elevated tracking moves. It cannot reach a drone's height or travel freely through the air. Choose a safe viewpoint or a drone when the story needs a genuinely wide aerial perspective.
No. A secure mount, steady movement, and good light are enough to start. A gimbal can smooth rotation, while an ND filter can help control exposure at a slower shutter speed. Both are optional and need to fit your equipment and conditions.
No. Weight alone doesn't remove airspace, safety, or privacy restrictions. Registration also depends on the jurisdiction and operation: for example, the US recreational exception differs from EU operator registration requirements for many camera-equipped drones. Check your aviation authority before flying.
The cause could be a fast pan, mismatched frame rates, playback performance, vibration, or recording trouble. Compare the original clip on another device, check your timeline settings, and inspect the aircraft before making another flight.
Not always. Use 60 fps when you want the option to slow the clip down, if your camera supports it. For regular-speed footage, 24, 25, or 30 fps may fit your project better. Resolution, light, and available recording modes can also affect your choice.