Premiere Pro Audio Effects: Essential Plugins and Presets for Better Sound
- Why Audio Quality Matters More Than You Think
- Premiere Pro's Built-In Audio Effects: Your First Toolkit
- Audio Presets: The Fastest Way to Better Sound
- The Best Third-Party Audio Plugins for Premiere Pro
- A Simple Audio Cleanup Workflow, Step by Step
- Built-In vs Presets vs Plugins: What Should You Use?
- Common Audio Mistakes to Avoid
- Final Thoughts
This guide breaks down the audio effects that actually matter in Premiere Pro, the presets that save you hours, and the third-party plugins worth installing. Whether you are a beginner cleaning up your first vlog or a seasoned editor refining client dialogue, you will find a practical, no-fluff workflow you can use today.
Why Audio Quality Matters More Than You Think
Three problems sink most amateur audio:
- Background noise: hiss, air conditioning hum, traffic, and computer fans.
- Room tone and echo: hollow, boomy dialogue recorded in untreated spaces.
- Inconsistent levels: whisper-quiet dialogue followed by blaring music.
Every effect, preset, and plugin in this article exists to solve one of those three problems, or to add creative polish on top once the basics are clean. And remember: effects can only do so much. The cleaner your recording is at the source, the less rescuing you will need later, which is why your microphone choice matters as much as your software.
Premiere Pro’s Built-In Audio Effects: Your First Toolkit
The Essential Sound Panel
The Essential Sound panel (Window > Essential Sound) is the fastest way to improve audio in Premiere, and it is built for editors, not audio engineers. Select a clip, then tag it as one of four types:
- Dialogue: for voice and spoken word
- Music: for soundtrack and score
- SFX: for sound effects
- Ambience: for room tone and backgrounds
Once tagged, you get simple, slider-based controls tailored to that audio type, such as loudness matching, noise and reverb reduction, EQ presets, and dynamics. Behind those friendly sliders, Premiere is applying professional-grade processing. For most talking-head, vlog, and interview content, the Dialogue settings alone will get you 80 percent of the way there. You can read Adobe’s official overview of the Essential Sound panel for a feature-by-feature breakdown.
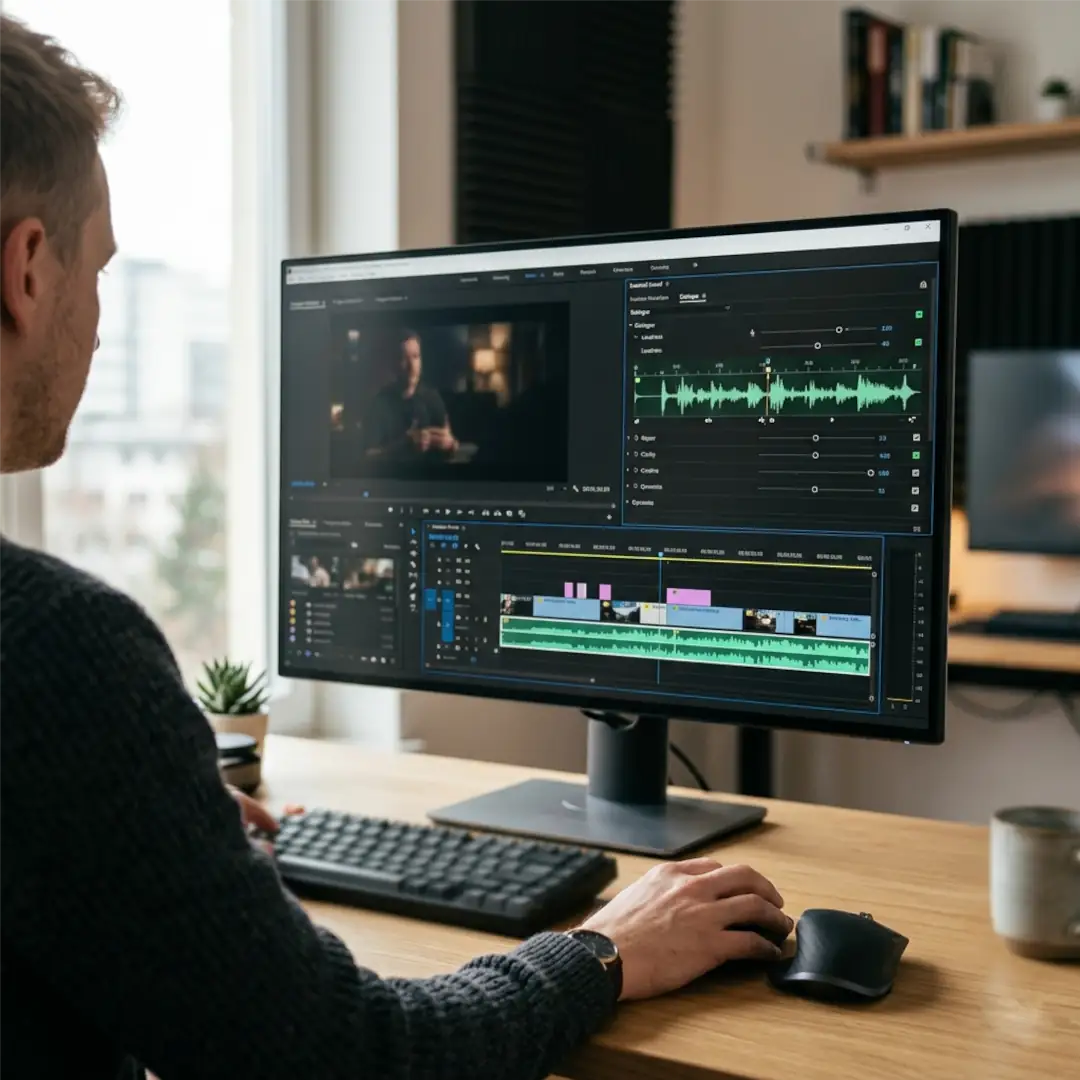
Enhance Speech: One-Click AI Dialogue Cleanup
If you only learn one modern Premiere audio feature, make it Enhance Speech. Found inside the Essential Sound panel when a clip is tagged as Dialogue, this AI-powered tool strips out background noise and room echo and makes voices sound like they were recorded in a treated studio, often with a single click.
A few pro tips:
- Use the Mix Amount slider. Pushing Enhance Speech to 100 percent can sound artificial or robotic. Dialing it back to 60 to 80 percent usually keeps the voice natural while still removing noise.
- It works best on dialogue, not music or layered SFX.
- The same engine is available for free online through Adobe Podcast Enhance Speech if you want to process audio outside Premiere.
Enhance Speech has genuinely reduced the need for paid repair plugins for everyday creators. For heavy, professional restoration work, dedicated tools still win, but for most YouTube and social content, this is a game changer.
The Audio Effects Library
Beyond the Essential Sound panel, Premiere’s full Audio Effects library (in the Effects panel) gives you granular, manual control. Adobe organizes these into clear categories:
- Amplitude and Compression: volume and dynamic range (Dynamics, Hard Limiter, Multiband Compressor)
- Filter and EQ: shape frequencies (Parametric Equalizer, Notch Filter)
- Noise Reduction and Restoration: clean up problems (DeNoise, DeReverb, DeHum)
- Reverb: add space (Studio Reverb)
- Delay and Echo, Modulation, Stereo Imagery, and Special: creative shaping
The effects you will reach for most often:
- Parametric Equalizer: cut low-end rumble (a high-pass filter around 80 to 100 Hz) and add presence to voices. Learning EQ is one of the highest-return skills in audio, and we cover it in depth in our guide to sound mixing basics for video editors.
- DeNoise: reduce constant background noise like hiss and hum.
- DeReverb: tame echo from untreated rooms. If your dialogue sounds hollow or boomy, this is your fix. We have a full walkthrough on how to fix echo and hollow dialogue in Premiere Pro.
- Dynamics and Hard Limiter: even out volume so loud and quiet moments sit closer together, then catch peaks so nothing clips.
- Studio Reverb: add a touch of space to dry voiceover so it does not feel flat.
Audio Presets: The Fastest Way to Better Sound
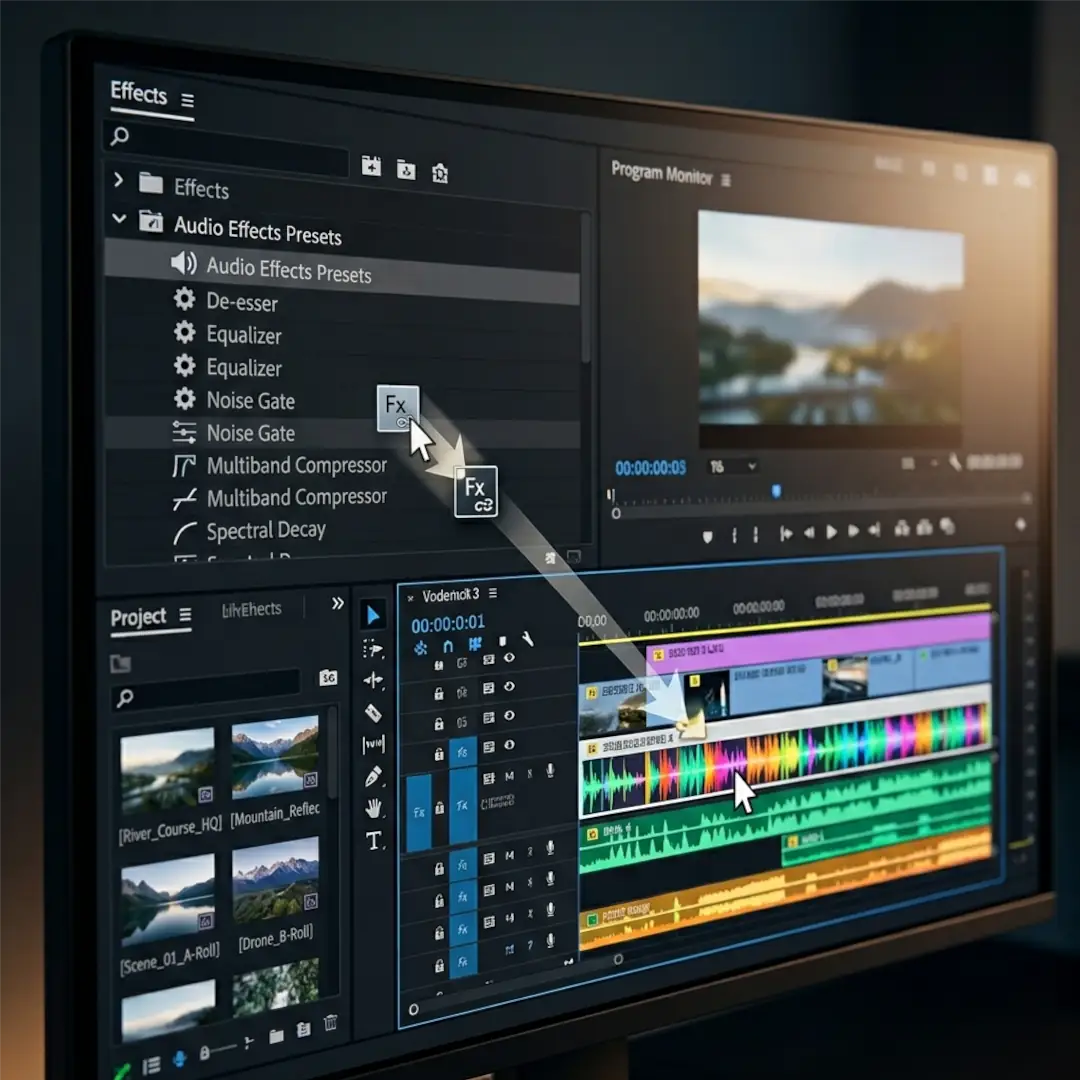
Premiere’s Built-In Presets
Premiere ships with audio effect presets you can find in the Effects panel under Audio Effects > Presets. They are a decent starting point for cleanup and de-essing, and they show you how effect stacks are built.
Free Preset Packs Worth Downloading
The creator community has produced excellent free presets that go well beyond the defaults:
- Essential Audio Presets (Cut to the Point): a popular, pay-what-you-want pack of fast, customizable audio presets for denoising, EQ, compression, and leaving room for voice in music beds. Grab it on Gumroad. One caveat to know: Premiere does not let you apply presets directly in the Audio Track Mixer, so these are applied at the clip level.
- Free Enhance Speech and dialogue preset stacks shared by editors across YouTube, which chain Premiere’s native effects into one-click voice chains.
How to Install a Preset
Installing presets takes seconds:
- In the Effects panel, click the hamburger (menu) icon in the top-right corner.
- Choose Import Presets.
- Browse to the downloaded .prfpset file and confirm.
The preset now lives under Audio Effects > Presets, ready to drag onto any clip.
Build Your Own Signature Preset
Once you find a chain that works for your voice or your channel, save it. Select the clip with your effect stack, right-click the effects in the Effect Controls panel, and choose Save Preset. Name it something obvious like Voice Chain v1. From then on, your signature sound is one drag away on every project.
The Best Third-Party Audio Plugins for Premiere Pro
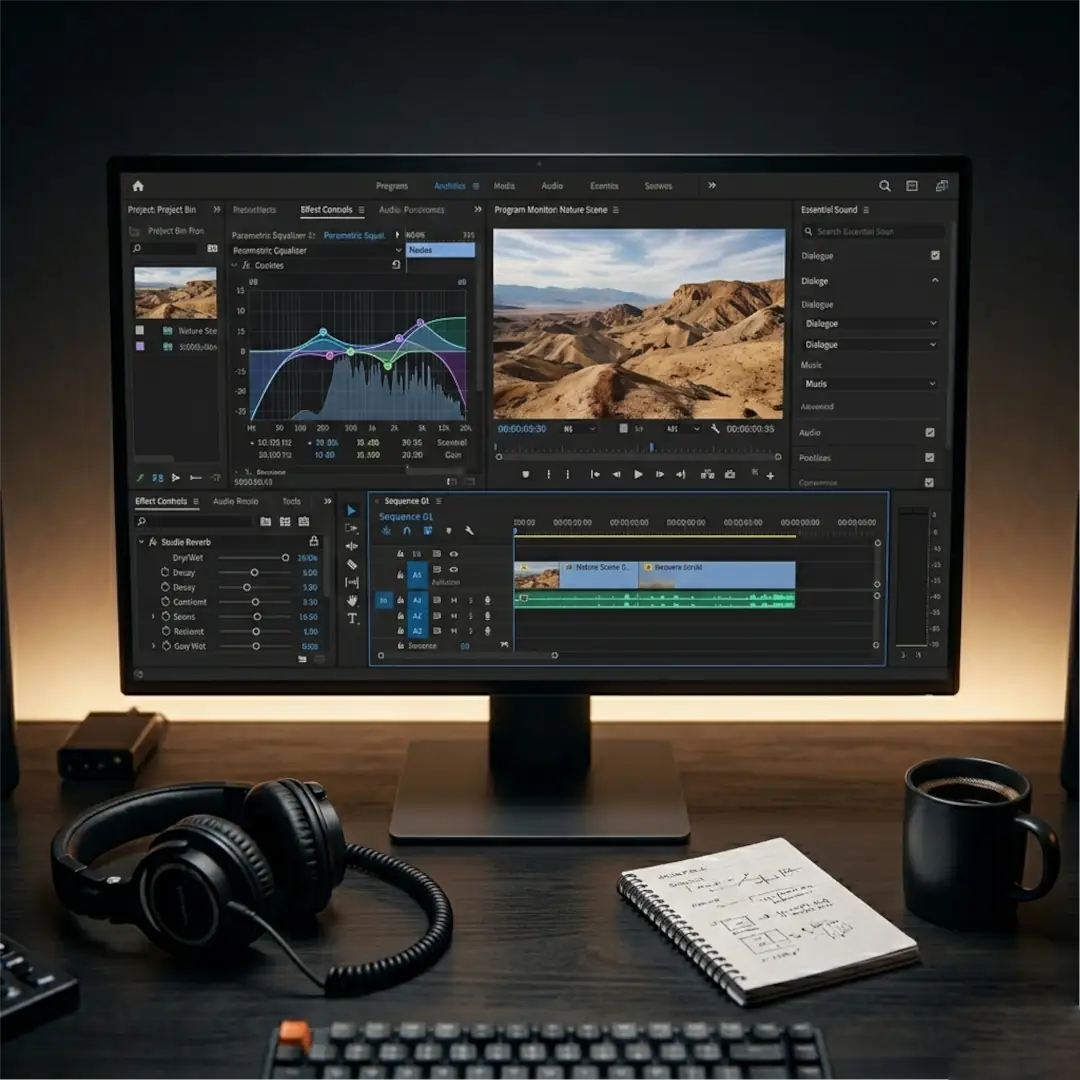
Best Free Plugins
- TDR Nova (Tokyo Dawn Labs): a professional-grade dynamic EQ, completely free. It is far more capable than Premiere’s stock EQ for surgically cleaning up problem frequencies in dialogue and music.
- Valhalla Supermassive: a free, lush reverb and delay plugin that is incredible for ambient and cinematic sound design.
- iZotope Vinyl: a free effect that adds authentic vinyl, age, and warp character, perfect for retro or lo-fi treatments.
- Premiere Composer (Mister Horse): better known for visuals, its free starter pack also includes a built-in sound effects library so you can drag SFX straight onto the timeline without hunting through folders.
- Soundly (free tier): a standalone app that integrates with Premiere and gives you thousands of free, searchable sound effects, with the option to save audio alongside your project.
Best Paid Plugins
- iZotope RX (currently RX 12): the industry standard for audio repair. Its spectral editing, dialogue isolation, and de-noise modules can rescue audio that seems unusable. It is an investment, but for editors who regularly deal with bad source audio, nothing beats it.
- Waves Clarity Vx and Clarity Vx Pro: AI-driven dialogue cleanup that isolates voices from noise and reverb with impressive, natural results. A strong, often more affordable alternative to RX for voice-focused work.
- Supertone Clear: another AI dialogue cleaner that removes noise, reverb, and room echo with just a couple of sliders while keeping voices natural. Excellent for creators who want professional results without a steep learning curve.
- FabFilter suite (Pro-Q 3 EQ, Pro-C 2 compressor, Pro-DS de-esser, Pro-R reverb): beautifully designed, precise mixing tools loved by pros. If you want to level up your mixing rather than just repair, FabFilter is a long-term favorite.
- Valhalla VintageVerb: an affordable, gorgeous reverb (around 50 dollars) for adding character and space.
A quick accuracy note for 2026: you will still see older articles and videos recommend the Accusonus ERA Bundle. Accusonus was acquired and the ERA plugins were discontinued back in 2022, so they are no longer sold or supported. If you need that kind of one-knob repair today, look to iZotope RX, Waves Clarity Vx, or Supertone Clear instead.
How to Install VST and VST3 Plugins in Premiere
Many audio plugins come in VST or VST3 format. To use them in Premiere:
- Install the plugin and note its install folder.
- In Premiere, go to Effects > Audio Plugin Manager (or Premiere Pro > Preferences > Audio).
- Click Scan for Plugins and make sure your new plugin is checked.
- Always use the VST3 version when available, then find it in the Audio Effects panel and drag it onto your clip.
If a plugin offers both mono and stereo versions, remember that a mono preset will not apply to a stereo track and vice versa.
A Simple Audio Cleanup Workflow, Step by Step
- Repair first: remove noise and echo with Enhance Speech, DeNoise, or DeReverb. Always fix problems before you sweeten.
- EQ second: high-pass to cut rumble below roughly 80 Hz, then gently shape the voice for clarity and warmth.
- Compress third: use Dynamics or a compressor to even out the performance so every word sits at a consistent level.
- De-ess if needed: tame harsh s and t sounds.
- Limit last: add a Hard Limiter on the master to catch peaks and hit your target loudness without clipping.
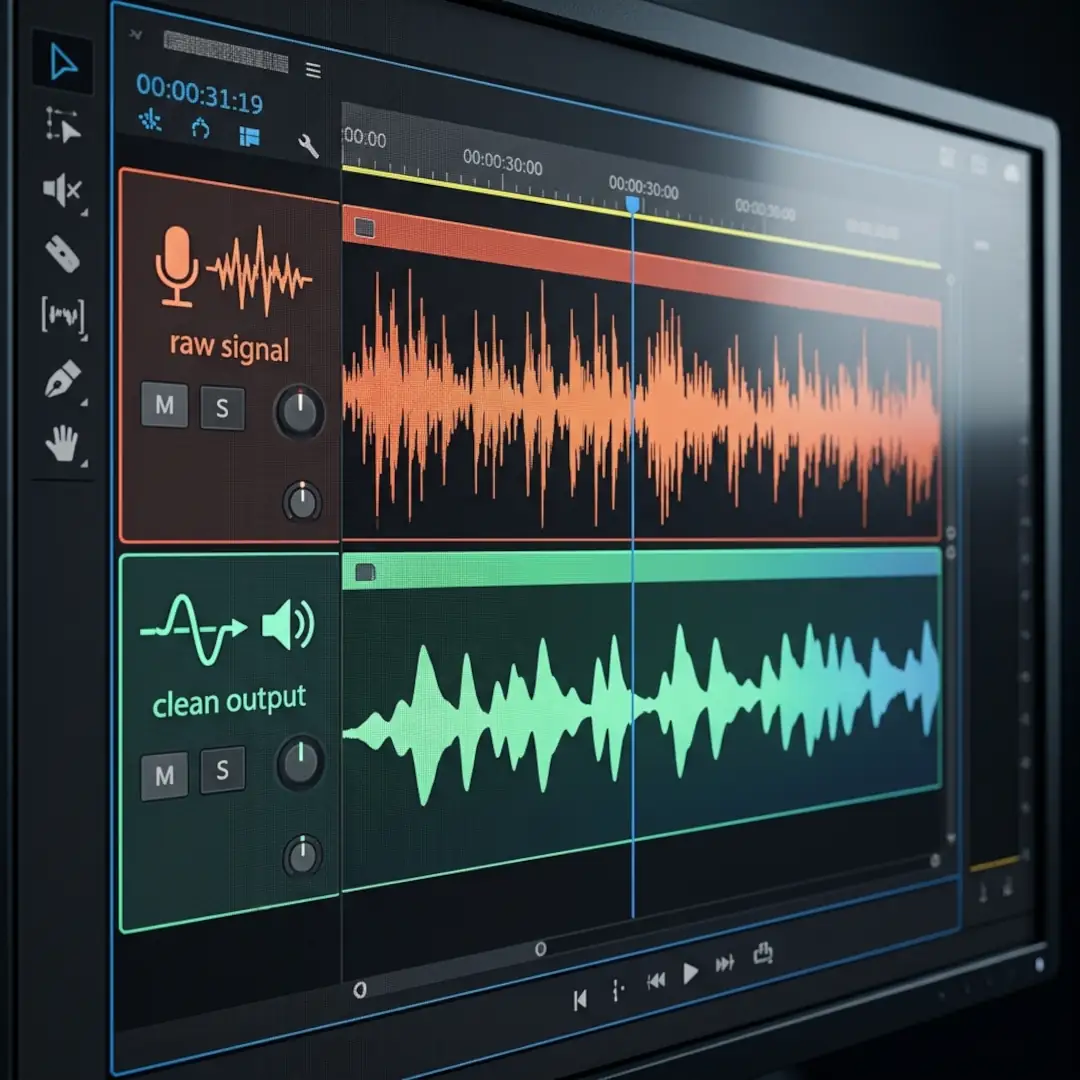
Built-In vs Presets vs Plugins: What Should You Use?
Common Audio Mistakes to Avoid
- Over-processing: pushing noise reduction or Enhance Speech too hard creates watery, robotic artifacts. Subtle is almost always better.
- Fixing instead of recording well: plugins are a safety net, not a substitute for a good mic and a quiet room.
- Ignoring levels: aim for consistent dialogue loudness (broadly around -14 LUFS for online video, or to your platform’s spec) instead of eyeballing the waveform.
- Stacking redundant effects: two compressors and three EQs fighting each other usually sounds worse than one of each done well.
- Forgetting room tone: a few seconds of clean ambience helps you fill gaps and smooth transitions.
For a deeper look at the pitfalls that separate amateur from pro sound, see our breakdown of sound design mistakes to avoid. And once your dialogue is clean, layering atmosphere with ambient sound design and sound effects layering is what gives your videos a truly cinematic feel.
Final Thoughts
Clean, clear, well-balanced sound is one of the fastest ways to make your videos feel professional. Pick one technique from this guide, apply it to your next edit, and your viewers will notice, even if they cannot say exactly why.
Disclaimer : If you buy something through our links, we may earn an affiliate commission or have a sponsored relationship with the brand, at no cost to you. We recommend only products we genuinely like. Thank you so much.
Blog Label:



Write for us
Publish a Guest Post on Pixflow
Pixflow welcomes guest posts from brands, agencies, and fellow creators who want to contribute genuinely useful content.
Fill the Form ✏