How to Use the Audio Mixer in Premiere Pro: Levels, Panning, and Effects
- What Is the Audio Track Mixer in Premiere Pro?
- Audio Track Mixer vs Audio Clip Mixer vs Essential Sound Panel
- The Interface Explained: Faders, Meters, and Track Controls
- How to Set Audio Levels Like a Pro
- How to Pan Audio in Premiere Pro
- How to Apply Effects to an Entire Track
- Automation Modes: Off, Read, Latch, Touch, and Write
- Submixes: The Adjustment Layer of Audio
- Bonus: Record Audio Straight into the Track Mixer
- Loudness Targets: Exporting for YouTube and Social
- Common Audio Track Mixer Problems (and Fixes)
- Conclusion
Here’s the thing: most editors mix audio clip by clip, nudging gain values one at a time and hoping it all balances out. This Premiere Pro audio mixer tutorial shows you a faster way. The Audio Track Mixer controls entire tracks at once, so you can set levels, pan audio, and apply effects across your whole timeline in minutes instead of hours.
In this guide, we’re covering the full panel: faders and meters, panning, the hidden effects rack, automation modes, submixes, and the loudness targets your export needs to hit for YouTube. And if your timeline needs richer sound to mix in the first place, Pixflow’s sound effects library gives you thousands of production-ready SFX to build with.
What Is the Audio Track Mixer in Premiere Pro?
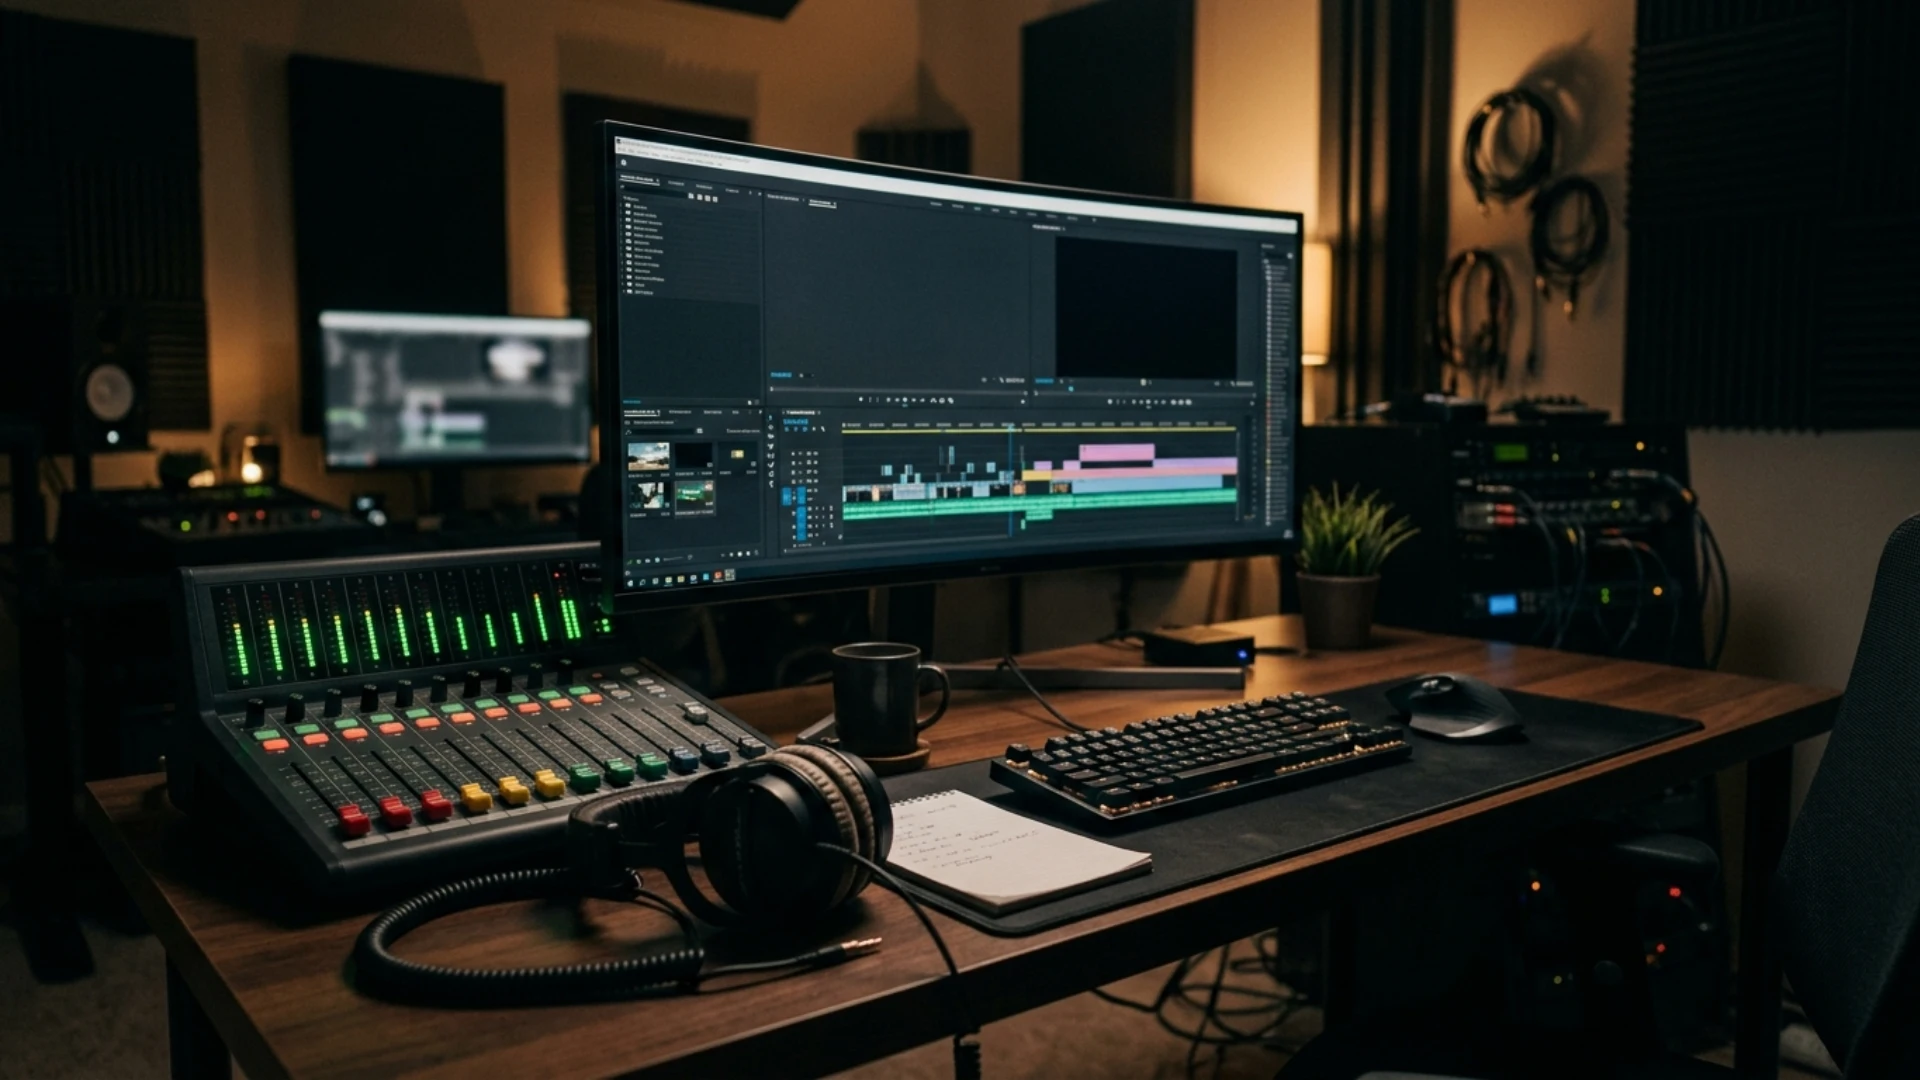
To open it, go to Window, then Audio Track Mixer. Or simply switch to the Audio workspace from the workspaces bar, and Premiere lays everything out for you.
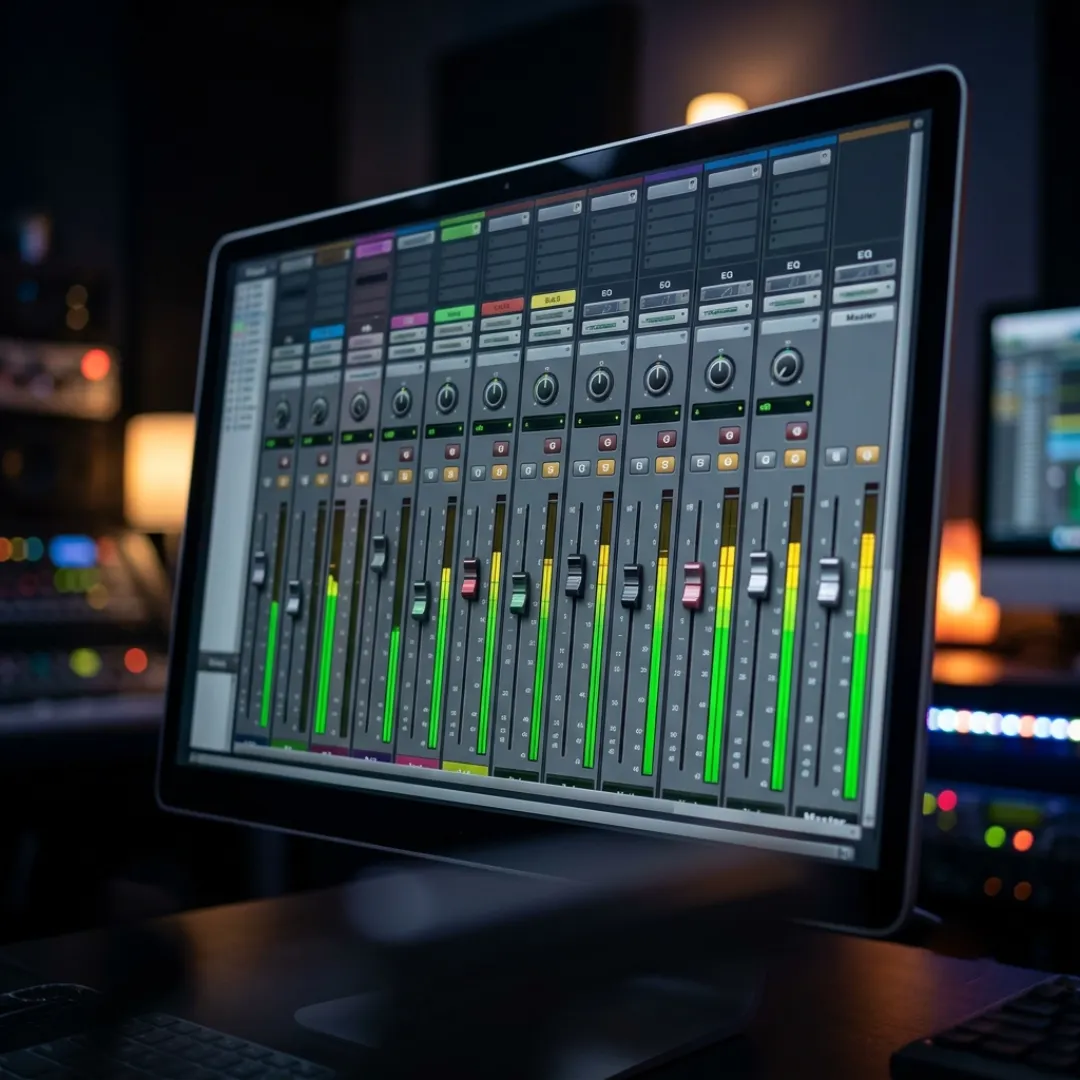
Inside the panel, you’ll see one vertical column for each audio track in your sequence, plus a Master column on the right. Add a track to your timeline and a new column appears instantly. The mapping is always 1:1.
One small habit that pays off fast: rename your tracks. Click the track name at the bottom of each column and type something meaningful, like Dialogue, Music, or SFX. The name updates in your timeline too, so you always know exactly which fader you’re grabbing when the mix gets busy.
Audio Track Mixer vs Audio Clip Mixer vs Essential Sound Panel
The two mixers aren’t rivals, by the way. Track adjustments and clip adjustments stack on top of each other, and the combination produces your final mix. Set your broad strokes at the track level, then fine-tune individual clips.
The Interface Explained: Faders, Meters, and Track Controls
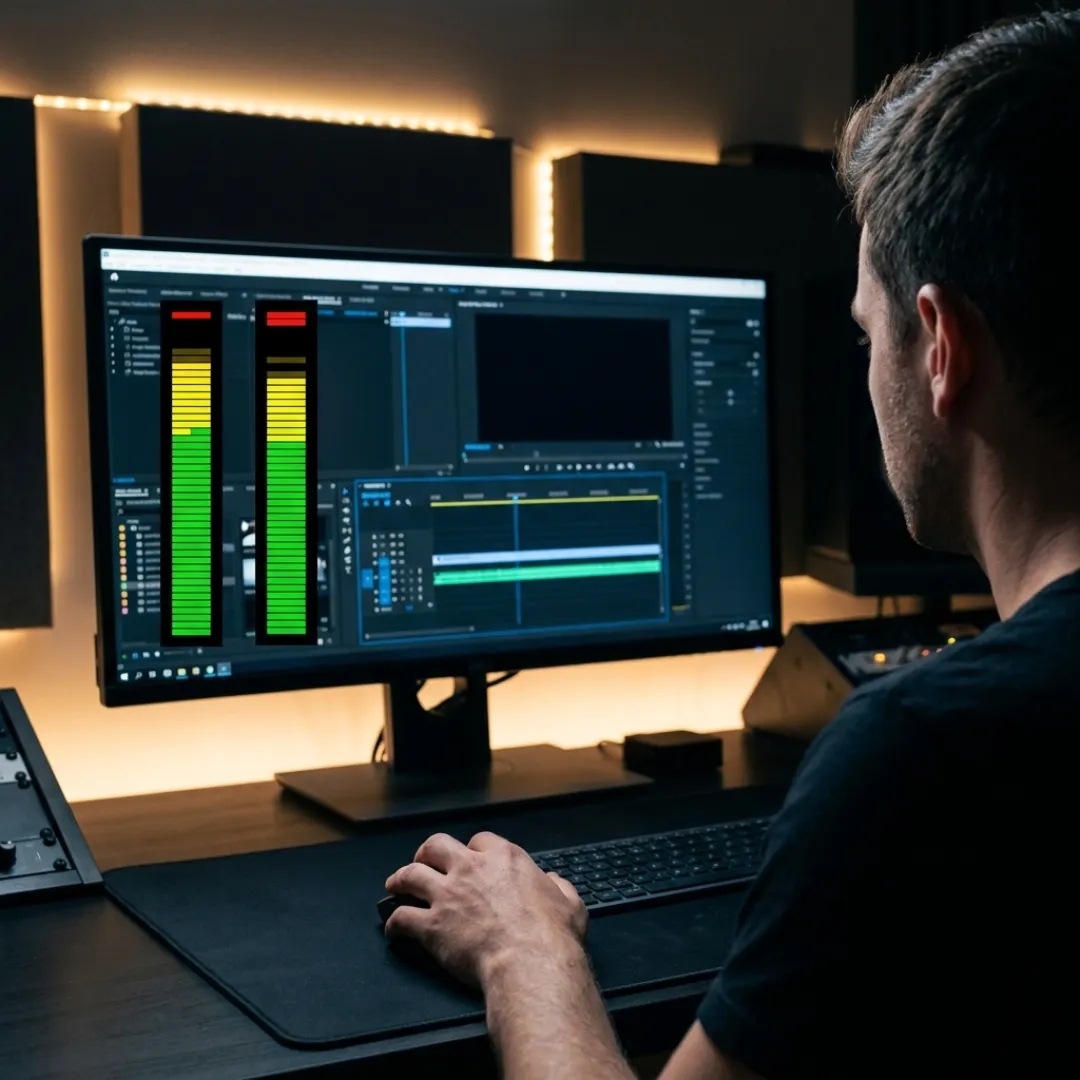
Next to each fader is a live meter that lights up during playback. Green means you’re safe, yellow means you’re getting hot, and red means trouble. If your audio hits the clipping indicator at the very top, it has peaked: the signal is distorting digitally and losing information. That harsh crunch can’t be fixed in post, so keep everything out of the red.
Above each fader sit three small buttons:
- M (Mute): silences the track completely.
- S (Solo): mutes everything else, so you hear only this track. This is your best friend when balancing, because you can isolate dialogue, fix it, then bring the rest of the mix back in.
- R (Record): arms the track for direct recording (more on that later).
Finally, the Master fader on the right controls the entire mix at once. It respects all the relative changes you’ve made to individual tracks and scales them proportionally, which makes it perfect for a final overall volume adjustment.
How to Set Audio Levels Like a Pro
- Solo your dialogue track and play it back while watching the meters.
- Adjust the track fader until your dialogue peaks in a healthy range (see the table below).
- Un-solo, then bring in music and SFX tracks one at a time, setting each fader so nothing fights the dialogue.
- Watch the Master meter the whole time. If it touches red, pull things down.
Use these target ranges as your starting point:
For the full dialogue, music, and SFX balancing method, check out our complete guide to audio mixing in Premiere Pro. And if your source audio is rough to begin with, start with our fixes for bad audio in Premiere Pro before you mix.
How to Pan Audio in Premiere Pro
In the Track Mixer, each track has a round pan knob near the top of its column. Turn it left or right (from -100 to +100) and the entire track moves across the stereo field. So if you’ve ever wondered how to pan a whole track left or right without keyframing every clip, this knob is the answer. Adobe covers the underlying panning and balancing controls in detail if you want the technical breakdown.
Need movement instead of a fixed position? Use the clip-level Panner effect. Select a clip, open Effect Controls, expand Panner, and click the stopwatch to enable keyframes. Set a keyframe at -100 at the start and +100 at the end, and the sound travels smoothly from the left speaker to the right as it plays.
A few creative uses that instantly sell realism:
- A car crosses the frame left to right? Pan the engine sound with it.
- Two people in conversation? Pan one voice slightly left (around -30) and the other slightly right (+30) to separate them.
- Building ambience? Spread room tone and nature beds wide while keeping dialogue centered.
The general rule: pan tracks for fixed placement, pan clips when the sound needs to move.
How to Apply Effects to an Entire Track
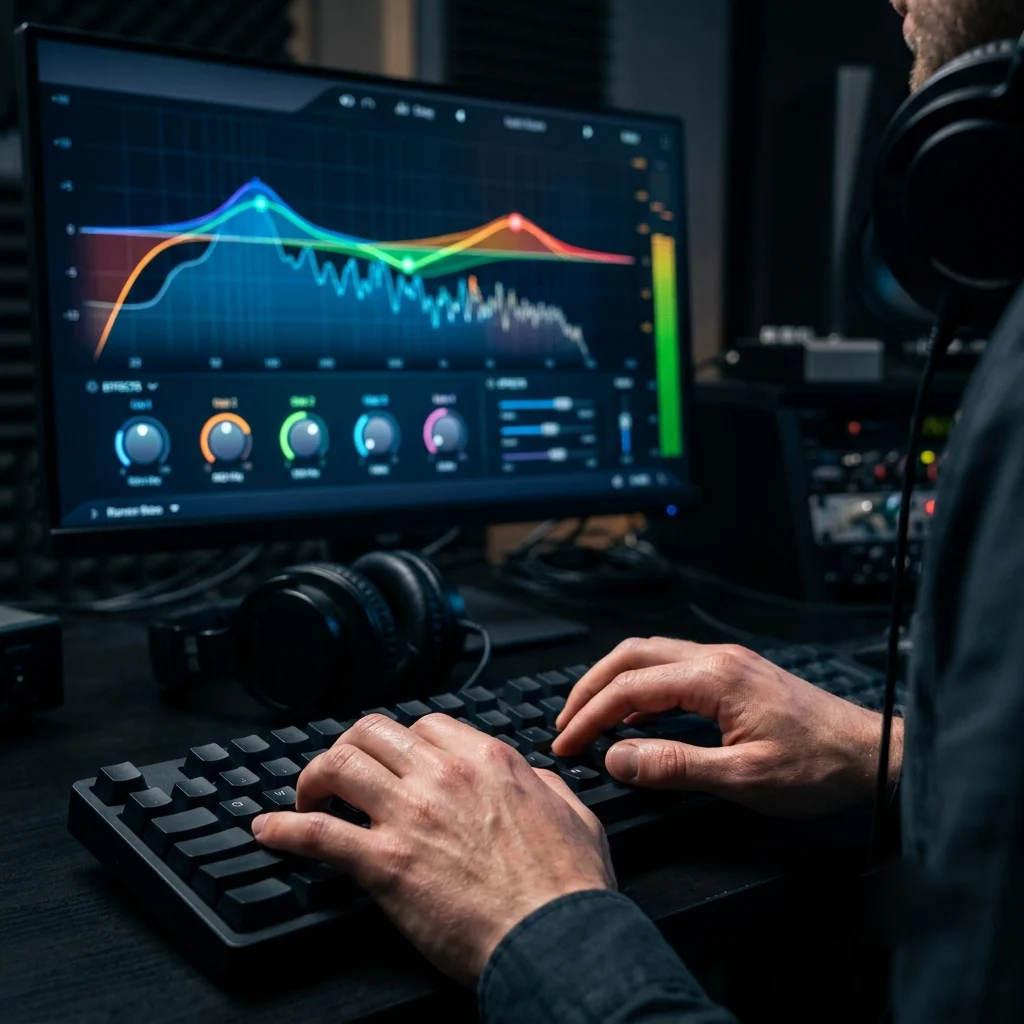
Each track gets up to five effect slots. Click a slot, browse the categories, and pick any of the same audio effects you’d normally drag onto clips. When an effect is selected, you can tweak one parameter with the small knob at the bottom, but the real move is double-clicking the effect’s name to open its full interface with every control and preset.
For dialogue, this four-effect chain covers 90% of situations:
- DeNoise: strips hiss and background hum. Start with light settings. (For stubborn noise, we’ve got a full guide on removing background noise in Premiere Pro.)
- Parametric EQ with the Vocal Enhancer preset: cuts rumble below 40 Hz, adds depth around 100 Hz, and gives the voice presence up top. This preset is a favorite fast fix among audio pros like Music Radio Creative.
- Single-Band Compressor (or Dynamics): evens out the gap between your loudest and quietest words. The Voice Thickener preset is a solid start.
- Hard Limiter: a safety ceiling that guarantees no peak ever clips.
Order matters. Think of a guitarist’s pedalboard: corrective stuff first (EQ, noise reduction, compression), spatial stuff last (reverb, delay). If dialogue sounds echoey rather than noisy, that’s a different fix, and our guide to fixing echo and hollow dialogue walks through it.
Why apply effects at the track level instead of per clip? Three reasons:
- One instance processes every clip on the track, so your settings stay consistent.
- Premiere runs one effect instead of fifty, which keeps your timeline responsive.
- Reverb tails ring naturally past clip edges instead of cutting off dead when the clip ends.
To audition with and without an effect, click the small fx button to bypass it. To remove one, click the slot and choose None. And for a deeper dive into which effects deserve those five slots, see our roundup of Premiere Pro audio effects, plugins, and presets.
One more thing: a clean effect chain deserves good source material. Layering in professionally recorded sound effects from Pixflow under your processed dialogue is often the difference between a mix that sounds edited and one that sounds designed.
Automation Modes: Off, Read, Latch, Touch, and Write
Want to see what you recorded? Expand the track in the timeline, click the keyframe display icon, and choose Track Keyframes, then Volume. Every fader move appears as a keyframe line. Made a mess? Lasso the keyframes with the Pen tool and hit Delete to start over.
The Touch vs Latch difference trips people up, so here’s the short version: Touch lets go when you let go, Latch holds your last position until playback stops.
Submixes: The Adjustment Layer of Audio
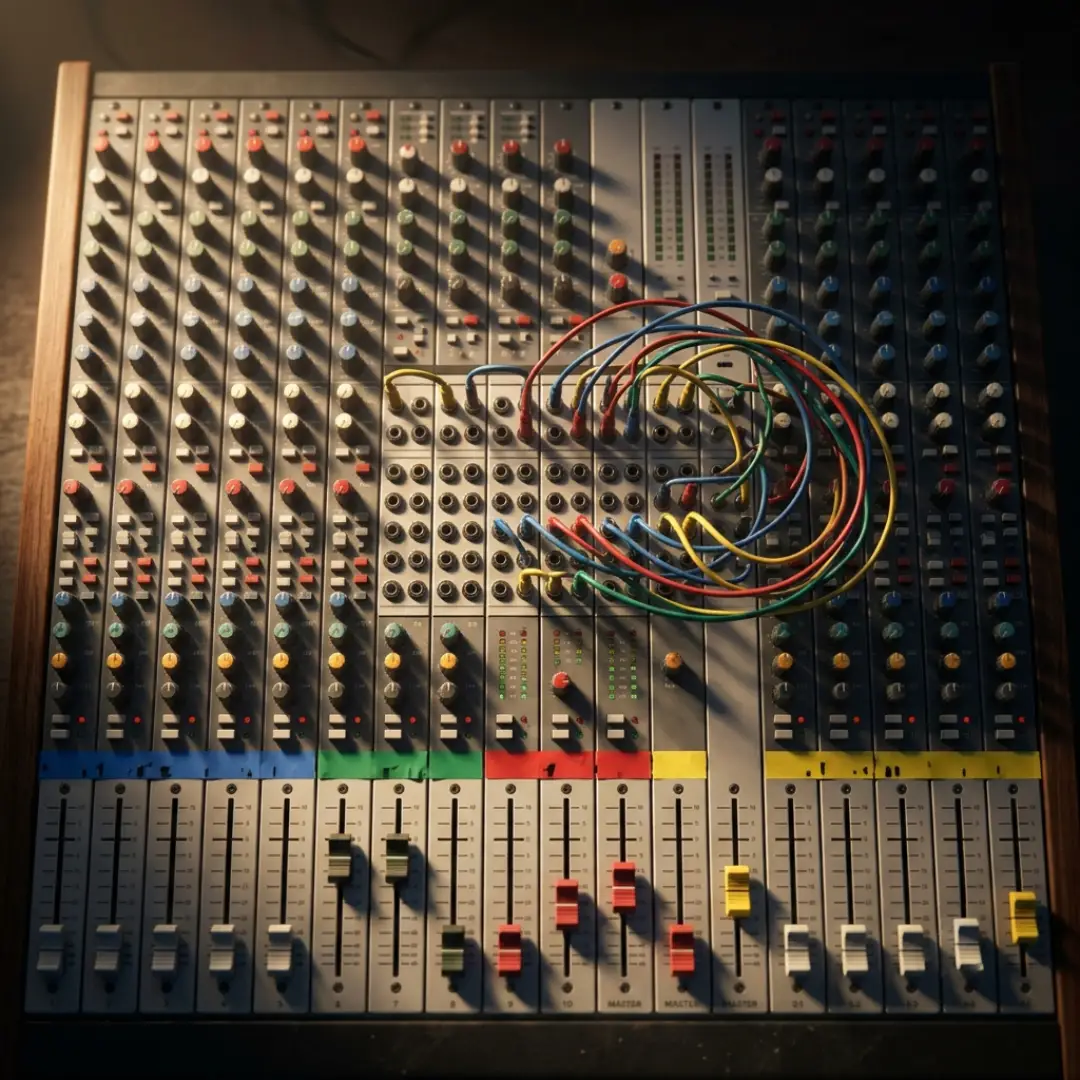
Say you have three dialogue tracks. Instead of building the same EQ and compressor chain three times, route all three into one Dialogue submix and apply the chain once. Your processing stays perfectly consistent, and Premiere does a third of the work.
Setting one up takes seconds:
- Right-click the track headers in your timeline and choose Add Audio Submix Track. It appears in the mixer as a slightly darker column.
- In the Track Mixer, find the output assignment menu at the bottom of each track you want to include, and switch it from Master to Submix 1.
- Add your effects to the submix’s rack, and every routed track runs through them.
Professional mixes typically run three submix buses (Dialogue, Music, SFX) feeding into the Master. That gives you three big faders for the final balance instead of a dozen small ones.
The rack’s Sends section is the advanced sibling of this idea: it lets you send a copy of a track’s signal to a submix (great for shared reverb) while the original keeps playing dry. If this kind of signal organization appeals to you, you’ll probably also love nested sequences in Premiere Pro, which bring the same tidy thinking to your video timeline.
Bonus: Record Audio Straight into the Track Mixer
For scratch voiceovers, temp narration, or quick pickup lines, this beats bouncing to a separate recording app every time. You record in context, hear it against your edit immediately, and skip the whole export-import dance.
Loudness Targets: Exporting for YouTube and Social
The fix is a Hard Limiter on the Master track:
- Open the Master column’s effects rack and add Hard Limiter.
- Set Maximum Amplitude to -0.1 dB. This is a hard ceiling one tenth of a decibel below clipping, so nothing can ever distort.
- Check where your mix currently peaks (say, -17 dB), then set Input Boost to roughly that amount to lift the whole mix up to the ceiling.
- Leave Release Time at the default 100 ms. If the audio starts pumping or bouncing, nudge it higher.
Beyond peaks, platforms normalize by perceived loudness, measured in LUFS. Here are the targets worth knowing:
Common Audio Track Mixer Problems (and Fixes)
- The panel is blank or empty. Make sure a sequence is actually open and active, then reopen the panel with Window, Audio Track Mixer, or press Shift+6. If the layout still looks broken, reset your workspace (Window, Workspaces, Reset to Saved Layout).
- Your audio level randomly dropped. Check three suspects in order: a track fader that got bumped below 0, forgotten track keyframes recorded in Write or Latch mode (view them with Track Keyframes, Volume), and a leftover effect in the track’s rack. Effects applied here don’t show in the clip’s Effect Controls, which is why they’re easy to miss.
- You can’t drag effects onto the mixer. That’s by design. Track effects aren’t drag-and-drop; click an empty slot in the effects rack and pick from the menu instead.
- Your changes aren’t audible. Check that the automation mode isn’t set to Off, and confirm the track’s output assignment points where you think it does (Master or the right submix).
Conclusion
It also scales with you. The same track-based thinking that keeps a two-track vlog tidy will carry you through big projects, like the multi-angle edits in our Premiere Pro multicam editing workflow guide, where organized audio tracks are the difference between control and chaos.
So open the mixer on your current project, solo that dialogue track, and start riding faders. And when your mix needs more to work with, explore Pixflow’s sound effects library for production-ready SFX that drop straight into your tracks. (Your timeline is waiting.)
Disclaimer : If you buy something through our links, we may earn an affiliate commission or have a sponsored relationship with the brand, at no cost to you. We recommend only products we genuinely like. Thank you so much.
Blog Label:



Write for us
Publish a Guest Post on Pixflow
Pixflow welcomes guest posts from brands, agencies, and fellow creators who want to contribute genuinely useful content.
Fill the Form ✏