Premiere Pro Dynamic Link with After Effects: The Complete Workflow Guide (2026)
- Quick Answer: How Does Dynamic Link Work?
- Introduction
- What Is Dynamic Link, and When Should You Use It?
- What Should You Check Before Linking the Apps in 2026?
- How Do You Send a Premiere Pro Clip to After Effects?
- How Do You Bring an Existing After Effects Composition Into Premiere Pro?
- What Does a Complete Dynamic Link Round Trip Look Like?
- Why Is Dynamic Link Slow, and How Can You Improve Playback?
- Why Is Dynamic Link Not Working or Showing Media Offline?
- Why Do Colors Look Different After Sending a Clip to After Effects?
- How Do You Manage Dynamic Link for Multicam Edits and Team Handoffs?
- Conclusion
- Wrap Up
Quick Answer: How Does Dynamic Link Work?
Dynamic Link avoids a separate export for each revision, but complex compositions still take processing time. If playback becomes slow, use Render and Replace and restore the live composition when you need to edit it again.
Introduction
The Premiere Pro Dynamic Link After Effects workflow keeps that shot connected to its After Effects composition while the rest of your edit stays in Premiere. This guide walks through the round trip, then covers the less obvious parts: handles, missing media, color shifts, slow playback, and what to include in a handoff.
For a title-based exercise, Pixflow’s Free Simple Glitch Titles includes After Effects projects and Premiere Pro MOGRTs. You can use the format that fits the job; Dynamic Link is optional.
What Is Dynamic Link, and When Should You Use It?
The link depends on the After Effects project and its assets remaining available. It also does not mean every frame plays in real time: Premiere may need After Effects to process a complicated composition before displaying it. Adobe describes the available methods and performance tradeoffs in its Dynamic Link documentation.
When Should You Use Dynamic Link Instead of a MOGRT or a Render?
What Should You Check Before Linking the Apps in 2026?
- Check the versions. Adobe says Dynamic Link will not work with mismatched major versions. Use matching Premiere Pro and After Effects releases, and check their installed versions in Creative Cloud before troubleshooting. Adobe’s sharing guide explains the requirement.
- Save a duplicate sequence. A backup preserves your original timeline selection if you need to compare an effect, trim, or transition after the round trip.
- Give the After Effects project a stable home. Save the .aep with the production files, ideally in a clearly named folder. The apps don’t need to be in the same folder, but the linked project and source assets need to remain accessible.
- Check settings and dependencies. Note the sequence frame size and frame rate, source media locations, fonts, and third-party effects. Existing compositions should match the target sequence where appropriate.
- Pick a manageable shot. Start with the section that actually needs After Effects, rather than sending the entire timeline as a first test.
A compact structure can be as simple as Project/ Premiere/, Project/ After Effects/, Project/ Media/, and Project/ Renders/. Your folder names can differ; what matters is that you and anyone receiving the project can find the dependencies.
How Do You Send a Premiere Pro Clip to After Effects?
How Do You Use Replace With After Effects Composition?
- Open the sequence in Premiere Pro and duplicate it for safety.
- Select the clip or clips that need After Effects. Check whether you have also selected audio or neighboring layers you intended to leave in Premiere.
- Right-click the selection and choose Replace With After Effects Composition.
- When After Effects opens, save the project if prompted. If an After Effects project is already open, check which project receives the new composition and save that project in your production folder.
- Name the composition clearly, for example Shot_04_Screen_Replace. Add your animation, mask, or composite in After Effects.
- Save the .aep and return to Premiere. Scrub the linked clip and check the first frame, last frame, timing, and any effects that matter to the edit.
The new composition inherits the originating sequence’s dimensions, pixel aspect ratio, frame rate, and audio sample rate, according to Adobe’s replacement instructions. Check the result before making further timeline changes.
How Do You Reopen the Linked Composition?
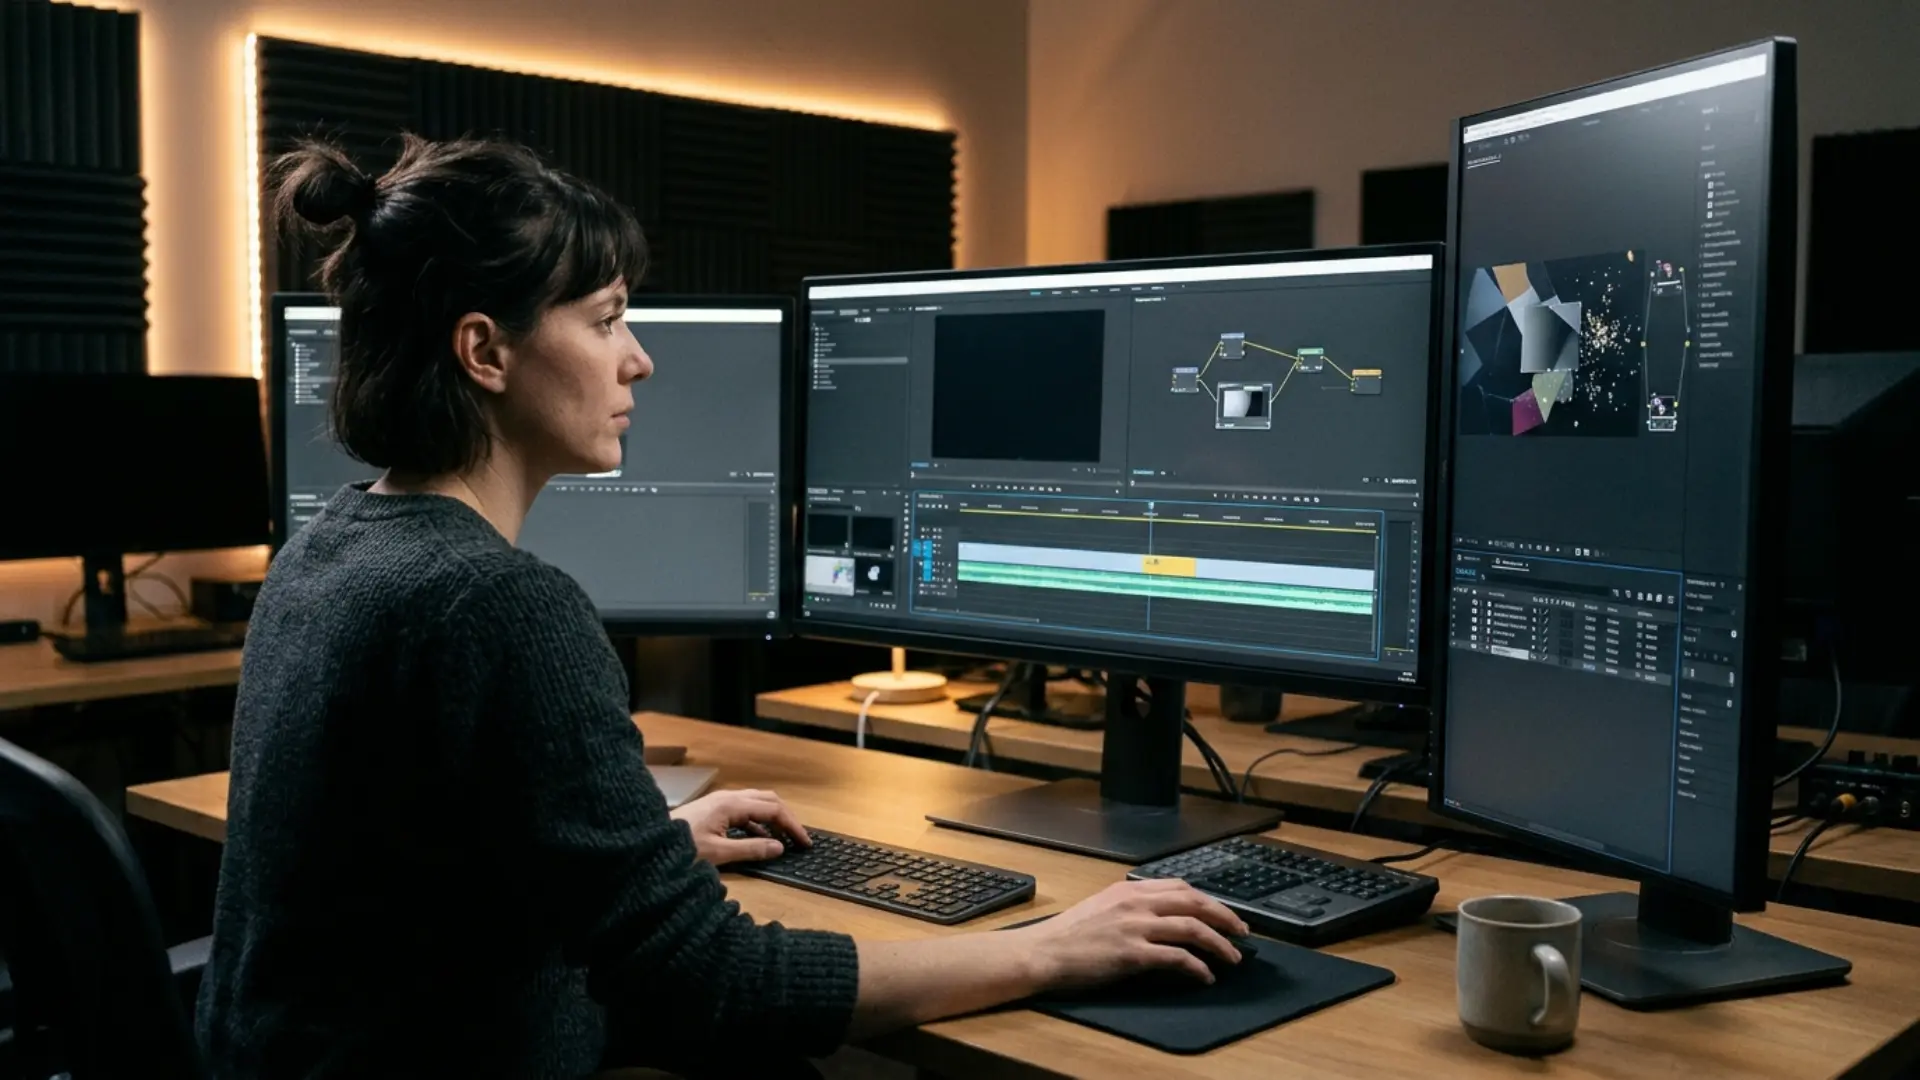
Select the linked composition or timeline clip in Premiere, then choose Edit > Edit Original. After Effects opens the source composition; make your changes, save, and switch back to Premiere.
If the result looks unchanged, confirm you edited the same composition and .aep that Premiere references. A rendered replacement is another possibility: restore the unrendered clip before expecting to see live changes.
What Happens to Trims, Handles, Audio, and Effects?
Treat the new comp as a handoff that needs checking. A backup lets you compare it with the original sequence rather than guessing whether a transition, grade, speed change, or audio edit survived as intended.
- Trims and handles: A linked comp can have its own duration and layer boundaries. If an editor may extend a shot later, prepare extra source frames where available and check that the comp actually contains them. Source handles do not appear by magic beyond the available footage.
- Audio: Keep dialogue and the main mix in Premiere when practical. If audio is part of the selection, check sync, track behavior, and whether you have accidentally doubled it.
- Effects and transitions: Some settings transfer and others may behave differently. Compare a short section against the backup, especially with third-party effects or retimed material. Recreate a missing effect in the appropriate app if needed.
- Nested clips: A nested sequence in Premiere Pro groups timeline material; a Dynamic Link references work in After Effects. They solve different problems, and a nest is worth testing before you send a complex selection across.
How Do You Bring an Existing After Effects Composition Into Premiere Pro?
How Do You Import an Existing Composition?
- Save the After Effects project and make sure its source files are online.
- In Premiere, choose File > Adobe Dynamic Link > Import After Effects Composition.
- Select the .aep file, then choose the composition you need.
- Place the imported composition from the Project panel on your timeline.
- Check framing, frame rate, duration, transparency, and the visible result against the intended sequence.
The .aep import is a live composition workflow, not the same as importing a previously rendered .mov file. Keep the .aep and its assets available if you want to revise the composition later.
How Do You Create a New Linked Composition From Premiere?
Choose File > Adobe Dynamic Link > New After Effects Composition. After Effects creates a linked composition and may ask you to save a project. Return to Premiere and place the comp from the Project panel on your sequence.
This creates a comp rather than replacing the selected footage. Adobe says a newly created linked composition starts at 30 seconds; change its duration in Composition > Composition Settings in After Effects when your graphic needs a different length.
What Does a Complete Dynamic Link Round Trip Look Like?
- Prepare the shot. Duplicate the Premiere sequence. Identify the shot, check its trim, and keep the dialogue and music in the main edit.
- Create the link. Select the picture clip, choose Replace With After Effects Composition, and save the .aep in the project folder.
- Build the composite. In After Effects, track or mask the screen and place the replacement artwork. Name the comp so the editor can identify it later.
- Review in context. Save, return to Premiere, and watch the cut into and out of the shot. Compare the color and timing with the backup, then make a short test export.
- Handle the revision. If the client changes the screen, use Edit Original, update the artwork, save, and check Premiere again.
- Make a performance decision. Keep the link while revisions are active. If playback is too slow, Render and Replace; retain the .aep for later changes.
For a title instead of a screen replacement, Free Simple Glitch Titles offers After Effects project files as well as Premiere MOGRTs. The MOGRT may be the simpler choice for a reusable title with the controls you need. Use the After Effects project when you need to work on the composition itself, and confirm the included files and dependencies before handing it off.
Why Is Dynamic Link Slow, and How Can You Improve Playback?
When Should You Use Render and Replace?
Use it when the linked shot is making timeline playback difficult and you can work with a rendered snapshot for a while. In Premiere:
- Select the linked clip in the timeline.
- Choose Clip > Render and Replace.
- Choose a suitable source setting, format, preset, and destination. Check the frame size and frame rate rather than assuming the defaults match delivery.
- Set handles if you need room for small trims and the source contains those frames. Adobe’s dialog allows 0 to 100 additional frames at each end.
- Decide whether to include video effects, then render. Play the replacement and inspect its edges, color, and sound.
Effects included in the render are baked into the replacement and their settings cannot be edited there. Adobe also notes that intrinsic Motion can be rendered when Source is set to Sequence, while certain other effects and transitions are handled differently. Check Adobe’s Render and Replace instructions for the current options.
Need transparency? Adobe’s current documentation identifies GoPro CineForm with Alpha as the alpha-supporting preset in this dialog. Check the options in your installation and test the result over a contrasting background before replacing a graphic throughout a sequence.
How Do You Restore the Live Composition?
Select the rendered clip in the sequence and choose Clip > Restore Unrendered. Premiere returns to the original linked item. If the After Effects project changed while the rendered replacement was in use, those changes appear when the original is restored.
Keep the .aep and its source assets. A rendered replacement is useful for editing, but it is not a substitute for the files you need to revise the original composition. Adobe documents the reversal in Restore Unrendered.
What Else Can You Try Before Replacing a Linked Comp?
- Lower the Program Monitor playback resolution and see whether preview responsiveness improves.
- Close unnecessary applications and check available disk space for caches and renders.
- Simplify or pre-render a particularly demanding element inside After Effects where that suits the project.
- Disable a linked clip temporarily when you need to edit around it, then enable it for review.
- If the shot is approved, export an appropriate intermediate from After Effects and import it into Premiere as an alternative to a live link.
These options address different bottlenecks. Render and Replace can improve timeline playback, but it does not guarantee a faster final export on every system.
Why Is Dynamic Link Not Working or Showing Media Offline?
What Should You Check When the Dynamic Link Server Is Stuck?
- Confirm the apps are installed and their major versions match. Save both projects, close the apps, and reopen them.
- Open the .aep directly in After Effects. Check whether it loads without missing footage, fonts, or effects.
- Try a short new link in a duplicate or test project. If the test works, compare the affected shot and its dependencies with the working one.
- Check storage access and free space. If a project is on shared storage, confirm that it is mounted and accessible.
- Note the exact error, operating system, app versions, and whether the problem occurs in a fresh project. Use those details when consulting Adobe’s support resources.
Some editors report a server connection that hangs or links that break after a save, even when their files have not moved. A forum report is a useful symptom to investigate, not proof that a particular workaround will fix your system. See this Adobe Community discussion.
How Do You Relink an Offline After Effects Composition?
If the linked .aep was moved or renamed, locate it before changing anything else. In Premiere’s Project panel, right-click the offline composition, choose Link Media, navigate to the original After Effects project, and open it. Check the composition that reconnects and play it in the sequence.
If the .aep opens but its footage is missing, relink that footage in After Effects too. Premiere cannot display material that the source composition itself cannot find. Adobe covers the process in its relinking guide.
Why Is the Composition Black, Stale, or Failing to Render?
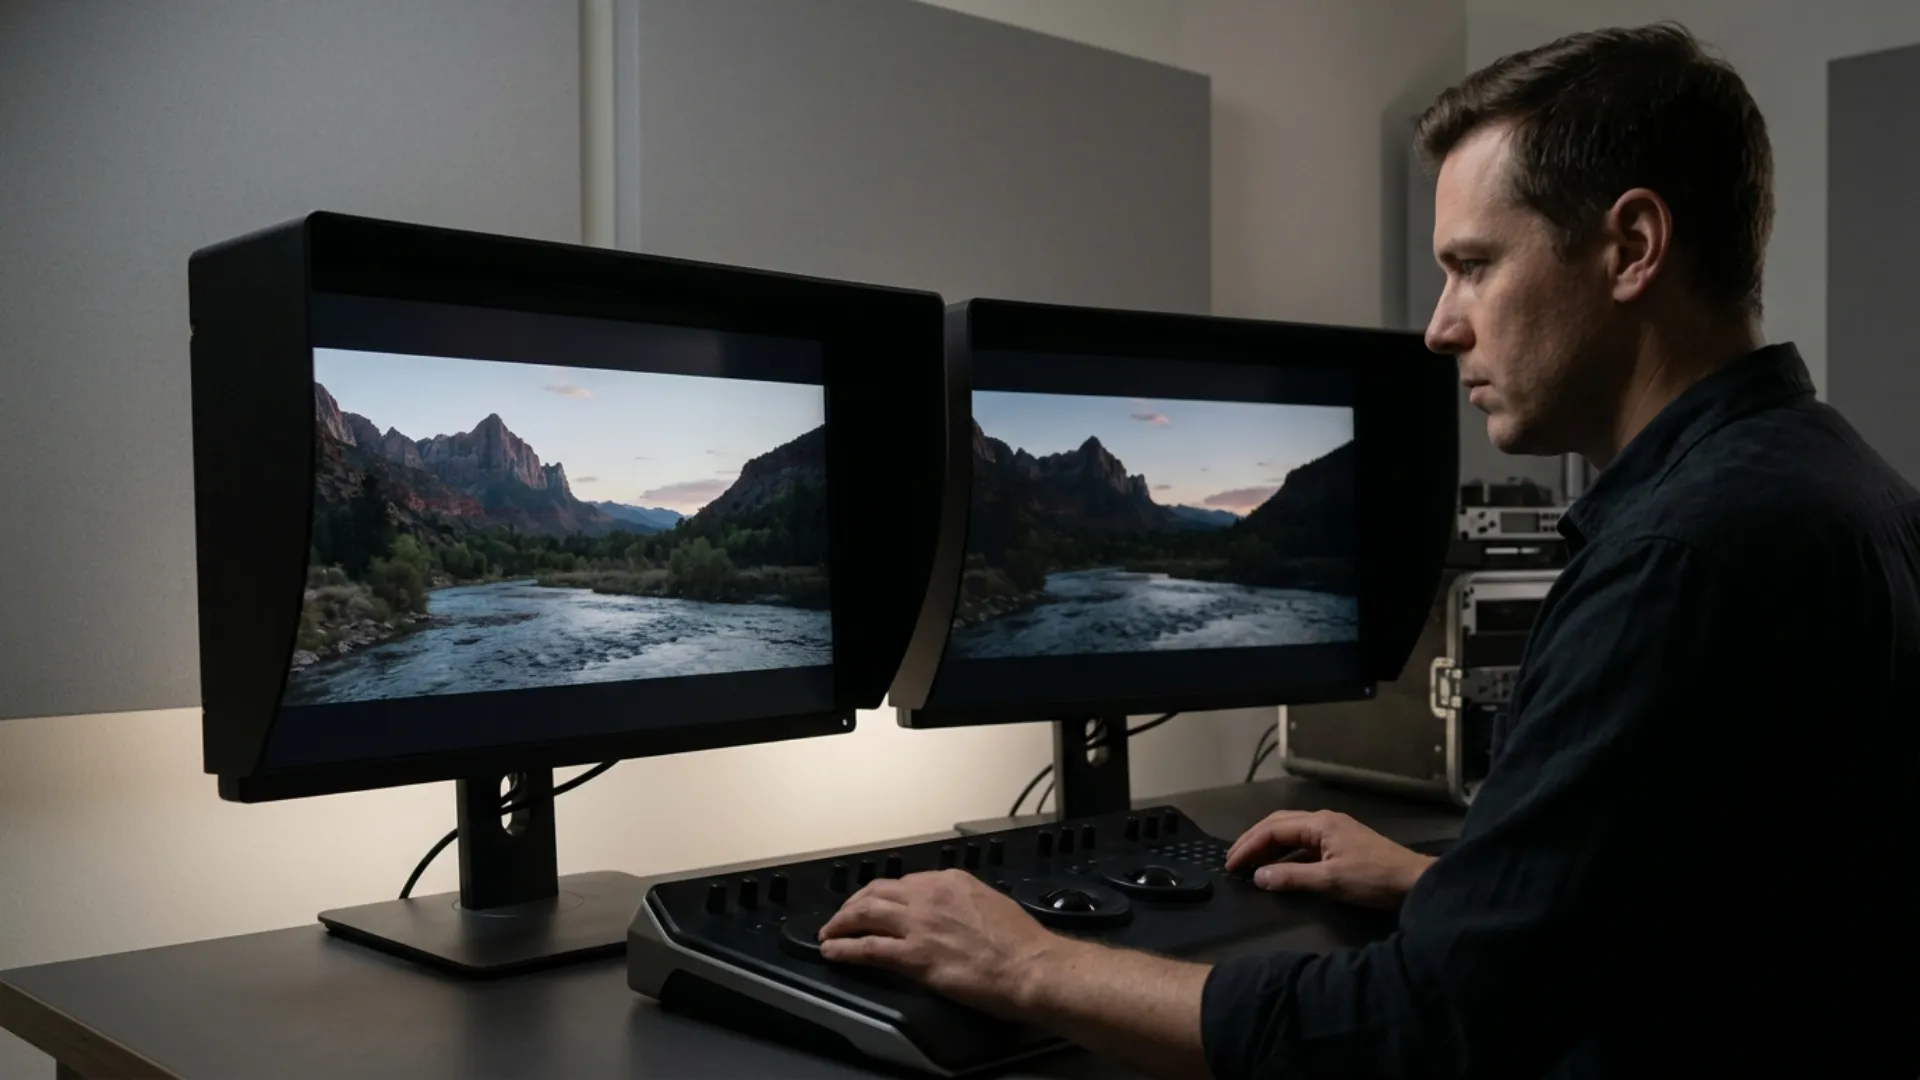
Why Do Colors Look Different After Sending a Clip to After Effects?
- Keep a reference. Use the duplicate Premiere sequence to compare the original shot with the linked result at the same frame.
- Check source interpretation and sequence color. Note the footage format, input color space, working space, and any tone mapping used in Premiere.
- Check the After Effects project. If After Effects was already open, its project color settings may differ from the Premiere sequence. Adobe says a mismatch can prompt a warning; changing After Effects project color settings affects the whole project.
- Find where the LUT is applied. Adobe says a LUT applied through Lumetri to a clip passes to the After Effects comp, while a LUT applied through Modify > Color does not. Output tone mapping and output gamut compression also do not pass in the same way as input settings.
- Check the monitoring and export path. Adobe notes that an HDR round trip may look different in After Effects because the apps’ HDR monitoring capabilities differ. Compare the result in Premiere and make a short export for the intended delivery.
Read Adobe’s Premiere and After Effects color-management compatibility guide for the current limitations. If you use creative LUTs, the Premiere Pro LUT workflow covers managing them; applying a LUT is not a universal fix for a mismatched color pipeline.
How Do You Manage Dynamic Link for Multicam Edits and Team Handoffs?
Should You Link a Whole Sequence or Only the Shot That Needs Work?
For most edits, start with the shot or graphic that requires After Effects. Keep the main sequence available for editorial changes and test any nested or multicam material on a duplicate before committing. This reduces the amount you have to troubleshoot if a transfer behaves differently than expected.
For a multi-camera interview, for example, finish the angle choice for a short shot before testing a title or screen composite on that portion. The Premiere Pro multicam editing workflow covers the surrounding camera-editing process.
What Files Does Another Editor Need?
For a handoff that must remain editable, provide:
- The Premiere project or the appropriate shared-project access.
- The relevant .aep project and all footage, stills, audio, and other assets used inside it.
- A list of app versions, fonts, and third-party plugins, with installation or licensing instructions where applicable.
- A reference export and, where useful, a clearly named rendered version of approved shots.
- Notes on frame rate, resolution, color expectations, and which compositions are linked.
Ask the recipient to open the project, relink anything needed, and compare the linked shots against the reference export before the handoff is considered complete. Premiere Pro Team Projects collaboration explains the broader shared-editing setup; sharing a project does not automatically supply every media file or plugin.
Conclusion
Want a title to experiment with? Explore Free Simple Glitch Titles and choose the After Effects project or Premiere MOGRT that suits your edit.
Wrap Up
- Use Replace With After Effects Composition for selected Premiere clips, or import an existing .aep composition.
- Save the After Effects project in a stable location and check the linked result against the original edit.
- Use Render and Replace for a demanding shot, then Restore Unrendered when revisions return.
- Compare color and test a short export, particularly with HDR, LUTs, or different project settings.
- For handoffs, include the .aep, source assets, fonts, plugins, version details, and a reference render.
Disclaimer : If you buy something through our links, we may earn an affiliate commission or have a sponsored relationship with the brand, at no cost to you. We recommend only products we genuinely like. Thank you so much.
Blog Label:

Write for us
Publish a Guest Post on Pixflow
Pixflow welcomes guest posts from brands, agencies, and fellow creators who want to contribute genuinely useful content.
Fill the Form ✏