Premiere Pro LUT Workflow: How to Import, Apply, and Manage LUTs Like a Pro
- What Is a LUT in Premiere Pro, and Does Premiere Have Built-In LUTs?
- How Do You Apply a LUT in Premiere Pro?
- How Do You Import LUTs into Premiere Pro Permanently?
- Why Are My LUTs Not Showing Up in Premiere Pro?
- How Do You Apply One LUT to Multiple Clips at Once?
- Why Does My LUT Look Washed Out or Way Too Strong?
- What Changed with LUTs in Premiere Pro 2025 and the New Color Mode?
- How Do You Organize and Manage a LUT Library Like a Pro?
- Can You Create and Export Your Own LUT from Premiere Pro?
- Conclusion
This guide covers the complete Premiere Pro LUTs workflow: what LUTs actually are, how to apply them the right way, how to install them permanently on Mac and Windows, and how to manage a growing library without losing your mind. We’ll also cover the 2025 color management changes that quietly broke a lot of old tutorials. And if you want a pro-grade starting library, Film Emulation Pro bundles LUTs built from real film scans of Kodak, Fujifilm, and Ilford stocks (plus grains, letterboxes, and frames to complete the look).
Let’s sort it out.
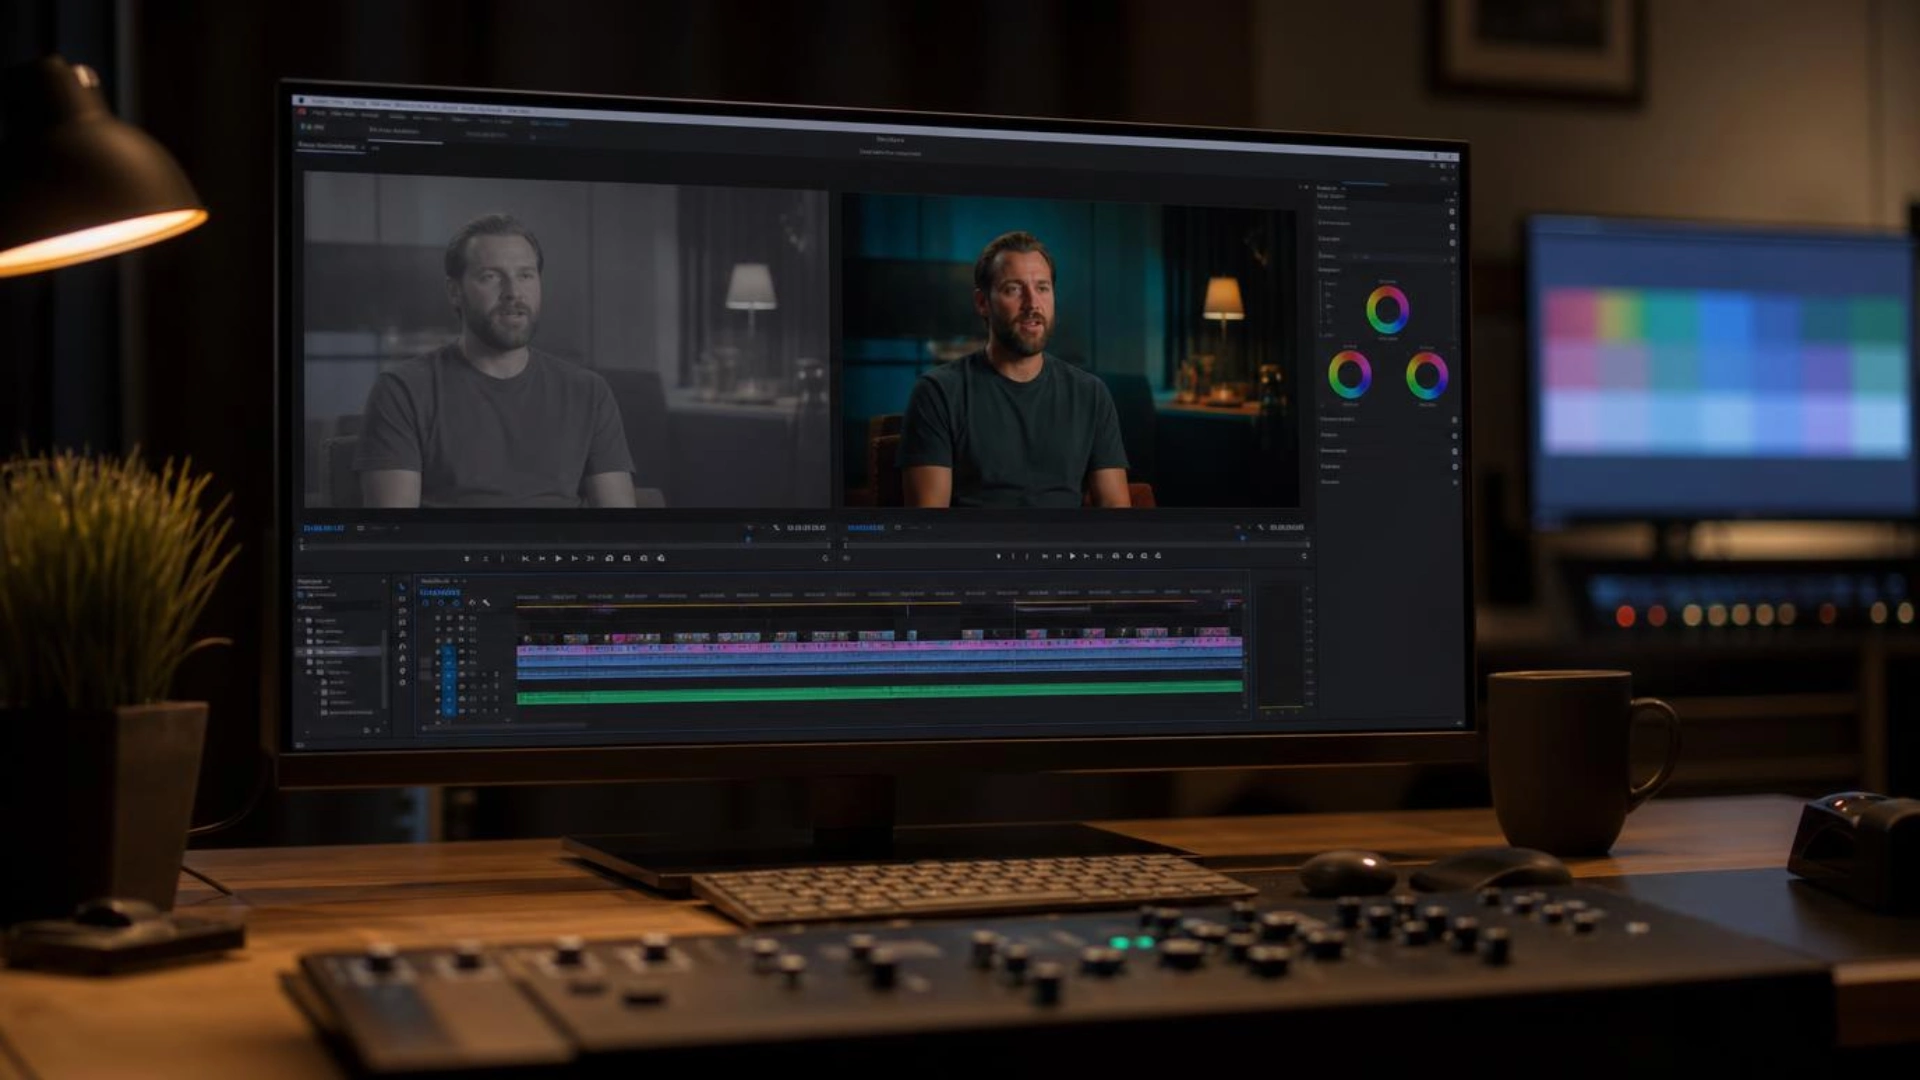
What Is a LUT in Premiere Pro, and Does Premiere Have Built-In LUTs?
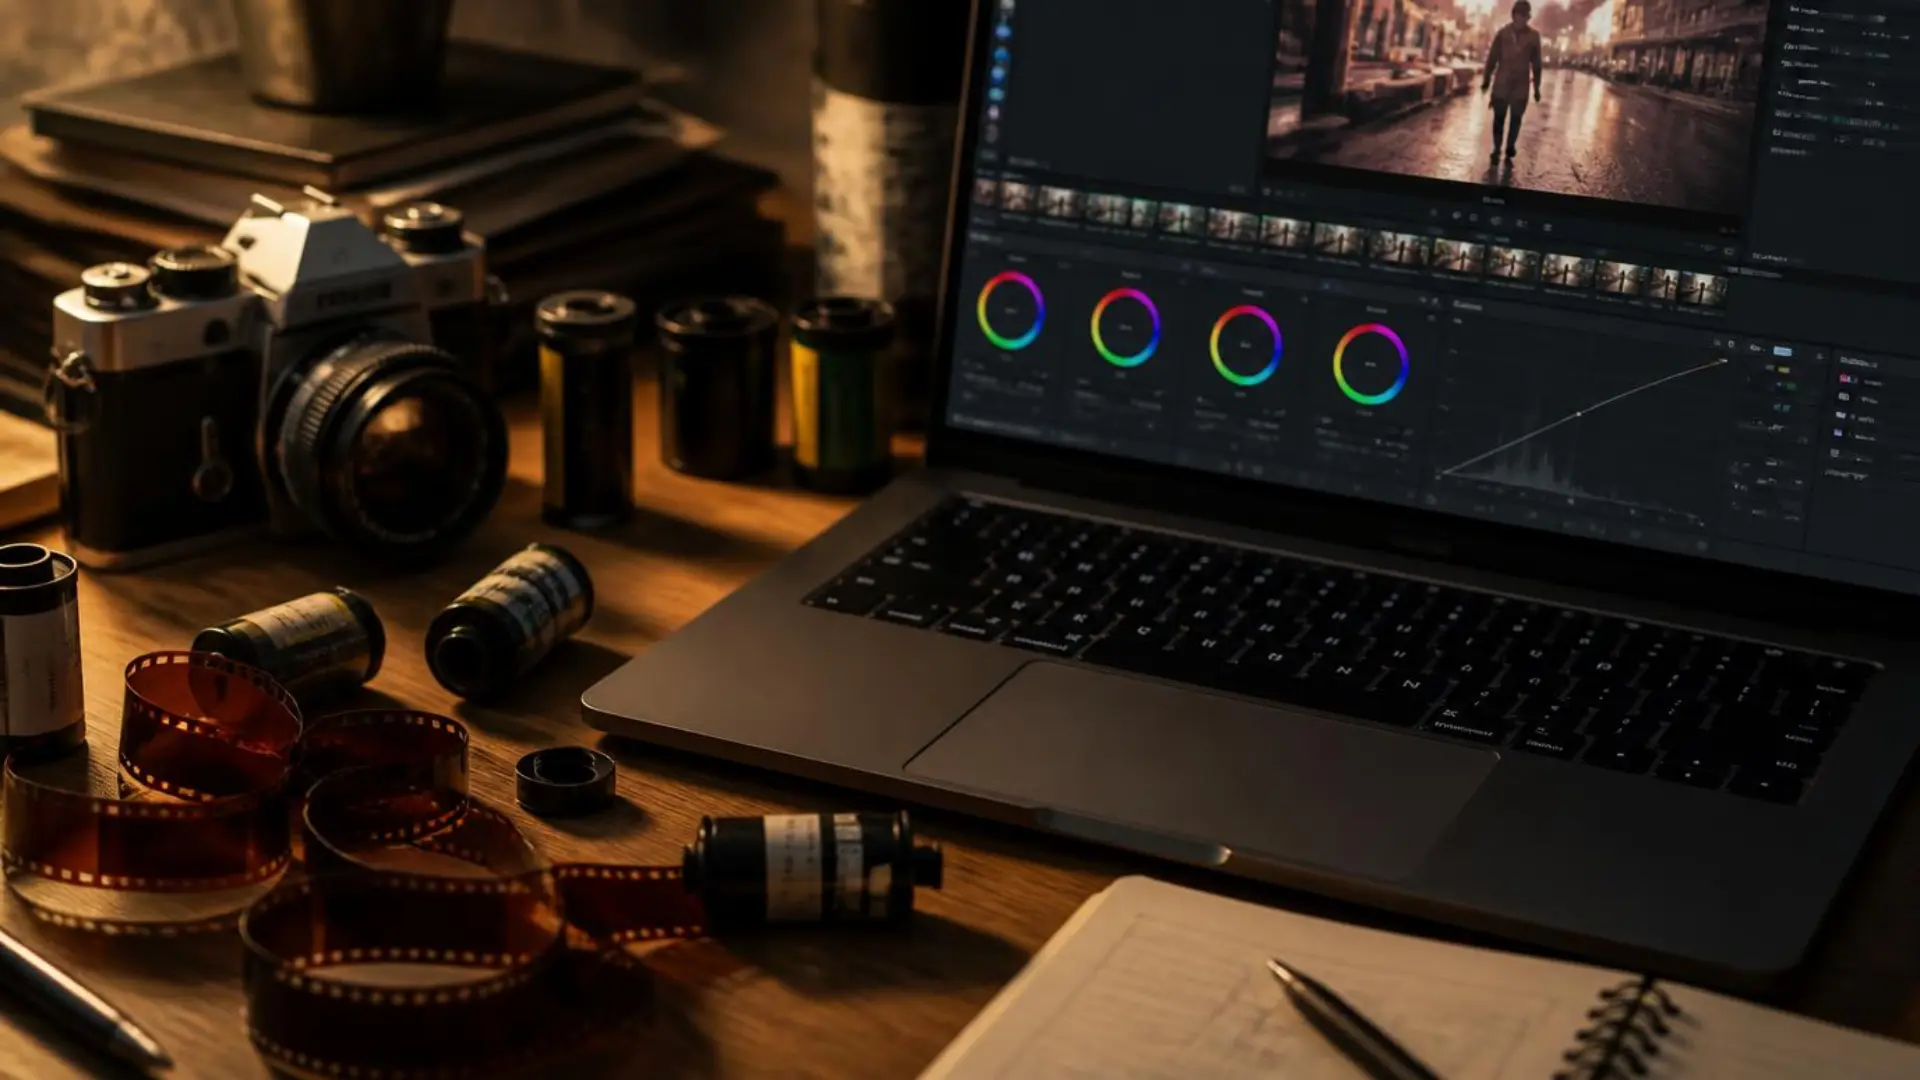
And yes, Premiere Pro ships with built-in LUTs. Open the Lumetri Color panel and you’ll find technical conversion LUTs in Basic Correction and a set of stylistic Looks in the Creative section. They’re fine for learning, but most editors outgrow them fast, which is why third-party packs exist (we also share some free LUT presets for Premiere if you want to experiment before buying anything).
Is a LUT Just a Filter?
Close, but not quite. A filter (like an Instagram filter) is a black box that often bakes in contrast, vignettes, or grain. A LUT only touches color, nothing else. Colorists like that predictability, since they know exactly what a LUT will and won’t change in their image.
What Is the Difference Between a LUT and a Preset?
A preset saves effect settings inside Premiere Pro (a Lumetri preset can store your entire correction, including sliders). A LUT is a universal file (usually .cube) that works across Premiere, DaVinci Resolve, After Effects, and even some cameras. A preset stays locked inside Premiere; a .cube file goes wherever your work goes. So if you’ve been searching for Premiere Pro color grading presets, a LUT is usually the more flexible buy.
Technical (Input) LUTs vs Creative Looks: Which One Do You Need?
This is the number one point of confusion, so here’s the clean split:
How Do You Apply a LUT in Premiere Pro?
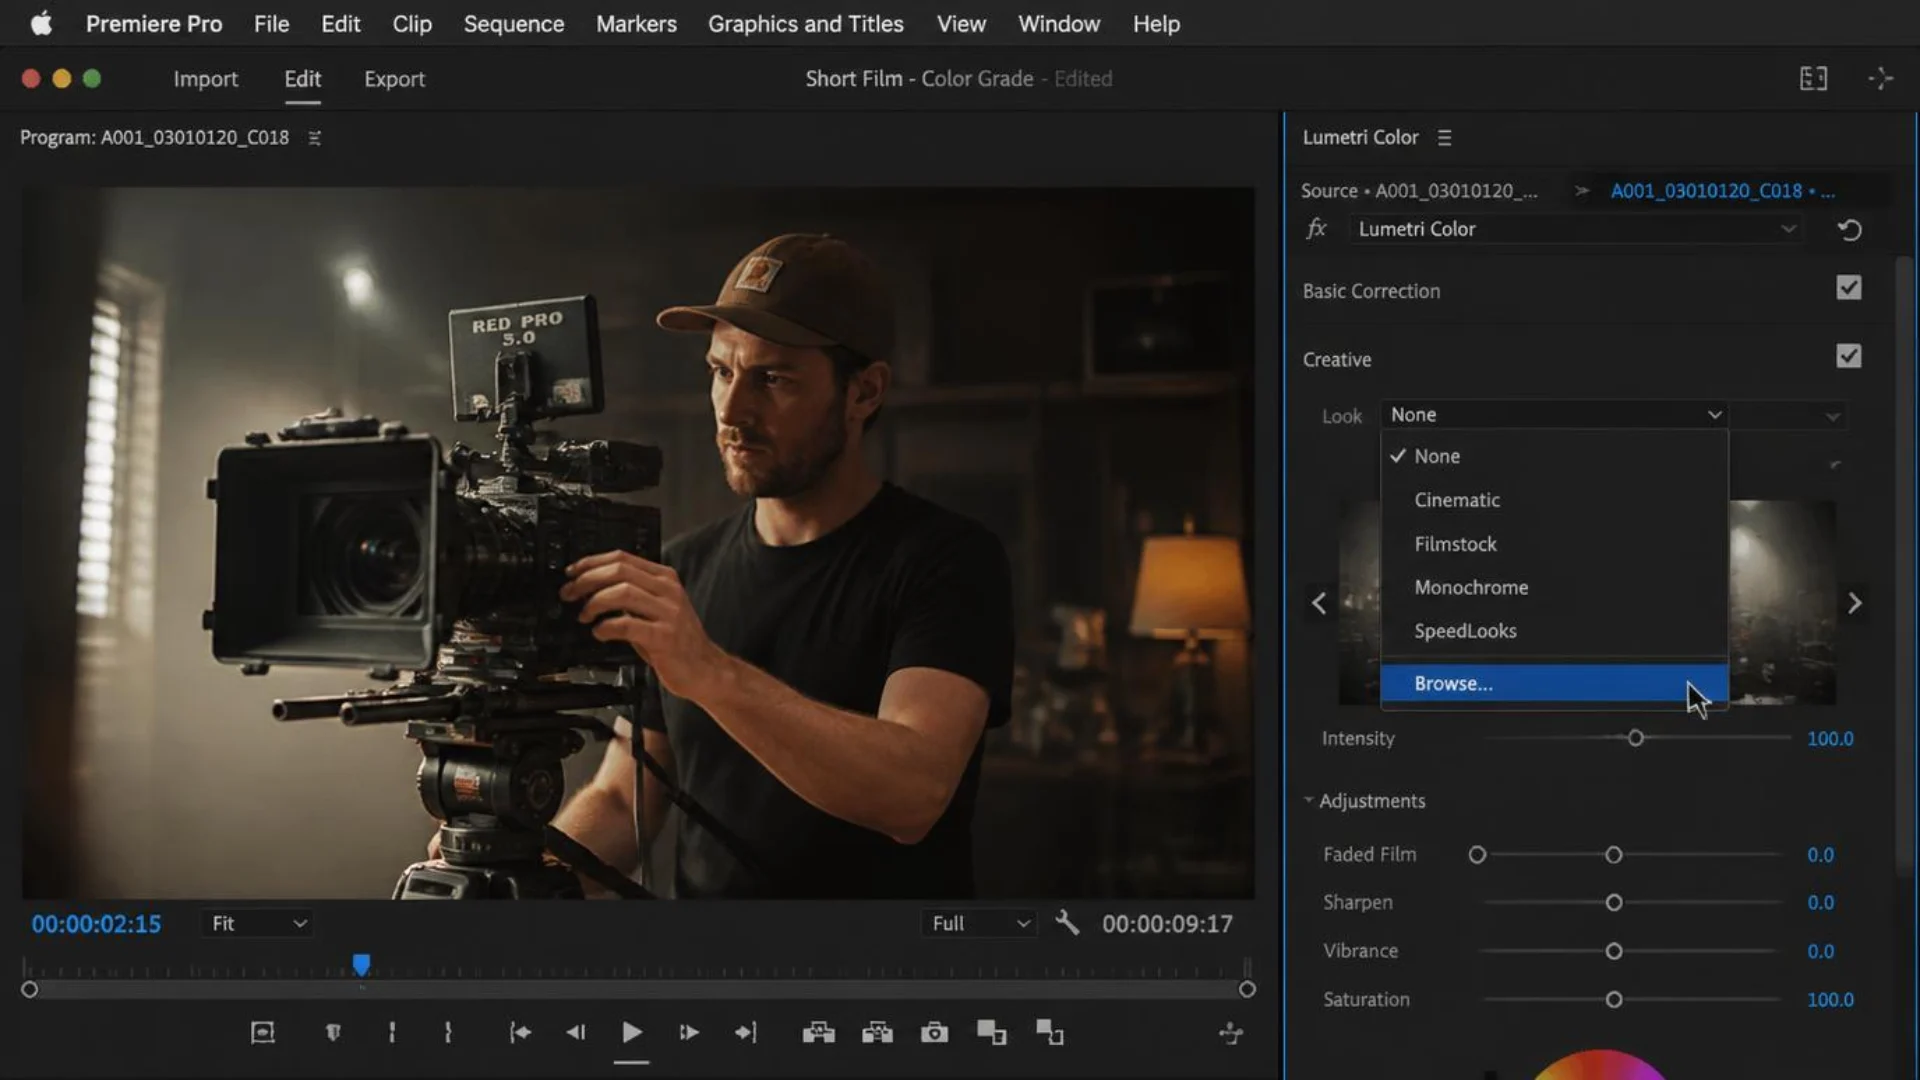
- Select your clip in the timeline and open the Lumetri Color panel (Window > Lumetri Color).
- For log footage, go to Basic Correction > Input LUT and pick the conversion LUT that matches your camera.
- For style, expand the Creative section, click the Look dropdown, and choose a Look or click Browse to load any .cube file from your drive.
- Use the Intensity slider under Creative to dial the strength up or down (most LUTs look better at 60 to 80 percent, not 100).
Browsing works great for testing a single LUT, but the selection applies only to that project and you’ll be re-browsing forever. For anything you’ll reuse, install it permanently (next section). And remember, a LUT is a starting point, not a finished grade. You’ll still want to balance exposure and white balance first, which we walk through step by step in our Premiere Pro color grading tutorial.
Pro tip: if you grade a lot, map Lumetri panel navigation to hotkeys. Our guide to custom keyboard shortcuts in Premiere Pro shows how to build a grading-friendly layout.
How Do You Import LUTs into Premiere Pro Permanently?
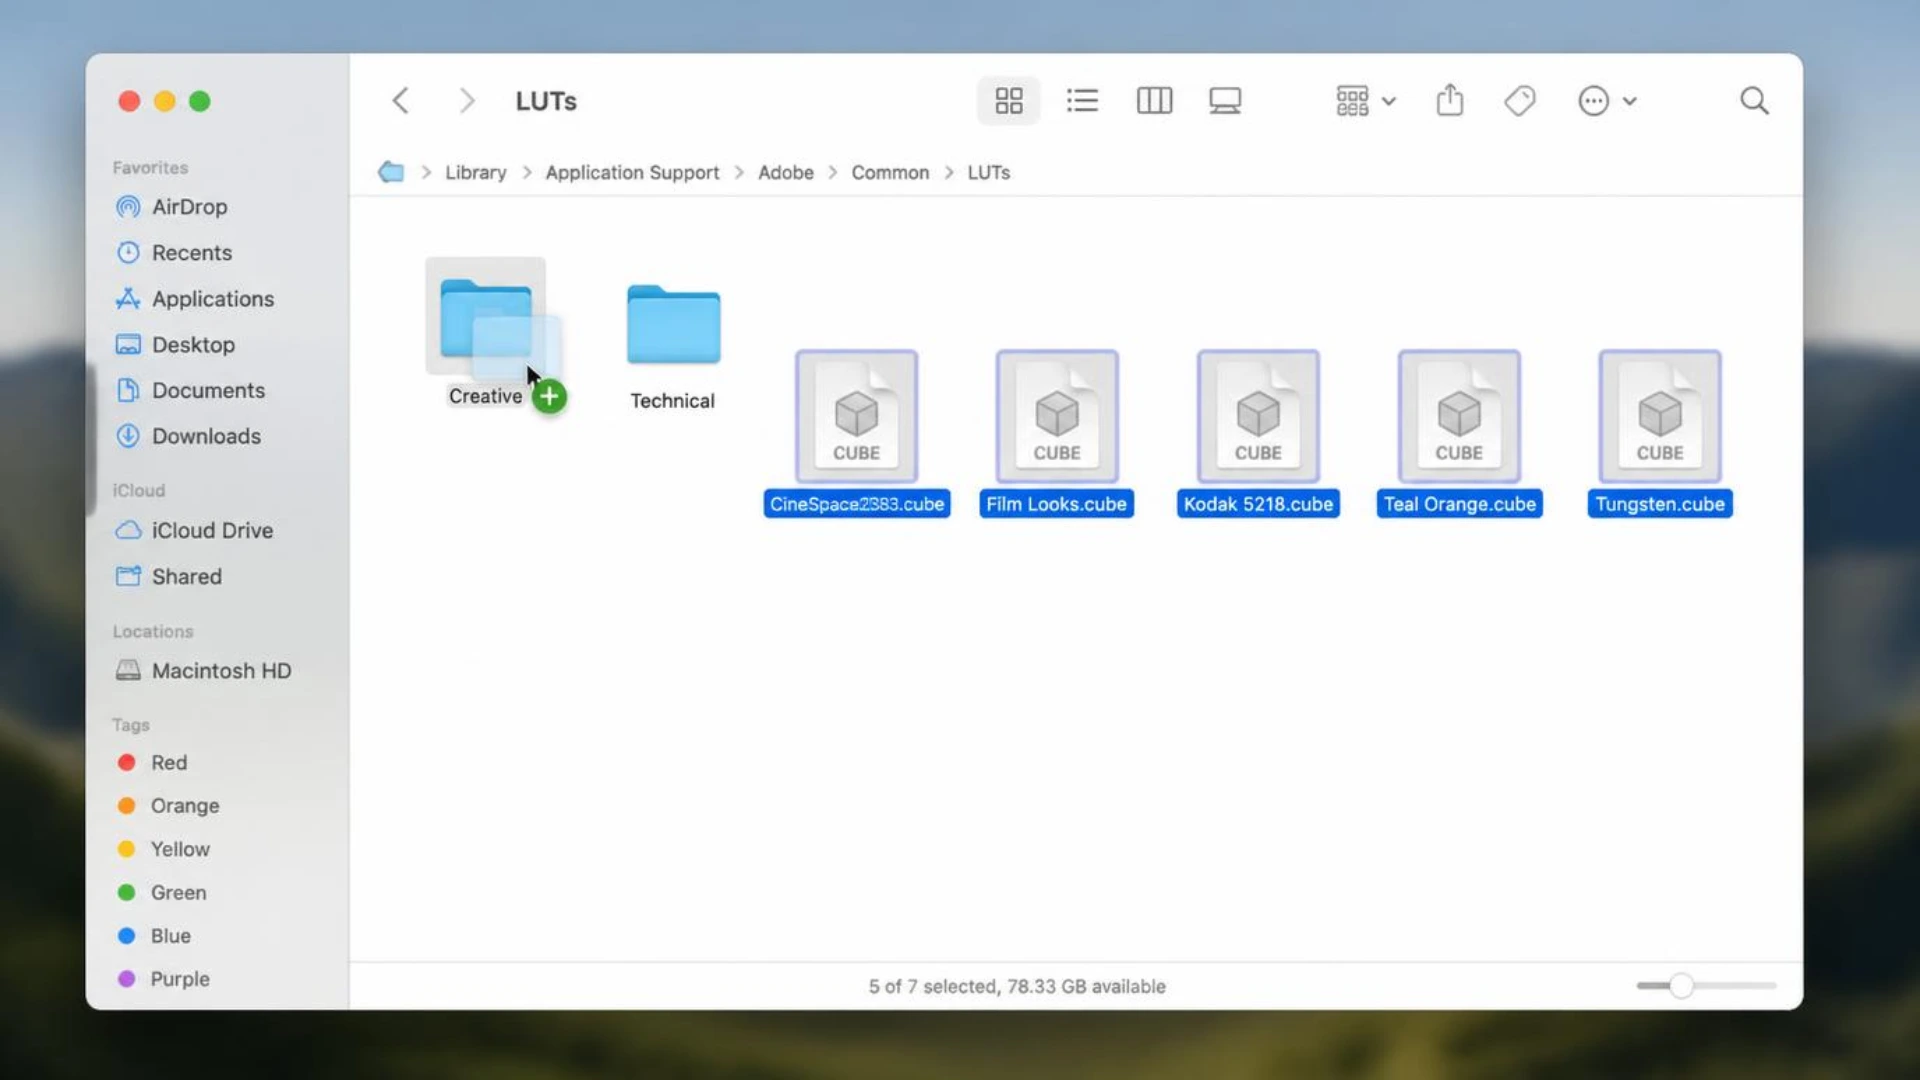
Where Do LUTs Go on Mac?
Navigate to /Library/Application Support/Adobe/Common/LUTs/ (the system Library, not your user Library). Inside, create two folders if they’re missing: Creative and Technical. Drop your stylistic .cube files into Creative and your camera conversion LUTs into Technical.
Where Do LUTs Go on Windows?
Go to C:\Program Files\Adobe\Common\LUTs\ and create the same Creative and Technical subfolders. If you don’t have admin rights, C:\Users\<your name>\AppData\Roaming\Adobe\Common\LUTs\ works too (AppData is hidden by default, so enable hidden items in File Explorer).
Why the Creative vs Technical Folder Choice Matters
Premiere Pro scans these folders once at launch. LUTs in Creative appear in the Creative > Look dropdown, LUTs in Technical appear in the Basic Correction > Input LUT dropdown. Put a file in the wrong one and it shows up in the wrong menu (or feels “missing” because you’re looking in the other dropdown). After copying files, fully restart Premiere Pro. No restart, no LUTs.
Why Are My LUTs Not Showing Up in Premiere Pro?

- Wrong folder. The files must sit inside
CreativeorTechnical, not loose in the LUTs folder or in a nested pack folder with a different name. - Wrong dropdown. Creative LUTs won’t appear under Input LUT, and vice versa. Check the other menu before panicking.
- No restart. Premiere Pro only scans the folders at launch. Quit completely and reopen.
- Too many LUTs. Premiere Pro caps the dropdown at roughly 100 entries. If your collection is bigger, the newest additions silently vanish. Prune or rotate (more on management below).
- Wrong file type. Premiere wants .cube (or .look) files. A .zip straight from a store won’t work, and neither will mobile formats.
- You’re on the 2025+ UI. Adobe reorganized the color workspace, so older tutorials point to menus that moved. See the next section.
Still stuck? Use Creative > Look > Browse to load the file directly. If it works there, the file is fine and the problem is folder placement.
How Do You Apply One LUT to Multiple Clips at Once?
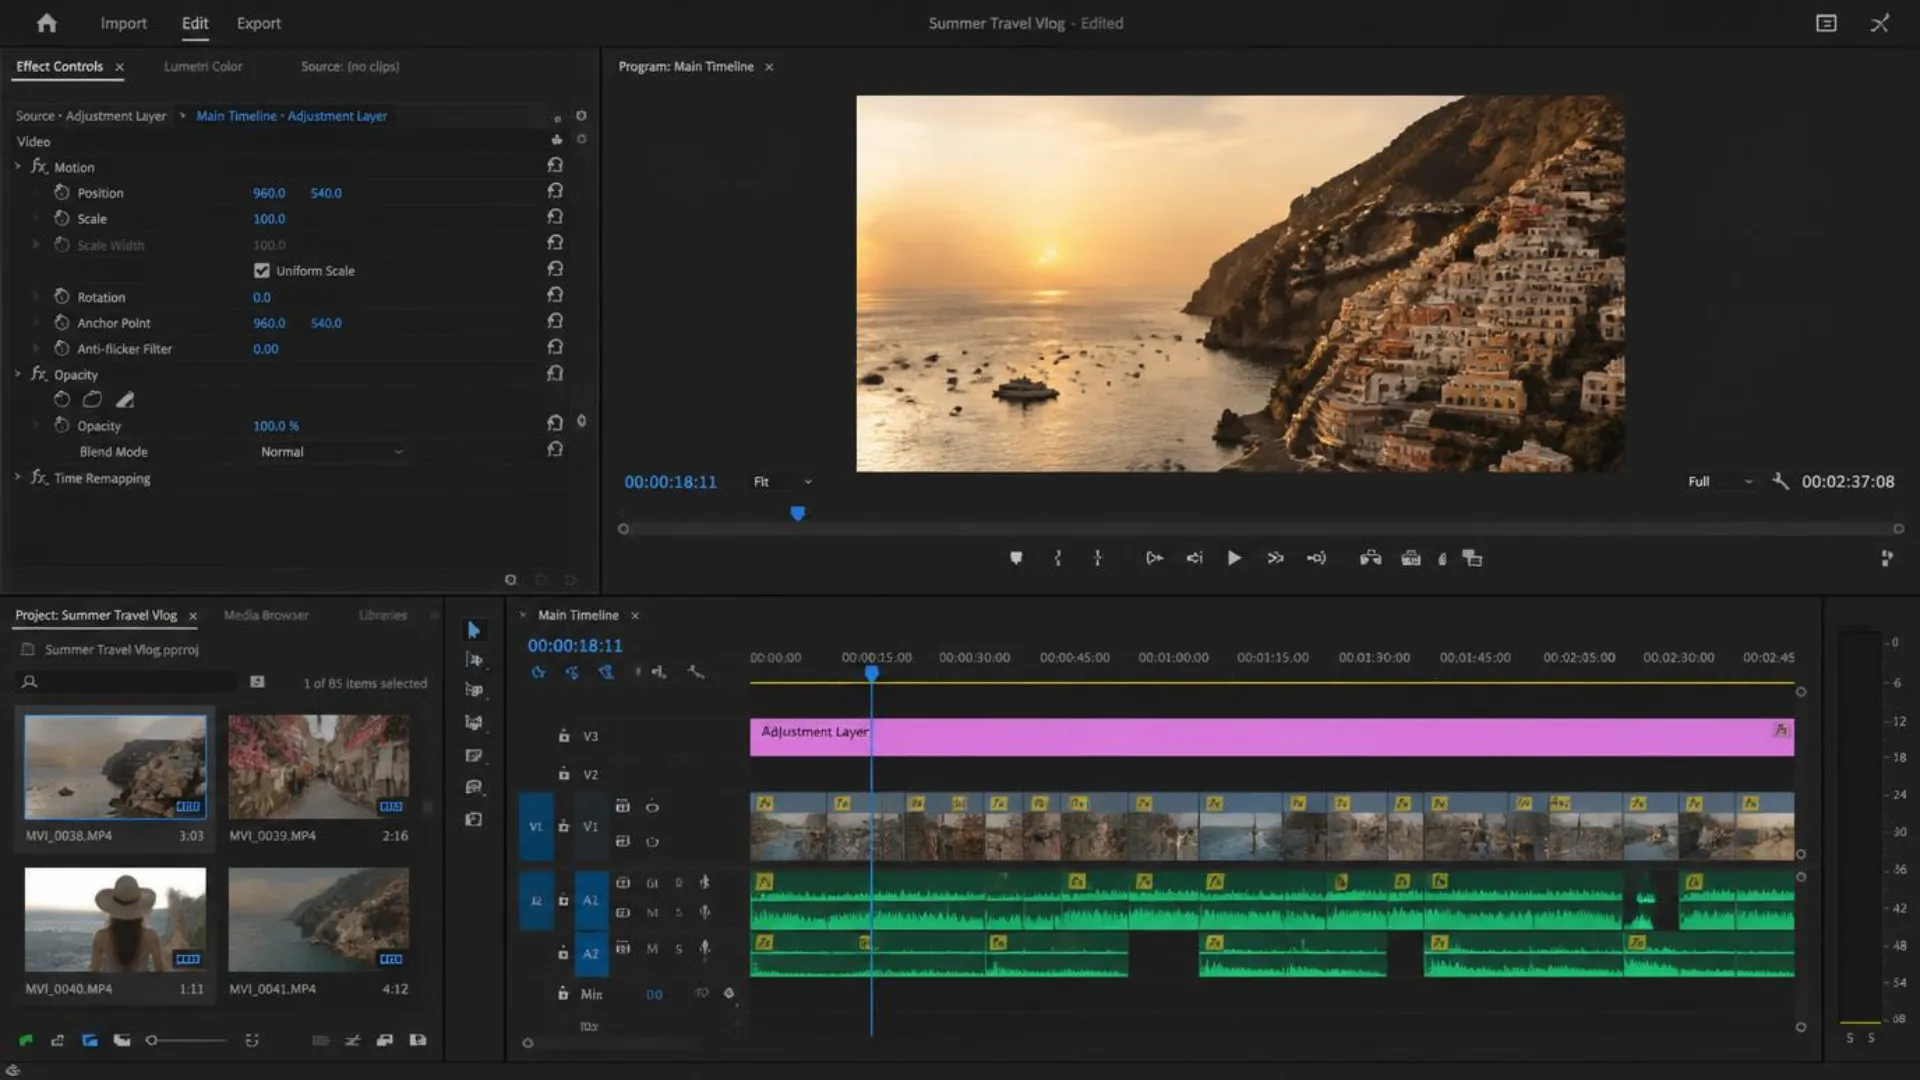
- Adjustment layer (the pro default). Create one via File > New > Adjustment Layer, lay it across your whole timeline on a top track, and apply Lumetri with your LUT to it. Every clip underneath inherits the grade, and you can toggle or retune the entire look in one place. Pair this with nested sequences to keep complex timelines tidy.
- Paste Attributes. Grade one clip, copy it, select the rest, right click > Paste Attributes, and check only Lumetri Color. Great for applying a base grade to selects.
- Master clip effect. Apply the LUT to the source clip in the Project panel and every instance in every sequence gets it. Perfect for log conversion LUTs on interview footage, and a lifesaver on multicam edits where each camera needs its own conversion.
Why Does My LUT Look Washed Out or Way Too Strong?
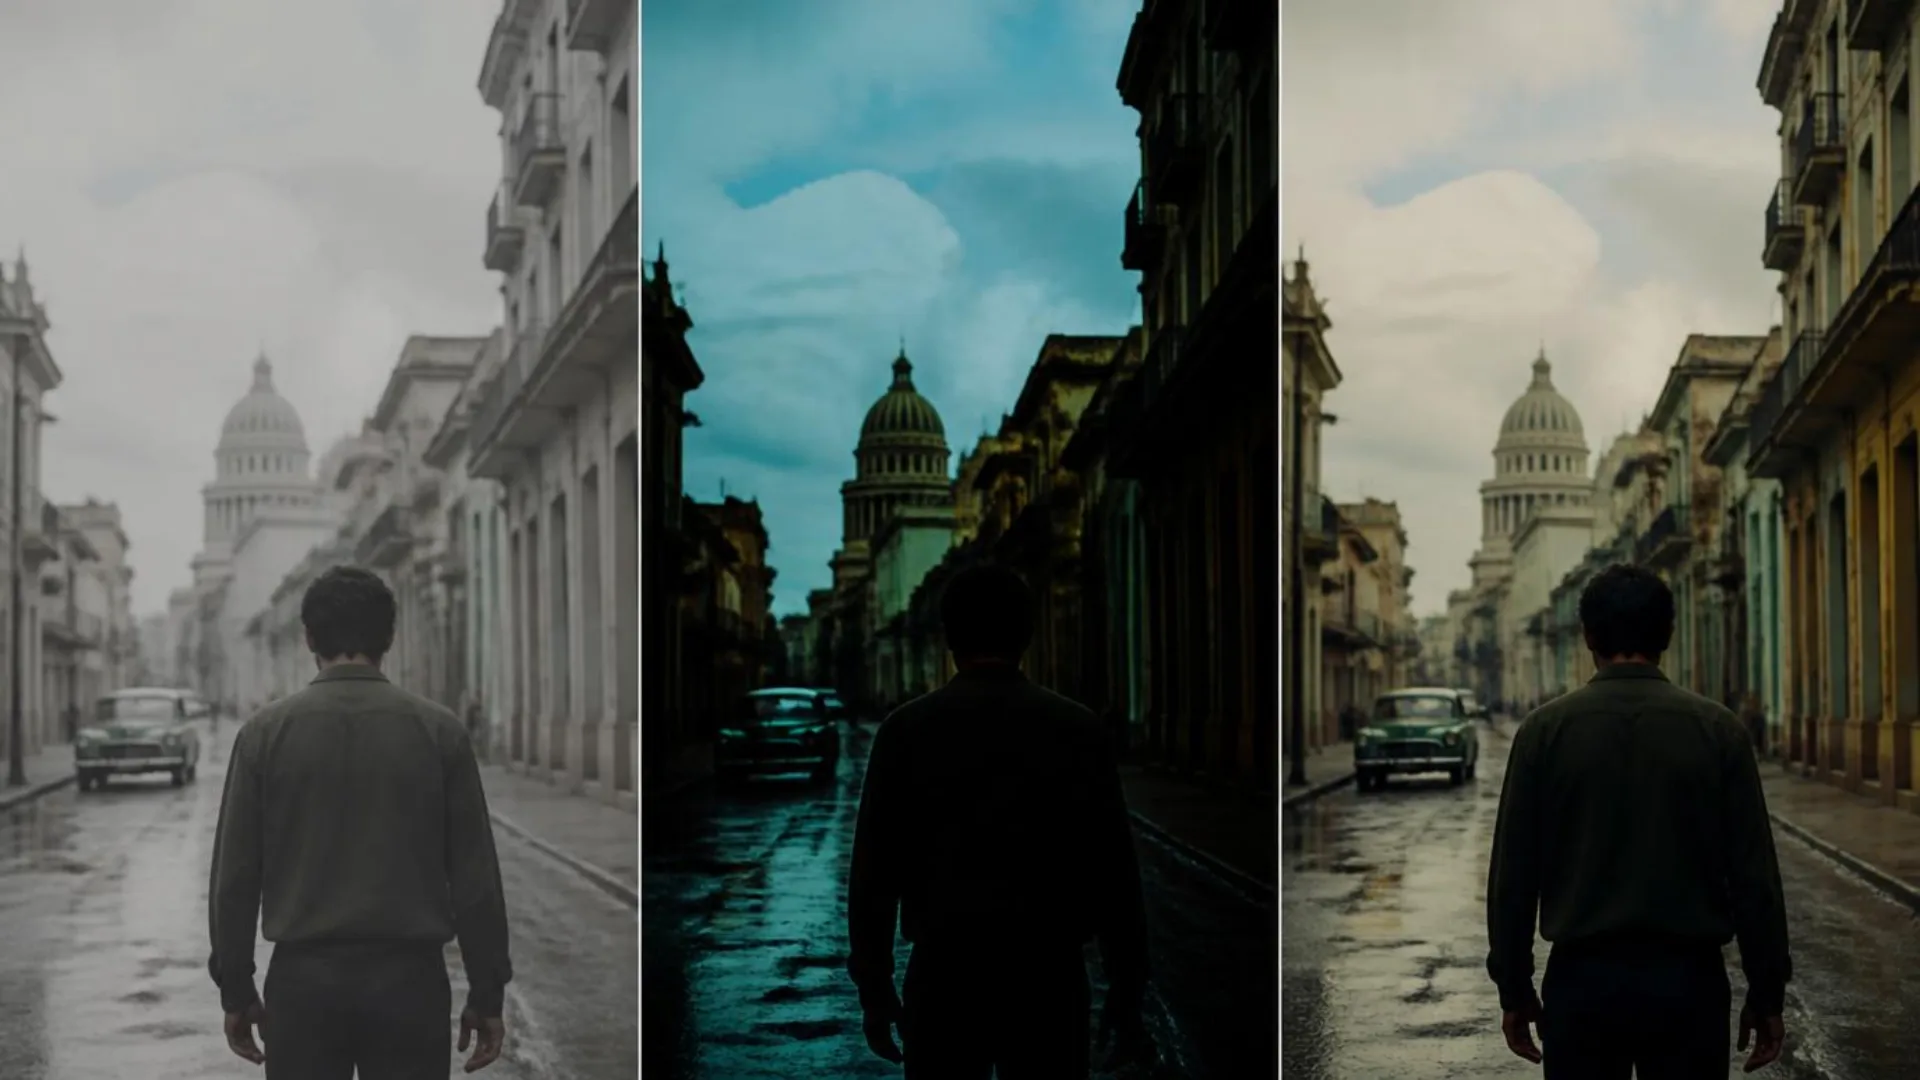
- You applied a creative LUT to log footage. Flat, gray footage needs a technical conversion first (Input LUT in Basic Correction), then the creative Look on top. Our log to final grading workflow covers this order of operations in detail.
- You skipped basic correction. Fix exposure and white balance before the LUT, not after. A LUT amplifies whatever it’s given, including your mistakes.
- Intensity is at 100. Most creative LUTs are designed to be dialed back. Try 50 to 75 percent and season to taste.
- Double conversion. If Premiere’s auto color management already normalized your log footage (see next section) and you add a conversion LUT on top, you get a washed out or overcooked image. One conversion, not two.
What Changed with LUTs in Premiere Pro 2025 and the New Color Mode?
- Check Sequence Settings > Color Management before adding conversion LUTs. If auto detection is on and working, skip the technical LUT entirely.
- When you do load a LUT, newer versions let you specify the LUT’s input and output color space, which prevents the classic washed out mismatch.
- Wide gamut and HDR are now handled properly, so LUTs built strictly for Rec.709 may need the intensity dialed back or a proper color space tag.
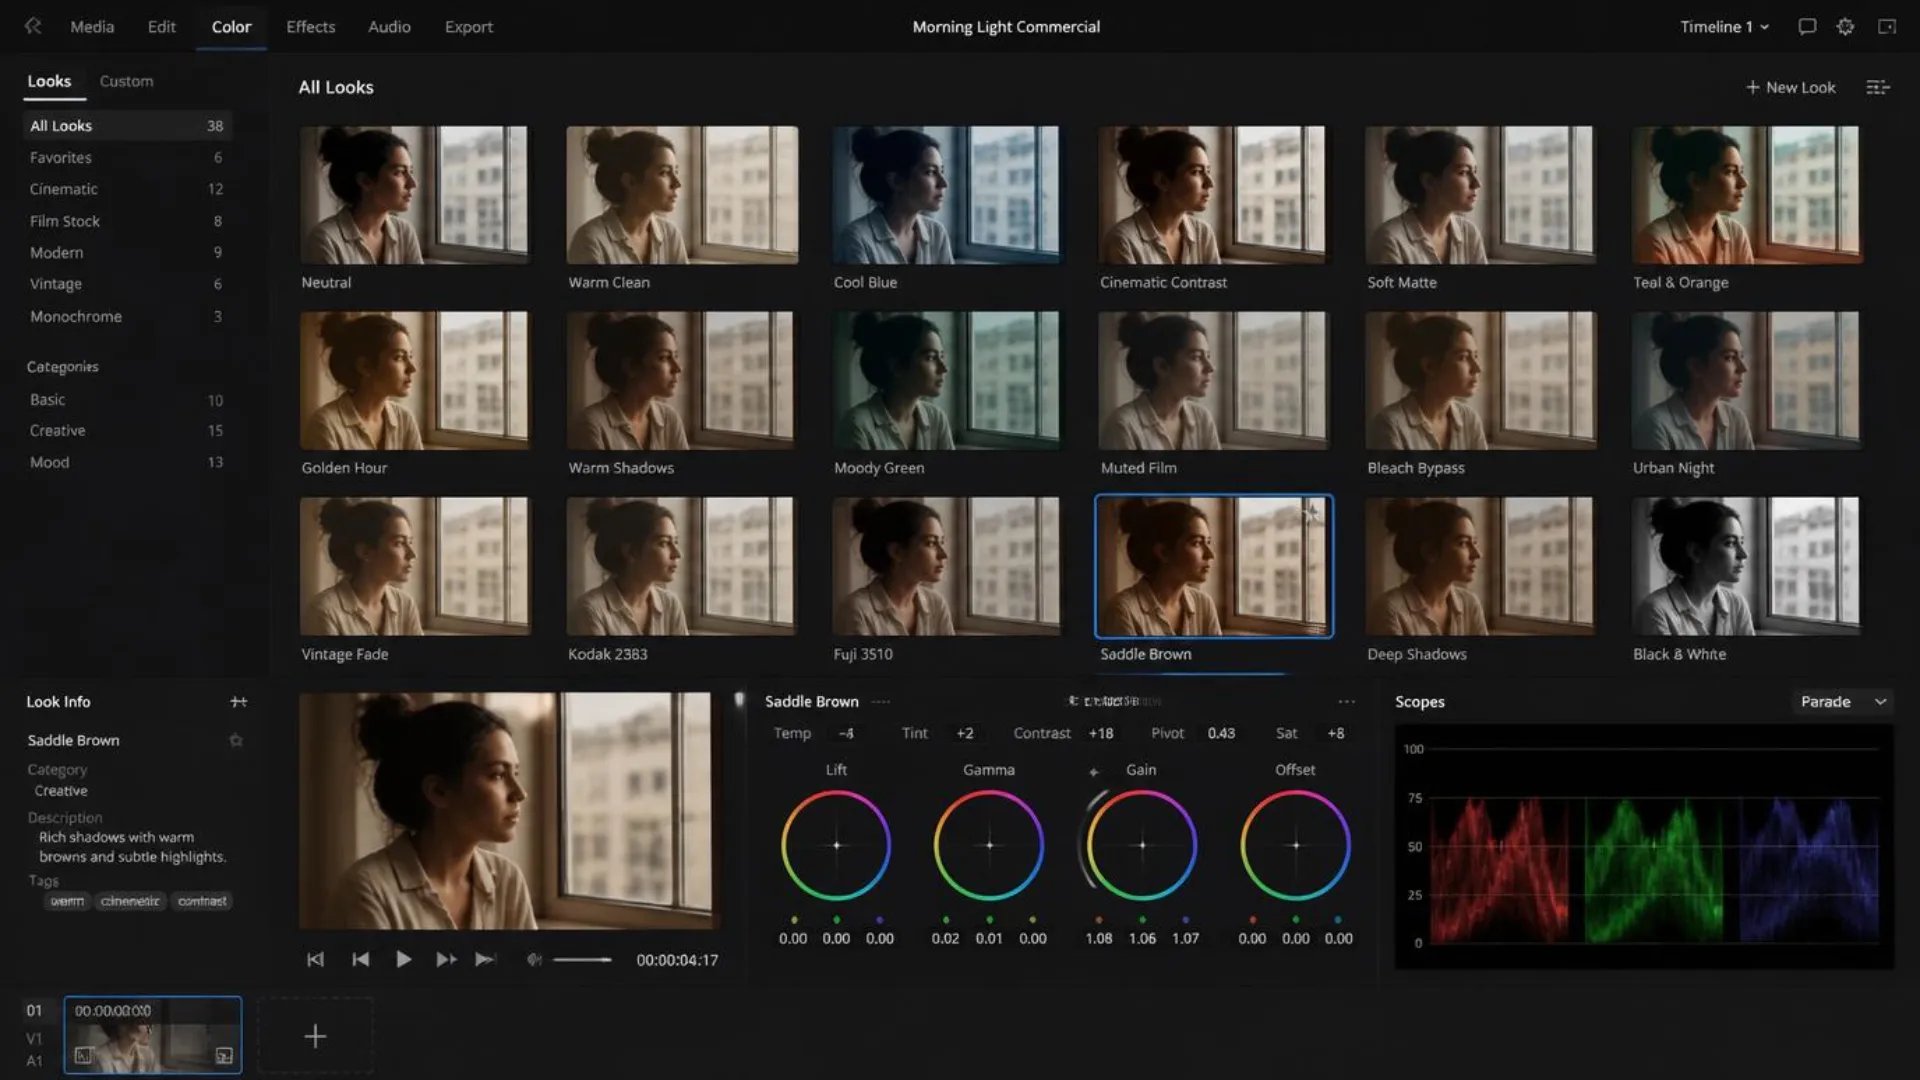
On top of that, Adobe has been rolling out a redesigned Color Mode (currently in beta builds) that reorganizes the color workspace and adds a visual Looks browser with thumbnail previews. Menu locations will keep shifting, but the core logic in this guide (conversion first, creative second, shared LUTs folder for permanent installs) carries over intact.
How Do You Organize and Manage a LUT Library Like a Pro?
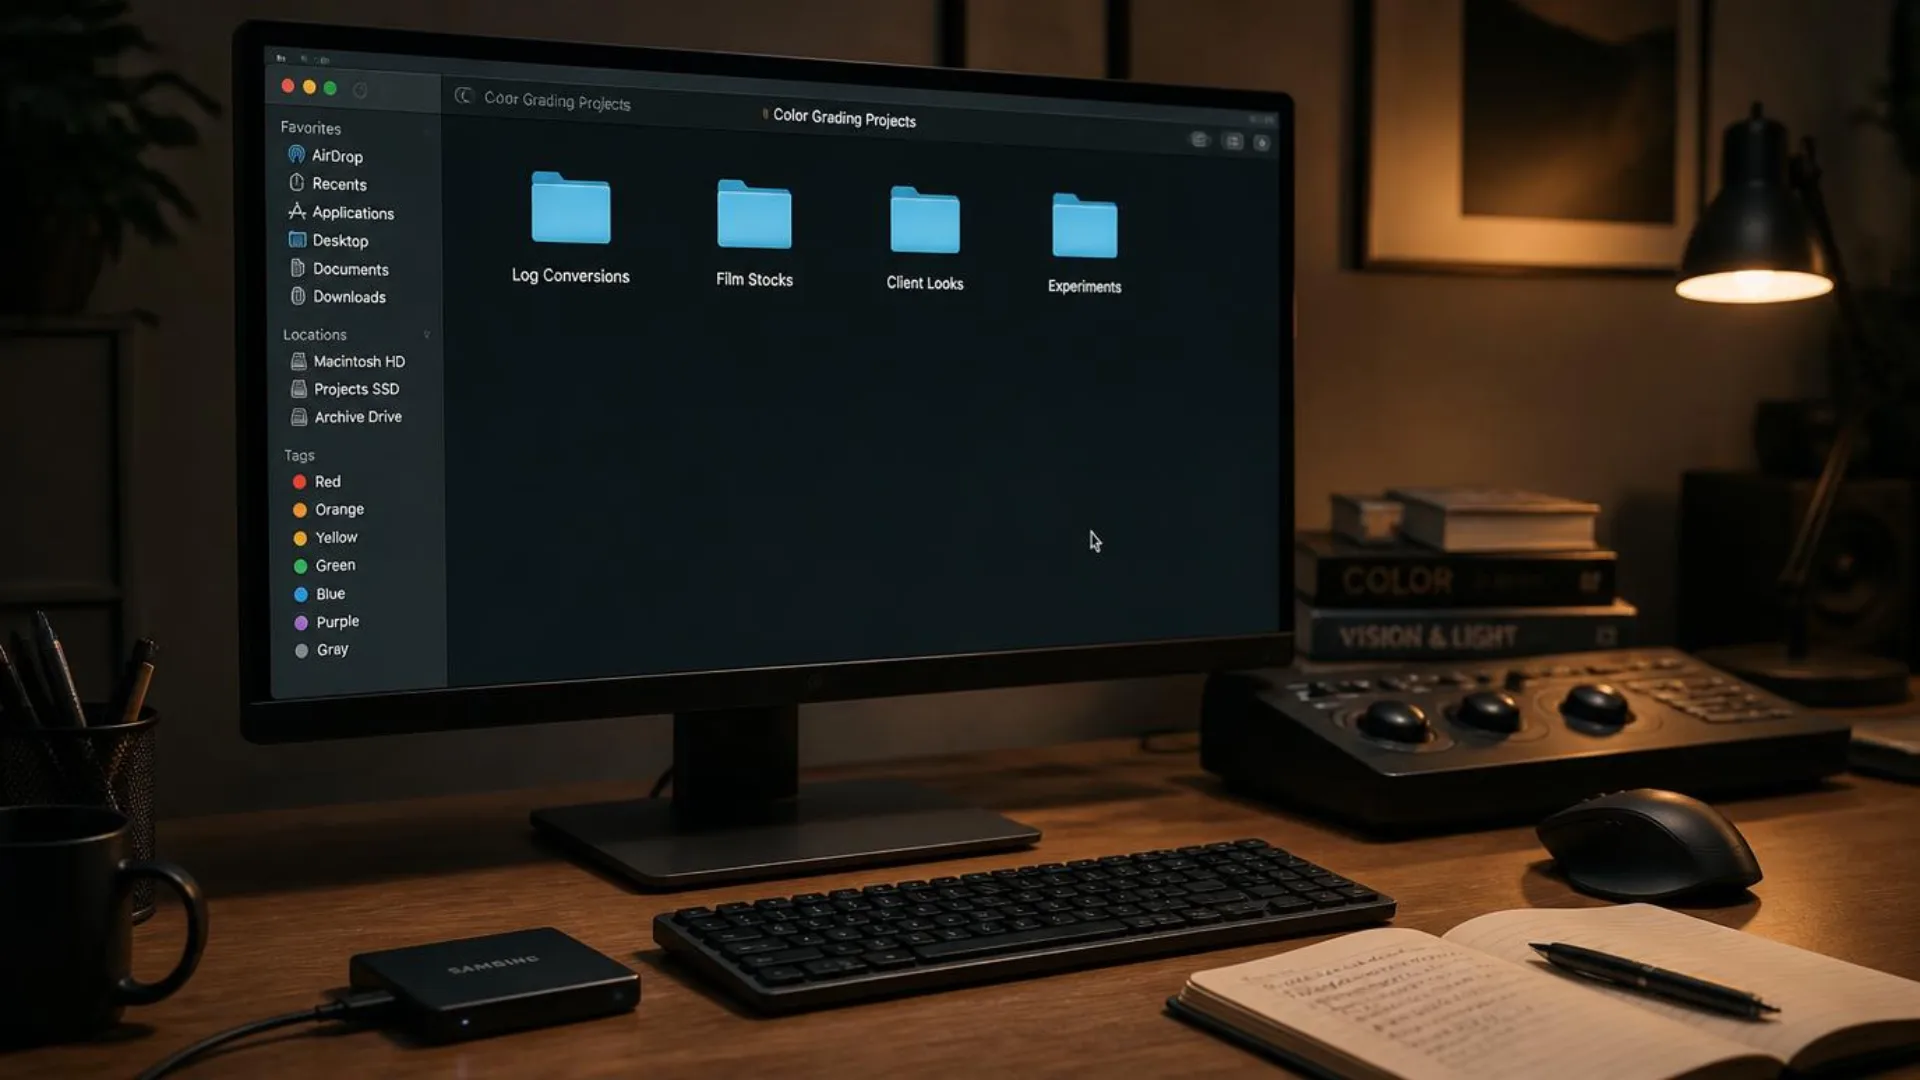
- Curate ruthlessly. Remember the roughly 100 LUT display limit. Keep a master archive on your drive and install only your working set into the Adobe LUTs folder.
- Name for search, not nostalgia.
Kodak2383_TealShadows_Interview.cubebeatsFinalLUT_v3_NEW.cubeevery single time. - Group by purpose. Separate log conversions, film emulation, client looks, and experiments so you always know which dropdown and which folder to check.
- Standardize per project. Pick one or two hero looks per project and stick to them. A video where every scene shares the same look feels graded on purpose. Ten different looks feel like an accident.
- Build on quality stock. The best LUTs for Premiere Pro are built from real reference data, not eyeballed saturation boosts. Film Emulation Pro is scanned from actual Kodak, Fujifilm, and Ilford film stocks, so the color response behaves like film instead of imitating it. Layer a subtle organic glow from Real Light Leaks on top and you have a cinematic finishing kit that stays consistent across projects.
Can You Create and Export Your Own LUT from Premiere Pro?
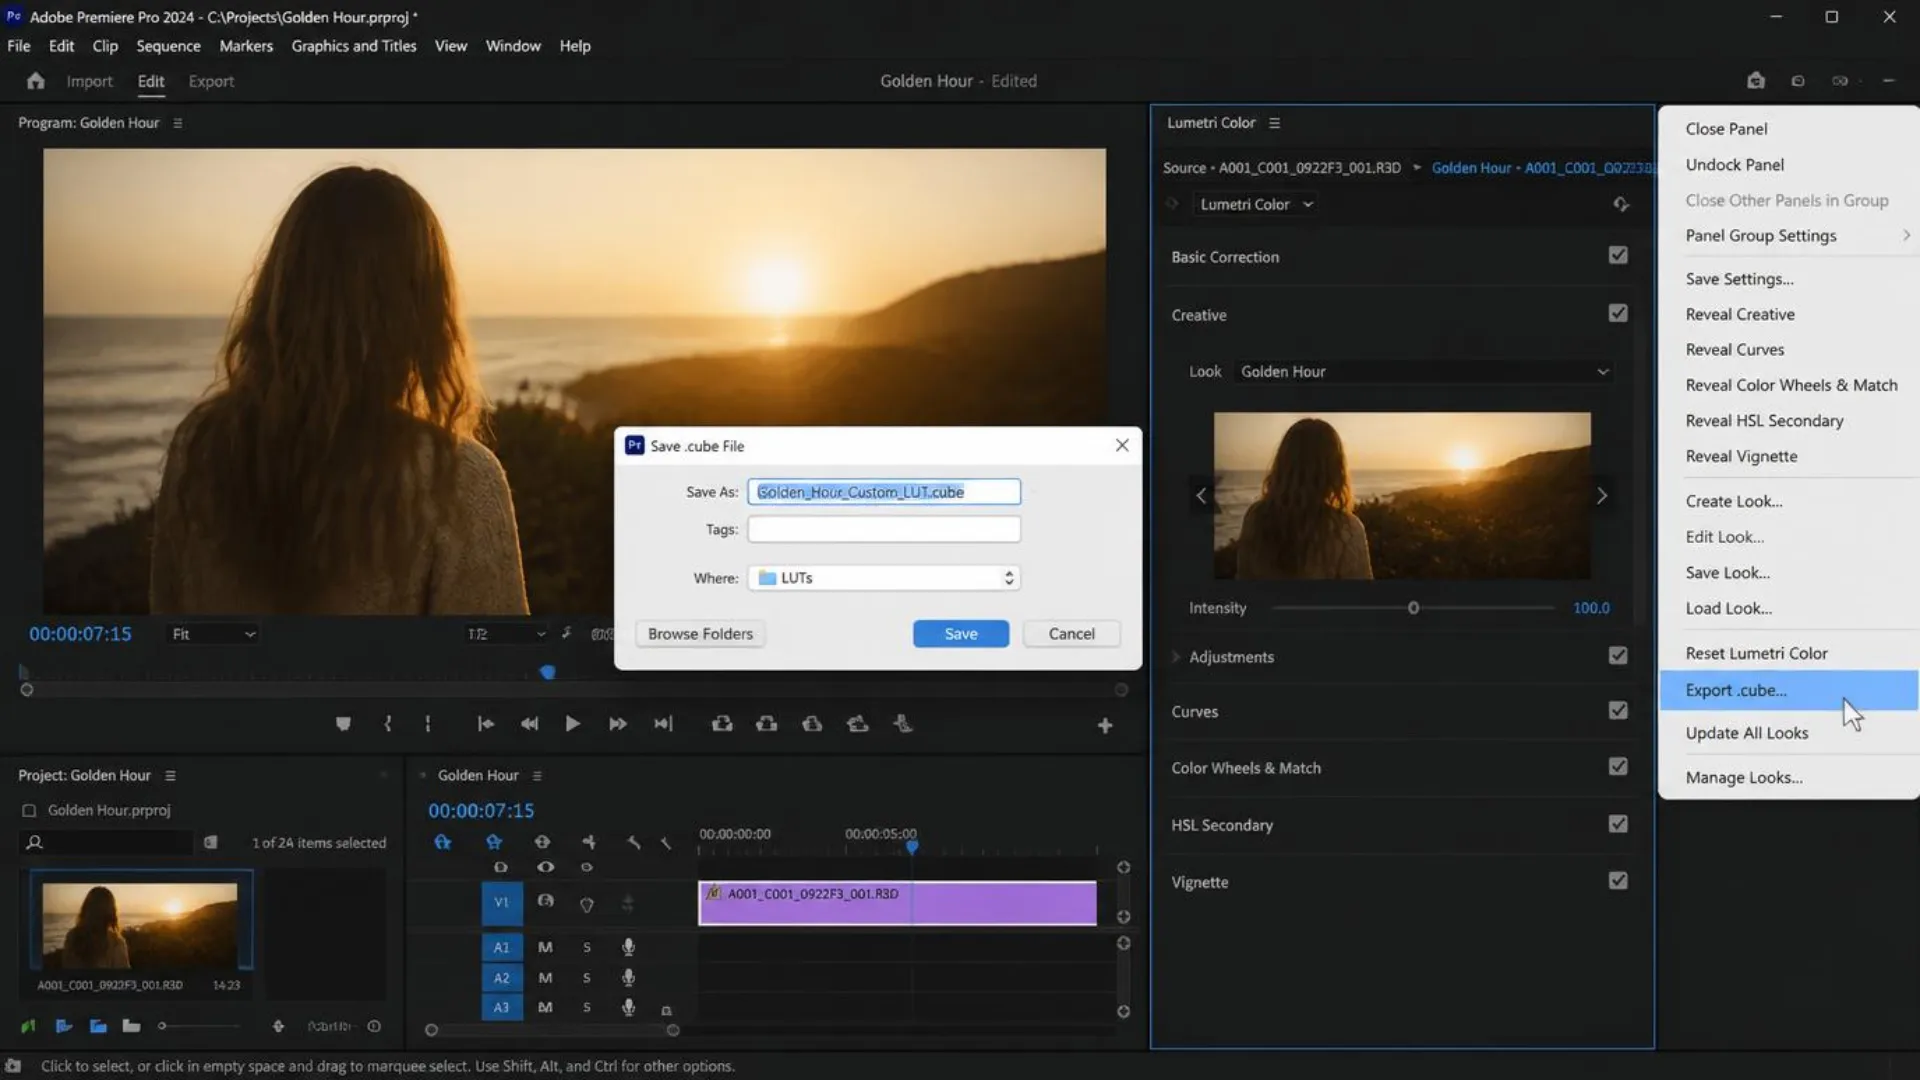
A few things to know: the export captures color adjustments (curves, wheels, HSL), but not effects like grain or vignettes, and it bakes in the state of the clip it was built on. Build your export grade on properly corrected footage so the LUT stays clean. Since .cube is universal, the same file works in After Effects, Final Cut, and DaVinci Resolve (here’s how LUTs work in Resolve if you cut across both apps).
Conclusion
If you want a library that’s worth organizing in the first place, start with Film Emulation Pro. It’s built from real film scans and ships with matching grains and letterboxes, so the looks hold up on client work. Your future self (the one not scrolling through 300 badly named .cube files) will thank you.
Disclaimer : If you buy something through our links, we may earn an affiliate commission or have a sponsored relationship with the brand, at no cost to you. We recommend only products we genuinely like. Thank you so much.
Blog Label:



Write for us
Publish a Guest Post on Pixflow
Pixflow welcomes guest posts from brands, agencies, and fellow creators who want to contribute genuinely useful content.
Fill the Form ✏