How to Use Runway ML for Video Editing: A Step-by-Step Tutorial for Creators

- What Is Runway ML and Why Creators Are Using It in 2026
- The Runway ML Model Lineup You Should Know in 2026
- Runway ML Pricing and Credits Explained
- Step 1: Setting Up Your Runway Workspace
- Step 2: Generating Video From Text and Images
- Step 3: Editing Existing Footage with Aleph
- Step 4: Character Performance with Act-Two
- Step 5: Using Runway's Built-In Editing Tools
- Step 6: Image Tools That Power Better Video Generations
- Step 7: Audio Inside Runway
- Step 8: Polishing Your Video for Distribution
- Pros and Cons of Runway ML in 2026
- Common Mistakes to Avoid
- Runway ML vs the Competition (Quick Take)
- A Practical End-to-End Runway Workflow for Creators
- Conclusion
This guide is a full step-by-step tutorial for using Runway ML in 2026, written for content creators, video editors, motion designers, and filmmakers. We will walk through the new model lineup (Gen-4, Gen-4 Turbo, Aleph, Act-Two), pricing and credits, every major tool inside the app, and a practical end-to-end workflow you can use this week. Whether you are opening Runway for the first time or upgrading your existing pipeline, you will leave with a clear plan.
If you want broader context on the AI video landscape before diving in, our pillar guide on AI Video Tools in 2026 is the best starting point. This article zooms in on Runway specifically.
What Is Runway ML and Why Creators Are Using It in 2026
The platform first reached mainstream attention through Gen-1 and Gen-2, then matured with Gen-3, and in 2026 the flagship line is Gen-4, Gen-4 Turbo, and the in-context editing model Aleph. Runway tools have been used in award-winning productions (most famously the visual effects pipeline of Everything Everywhere All at Once), which gives the platform a unique credibility in the professional space.
Why creators reach for Runway in 2026:
- It produces cinematic, physics-aware clips with strong subject and style consistency.
- It supports a true creator workflow, not just one-off generations: references, keyframes, camera control, character performance, and post-editing all live inside the same app.
- The browser-based access means a Chromebook user and a high-end studio editor can use the same toolset.
- Generated assets are royalty-free for commercial use, with copyright owned by you.
If you are still deciding whether Runway is the right fit, our Best AI Video Generators Compared blog benchmarks Runway against Sora, Veo, Pika, Kling, and Seedance head to head.
The Runway ML Model Lineup You Should Know in 2026
Gen-4 and Gen-4.5
Gen-4 is the model you reach for when quality matters most. It excels at dynamic motion, realistic physics, and keeping subjects, objects, and styles consistent across a clip. It is also the model most aligned with detailed prompt instructions, so it rewards careful writing. Gen-4.5 sharpens text-to-video quality further and is the default for hero shots, narrative scenes, and anything you intend to deliver to a client.
Gen-4 Turbo
Think of Turbo as your scratchpad. It generates roughly five times faster than Gen-4 at a fraction of the credit cost, while still producing usable, high-quality results. Use it for image-to-video drafts, prompt experiments, and concept exploration. Many creators run ten Turbo previews to find the right look, then commit credits to a single Gen-4 final.
Aleph
Aleph is the model that changed how creators think about editing. Instead of generating from scratch, you upload an existing video and tell Aleph what to change. Replace the car, swap a studio background for a moody warehouse, change daylight to night, add snow, change the camera angle. It performs the kind of transformations that used to require a full VFX pipeline, all from a text prompt and an optional reference image.
Act-Two
Act-Two is the evolution of Act-One. Where Act-One transferred facial expressions only, Act-Two captures face, hands, and full-body gestures from a reference video and maps them onto your character (a generated image, a 3D-style portrait, or an uploaded asset). It is the closest thing to a one-take performance capture pipeline inside a browser.
Gen-3 Alpha and Gen-3 Alpha Turbo
Gen-3 is still available and still useful, particularly for legacy projects or when you want the older keyframe and camera-control workflows. Turbo variants save credits for simpler shots. New projects should default to the Gen-4 family unless you have a specific reason.
Runway ML Pricing and Credits Explained
- Gen-4.5: about 12 credits per second of video
- Gen-4 Turbo: about 5 credits per second
- Aleph: about 15 credits per second
- Act-Two: about 5 credits per second
A 10-second Gen-4.5 generation will burn roughly 120 credits. A 10-second Aleph edit will burn around 150. Free plan credits disappear quickly once you start experimenting with Aleph or Gen-4.5, which is why most serious creators move to Standard within a week of signing up.
If you are still optimizing for cost across multiple AI tools, this comparison fits into a broader strategy explained in our AI video editing workflow blog covering Premiere Pro and Resolve.
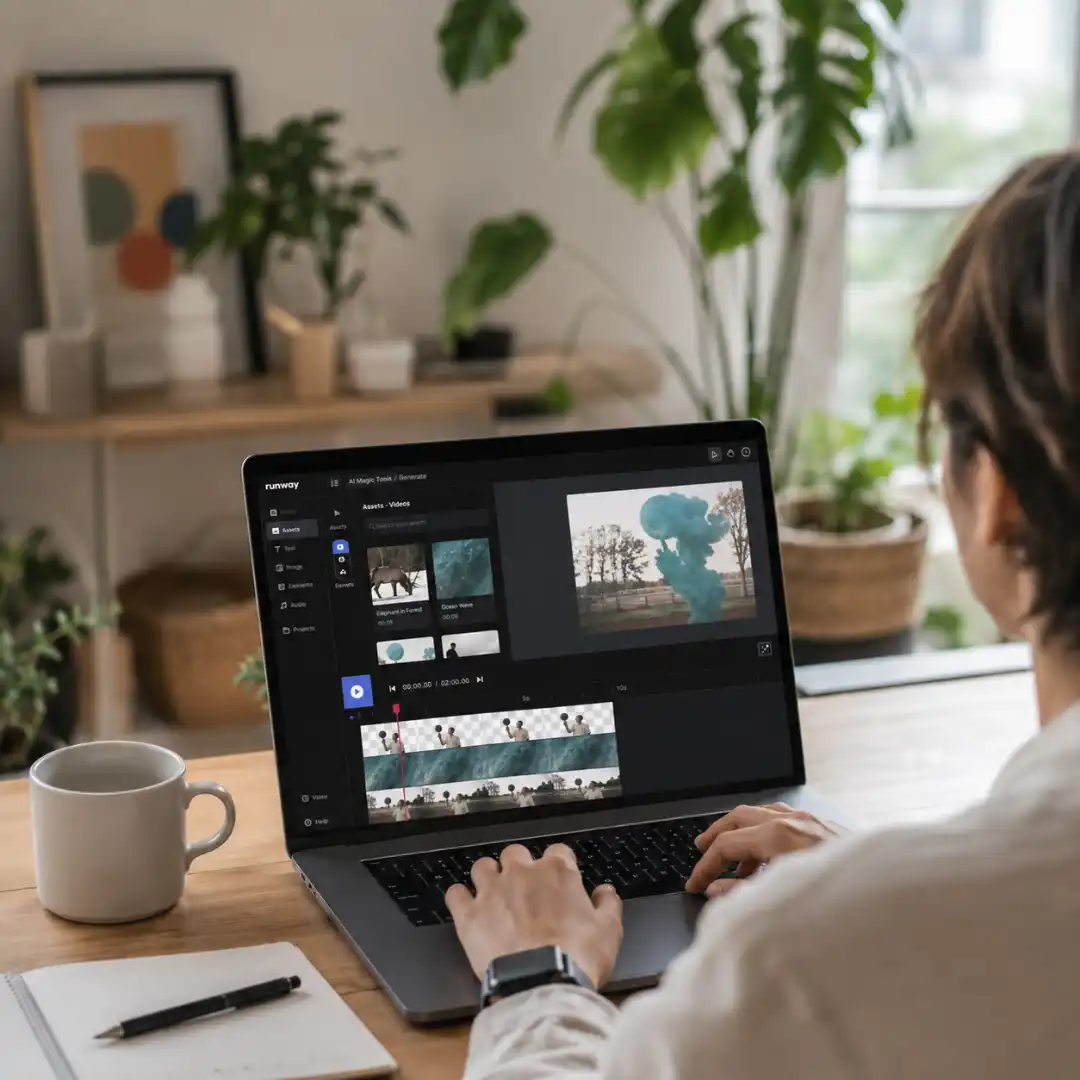
Step 1: Setting Up Your Runway Workspace
Create your account and pick a plan
Head to runwayml.com, sign up with email or Google, and you will land on the Home dashboard. Start on the Free plan to explore the interface, but plan to upgrade to Standard once you start producing client-ready work.
Tour the dashboard
The left sidebar is your command center:
- Home: tutorials, featured workflows, and inspiration from the Runway community.
- Assets: every file you upload or generate, organized in folders.
- Sessions: in-progress generative projects.
- All Tools: the full menu of AI tools, filterable by video, image, audio, and 3D.
- Video Editor Projects: timeline-based projects for assembling final cuts.
Pin the tools you actually use
Click the star next to any tool to pin it for quick access. For most creators, the everyday stack is Generative Session, Aleph (Edit Video), Act-Two, Generative Audio (Lip Sync Video), and the Video Editor.
Step 2: Generating Video From Text and Images
Image-to-video with Gen-4 Turbo
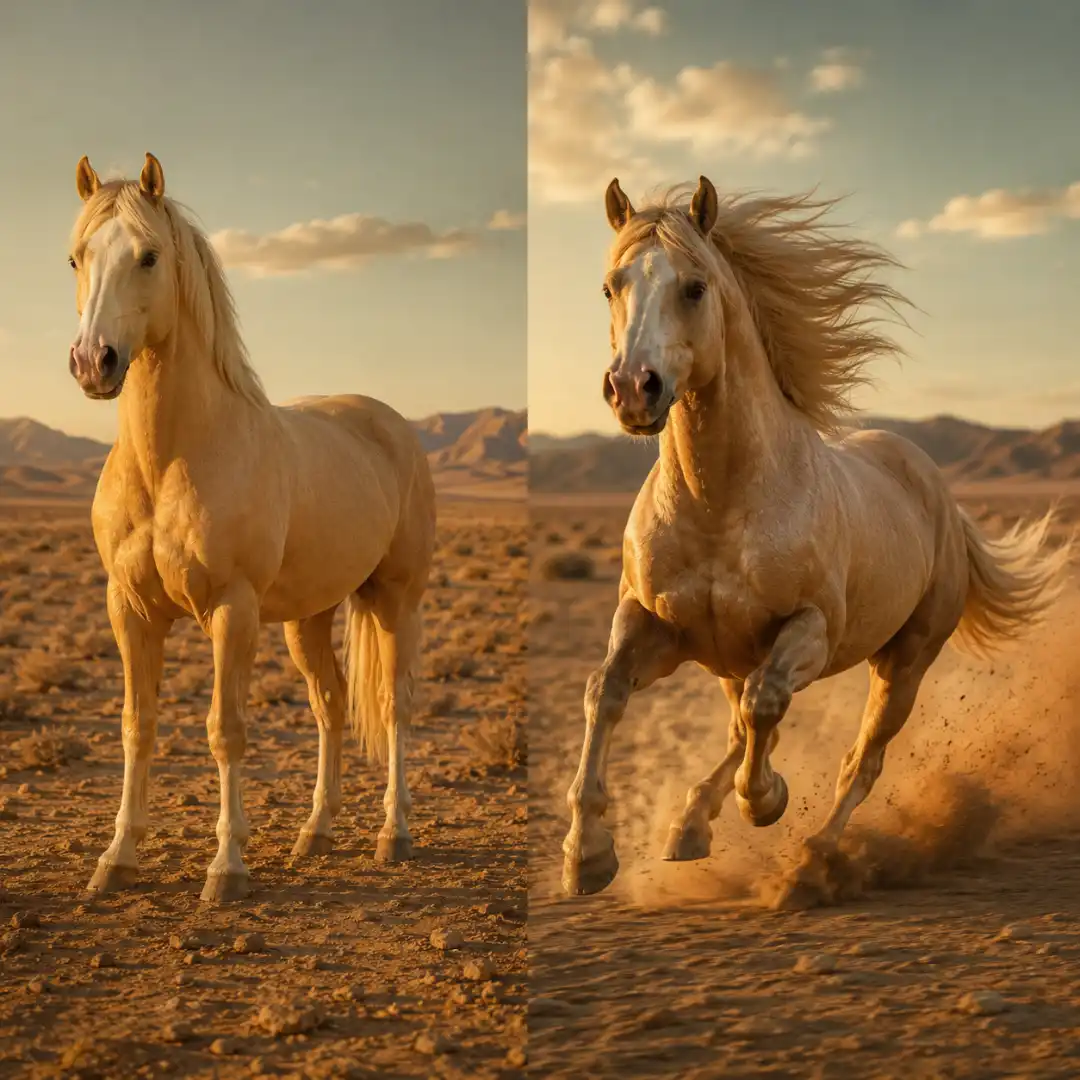
This is the cleanest entry point. Upload a still image (a photograph, a Midjourney render, or a frame you captured), crop to your aspect ratio, and write a short description of what should happen. Keep prompts tight: subject, action, environment, camera. Example:
A blonde horse running with powerful movement across a wide desert. The camera tracks the horse from the side as sand dust rises behind. Cinematic, golden hour, realistic.
Set a 5-second length, click Generate, and review in the preview window. Extend by another 8 seconds if needed.
Text-to-video with Gen-4.5
With no reference image, your prompt has to do all the work. Use a two-part structure:
- Visual description: subject, environment, lighting, style.
- Camera direction: shot type, motion, lens behavior.
Example:
A neon-soaked Tokyo alley at night, rain reflecting purple and pink signs. A lone figure in a long coat walks slowly toward the camera. Slow dolly-in, shallow depth of field, anamorphic lens flare, cinematic, photorealistic.
For more on prompt structure across AI video tools, our Text-to-Video AI blog is a useful companion.
Use keyframes for controlled motion
In Gen-3 Alpha Turbo and select Gen-4 workflows, you can supply a first keyframe and a last keyframe. The model interpolates between them, giving you predictable motion. Use this for product reveal shots, fashion turns, and transitions between two scenes.
Camera control
Switch to the Camera Control panel to pan, tilt, zoom, roll, and dolly without altering the subject. Start with small increments (0.5 to 1.0) and stack movements gradually. Aggressive values often distort the frame.
Fix Seed for consistency
If you want a series of clips with the same style, lighting, and feel, enable Fix Seed and copy that seed into your next generations. This is how creators on the Runway AI Film Festival produce multi-shot films that look like they came from a single camera.
Step 3: Editing Existing Footage with Aleph
What Aleph can do
- Add or remove objects (a lamp, a car, a person in the background).
- Replace subjects entirely (change a beige sedan to a red sports car).
- Change weather, time of day, and season (sunny to snow, day to night).
- Adjust lighting and mood (cool to warm, soft to dramatic).
- Generate alternative camera angles from a single input clip.
- Transfer style and color treatment without losing the original motion.
A quick Aleph workflow
- Open Edit with Aleph and upload a clip (up to roughly 5 seconds of the source plays into a single edit).
- Add a clear instruction. Use action verbs: Add, Remove, Change, Replace.
- Optionally upload a reference image to guide style or content more precisely.
- Click Generate, review, and iterate with a more specific prompt if needed.
Good Aleph prompts read like art-direction notes:
Replace the cloudy sky with a dramatic sunset. Keep the original camera motion and subject.
Change the season from summer to deep winter. Add snow on the ground and lightly falling snowflakes.
Replace the silver car with a vintage red 1960s convertible. Keep the same driving direction and lighting angle.
Where Aleph fits in your pipeline
Aleph shines when you want to keep a real performance or specific motion but change the world around it. Shoot on a small set, then dress the location with Aleph in post. Reuse one strong clip multiple times across a campaign by changing season, time of day, or environment.
If color treatment is a primary concern, pair Aleph with dedicated tools covered in our AI color grading blog.

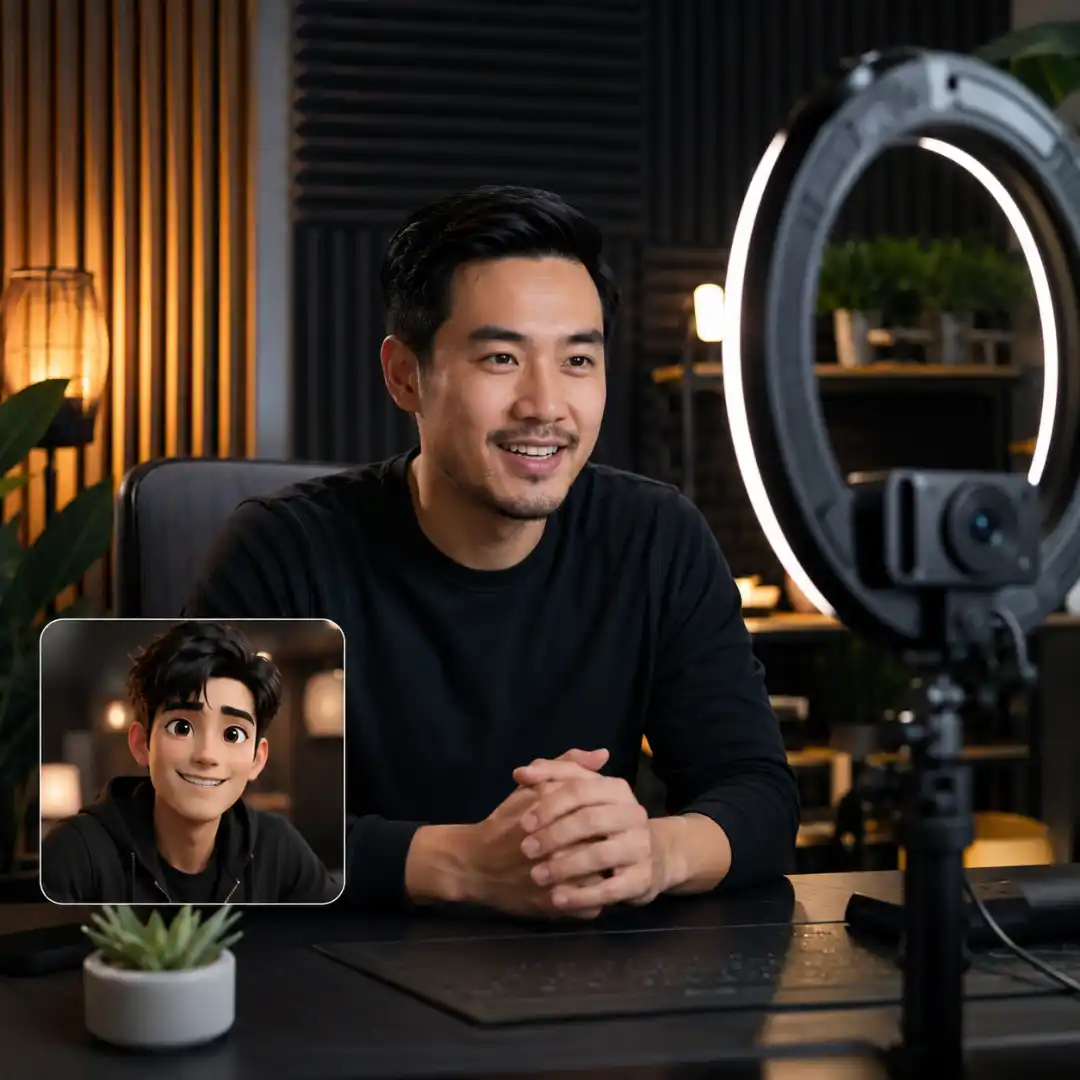
Step 4: Character Performance with Act-Two
Recording the reference
Use a clear, front-facing video with good lighting and minimal body movement outside the head and hands. Look into the camera and act the scene as you want it to play. Five to ten seconds is usually enough for a single shot.
Pick your character
Upload your own character image, choose a Runway template (photorealistic, 3D, or illustrated), or generate one first using the Text-to-Image tool inside Runway. Make sure the character has a clear, unobstructed face for the cleanest results.
Generate and refine
Click Generate. Review the result and lower the expressiveness slider if motion feels too intense, especially for stylized or 3D characters where extreme facial motion can look uncanny. Use the same seed if you want the character to remain consistent across multiple scenes.
Add a voice with Lip Sync
Open Generative Audio and switch to Lip Sync Video. Import your Act-Two clip, then either upload a voice track or type out a script and assign one of Runway’s built-in voices. Generate, and the character speaks your dialogue with synced mouth movement.
Step 5: Using Runway’s Built-In Editing Tools
Green Screen (background removal)
Upload a clip and drop a few points on your subject. The AI tracks the mask through every frame. Use the Exclude brush to clean up edges (hair, accessories, complex outlines). Feather the mask for natural blending, then composite over a new background inside the Video Editor.
Inpainting (object removal)
Paint over anything you want gone (a logo, a person, a microphone, a watermark). Runway fills the area with a contextually appropriate background and tracks the fill through the clip. Multiple key frames let you correct mid-clip drift.
Motion tracking
Click a point on your subject; the camera focus follows that point through the timeline. Pair this with imported graphics or titles to anchor them to a moving subject without manual keyframing.
Color grading (Text to Color LUT)
Describe the look you want (“subtle orange hue, cinematic golden hour”) and Runway generates a color treatment for your clip. Download the resulting LUT to use in Premiere, Resolve, or any NLE.
Super Slow Motion
Frame-interpolated slow motion that does not destroy your image quality. Drop a clip in, slide to your desired speed, and export. Great for product reveals and music videos.
Blur Faces and Depth of Field
Quickly blur identifiable faces for privacy edits, or simulate a shallow depth of field on footage shot with a deeper lens. Both effects detect subjects automatically.
If your project also needs captions and subtitles, you can either use Runway’s transcribe tool or follow the deeper approach in our AI automatic captions and subtitles blog.

Step 6: Image Tools That Power Better Video Generations
Text-to-Image with Gen-4 Image
Write a detailed prompt covering subject, environment, color, vibe, and style. Set aspect ratio, resolution (720p or 1080p), and the number of variations. Pick a style preset like Cinematic for the most photorealistic outputs.
References and the @ system
Upload up to three reference images and name them (for example: Hero, Texture, Location). In your prompt, call them with @Hero or @Texture to direct Gen-4 to combine them. This is the closest thing Runway has to character or brand consistency.
Infinite Image (outpainting)
Expand any image beyond its original frame. Position the new frame so it overlaps the original, write a short prompt for the new area, and generate. Useful for turning a vertical photo into a wide cinematic frame before animating.
Erase and Replace
Paint over a specific area and describe the replacement. Great for retouching products, swapping clothing, or fixing imperfections without leaving Runway.
Upscale Image
Final step before generation: upscale your reference up to 2K or 4K. Note that video outputs in Gen-4 are capped at 720p natively; the 4K upscale option for video is a separate paid feature.
For projects that lean heavily on generated b-roll, our AI B-roll generation blog shows how to build sequences from these image-first workflows.
Step 7: Audio Inside Runway
Lip Sync Video
Covered above with Act-Two. Sync any character to typed dialogue or uploaded audio.
Generative Audio (text-to-speech)
Type your script, pick a voice, and generate a narration track. Download it as audio or sync it to your character. Quality is strong enough for explainers, social ads, and faceless YouTube content.
Stylized Speech
Record your own voice, then translate it into a different Runway voice. Useful when you want a polished delivery but recorded the lines yourself for timing.
Clean Audio
Upload a noisy recording and Runway removes background hum, room reverb, and casual interference. It is fast and surprisingly good for the speed.
For heavier noise-removal jobs, our AI background noise removal blog compares dedicated tools. For sound effects design, see our AI sound design blog.

Step 8: Polishing Your Video for Distribution
Export from Runway
Download your generated or edited clip as MP4 (24 fps, 720p by default; 4K with upscaling). Save the Runway Video Editor project as a backup if you plan to revisit it.
Finish in Premiere Pro, DaVinci Resolve, or Final Cut
A typical workflow:
- Import Runway clips into your timeline.
- Cut, trim, and assemble in narrative order.
- Apply color grading consistency across all shots.
- Add music, voiceover, and sound design.
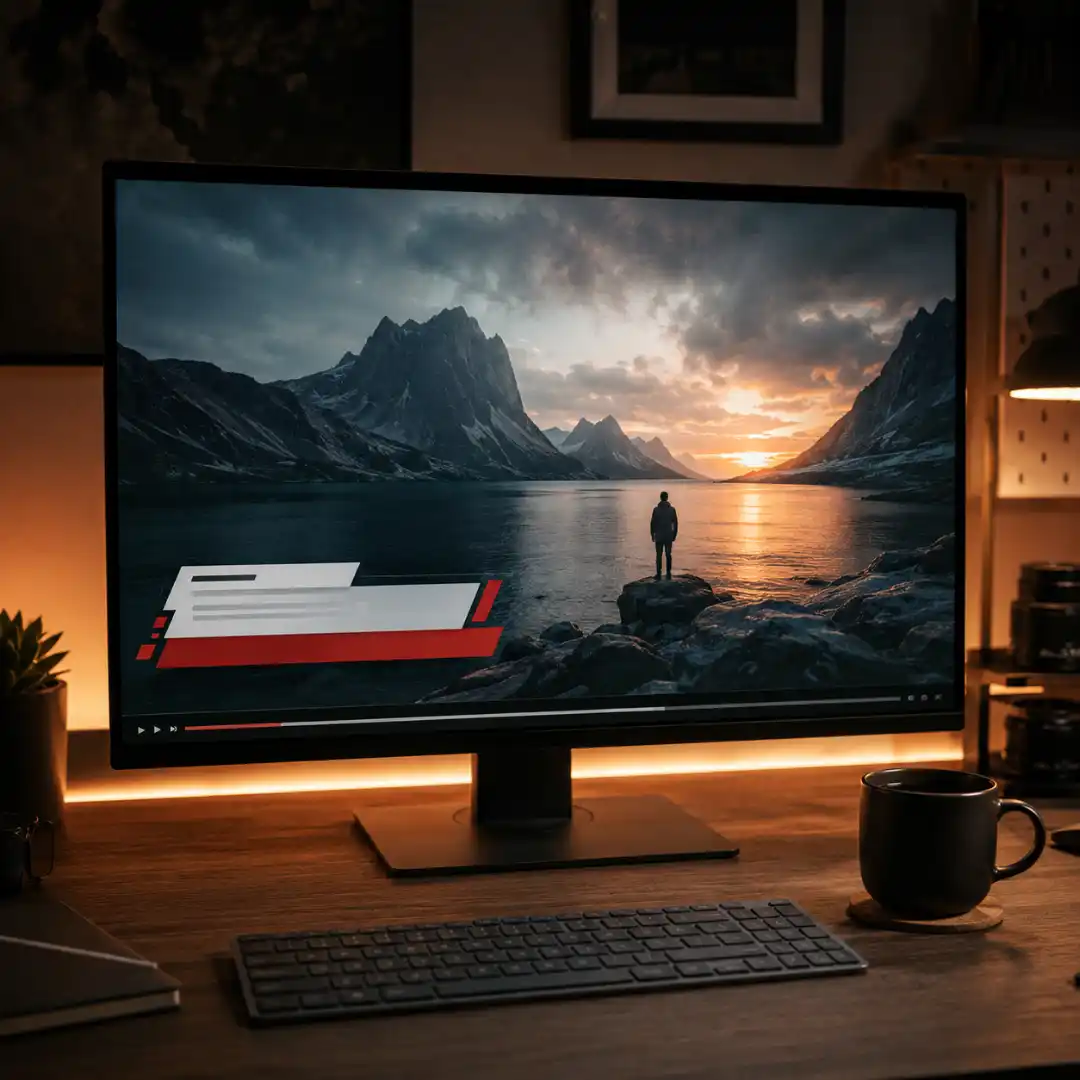
- Layer in titles, lower thirds, and branding.
If you are choosing between platforms for this stage, our CapCut vs Premiere Pro blog walks through the trade-offs.
Brand and finish with motion graphics packs
This is also where you give your generated footage the polish that separates an experiment from a publish-ready video. A motion graphics pack like the Pixflow YouTube Packs collection gives you ready-made lower thirds, openers, logo reveals, and title scenes that drop straight into Premiere Pro or After Effects. Adding even one branded title sequence and a clean lower third can elevate a raw Runway clip into something audiences treat as professional content.
Repurpose for short-form
Resize and recut your finished cut for Shorts, Reels, and TikTok. For an automation-first approach to this step, see our AI YouTube Shorts editing blog.
Pros and Cons of Runway ML in 2026
Pros
- Best-in-class consistency for characters, environments, and physics in 2026 (Gen-4 and Gen-4.5).
- Aleph unlocks edit-on-existing-footage workflows that are hard to replicate anywhere else.
- Act-Two delivers credible performance transfer without a motion capture suit.
- Browser-based: no local GPU required.
- Royalty-free, commercial-use generations with copyright ownership.
- A real video editor lives inside the app, not just a generator.
- Strong community, AI Film Festival, and Academy with structured courses.
Cons
- Native video output is 720p; 4K requires upscaling credits.
- Frame rate is locked at 24 fps; not ideal for 30 or 60 fps deliverables without conversion.
- Credits burn fast on Aleph and Gen-4.5, especially during prompt iteration.
- Complex prompts still occasionally produce visual artifacts and morphing.
- Free plan is genuinely limited; serious work requires at least Standard.
- Video Editor is good but not yet a full Premiere or Resolve replacement.
Common Mistakes to Avoid
- Writing one-line prompts. Detail is reward; give Gen-4 something to work with.
- Forgetting to lock the seed when building a multi-shot sequence.
- Using Gen-4.5 for drafts. Burn Turbo credits for iteration, save Gen-4.5 for the final.
- Stacking aggressive camera moves at high values. Start small.
- Skipping the upscale step before generating from an image reference.
- Treating Runway as a one-and-done tool. The real power is in a workflow: generate, edit with Aleph, perform with Act-Two, finish in your NLE.
Runway ML vs the Competition (Quick Take)
- Veo 3.x is currently strong for native audio in video generation.
- Sora leads on certain photorealism benchmarks.
- Pika is fast and playful, great for stylized social content.
- Kling and Seedance are improving rapidly, particularly on motion.
- Runway leads on consistency, in-context editing (Aleph), and end-to-end workflow.
For side-by-side benchmarks of all five, see our Best AI Video Generators Compared blog.
A Practical End-to-End Runway Workflow for Creators
- Open Text-to-Image (Gen-4) and create your hero reference using @-tagged references for consistency.
- Upscale your reference image to 2K.
- Drop the reference into Generative Session and run a Gen-4 Turbo image-to-video draft. Iterate prompt and camera until the motion feels right.
- Commit to a Gen-4.5 final pass with the same locked seed.
- Use Aleph to edit small details (sky, lighting, background dressing) without regenerating from scratch.
- Add a character performance with Act-Two and sync dialogue using Lip Sync Video.
- Generate or import voiceover with Generative Audio.
- Move into the Runway Video Editor (or Premiere / Resolve) and assemble the cut, color, and music.
- Brand the final piece with titles, lower thirds, and motion graphics from the Pixflow YouTube Packs library.
- Export, upscale to 4K if needed, and publish.
This pipeline turns Runway from a clever toy into a serious creative engine.
Conclusion
The creators who win with Runway are the ones who treat it as a workflow, not a single button. Generate carefully, edit with intent, and finish your work with the polish that distinguishes a publishable video from a generated clip. When you reach that final polish stage, the Pixflow YouTube Packs collection is a fast way to add lower thirds, openers, logo reveals, and titles that match the production value of your AI footage. Pair Runway’s generative power with a strong finishing toolkit and you can ship content that competes with traditional productions in a fraction of the time.
Disclaimer : If you buy something through our links, we may earn an affiliate commission or have a sponsored relationship with the brand, at no cost to you. We recommend only products we genuinely like. Thank you so much.
Blog Label:



Write for us
Publish a Guest Post on Pixflow
Pixflow welcomes guest posts from brands, agencies, and fellow creators who want to contribute genuinely useful content.
Fill the Form ✏