Text-to-Video AI: How to Turn Scripts into Professional Videos in Minutes
- What Is Text-to-Video AI and How Does It Work?
- The 3 Types of Text to Video AI Tools (and Why the Difference Matters)
- How to Turn a Script into a Video: The 6-Step Workflow
- Text-to-Video AI Tools Compared (2026)
- Which Text-to-Video Tool Should You Choose? (By Use Case)
- The Truly Free Route: Running Text-to-Video Locally with ComfyUI
- The Limitations of Text-to-Video AI (What Vendors Do Not Tell You)
- Conclusion
You have a script sitting in a doc right now. It is good. Maybe it is really good. And it is going absolutely nowhere, because between that script and a finished video stands a camera you do not want to set up, a voiceover you do not want to record, and an editing timeline you do not have hours for. (Sound familiar?)
Here is the thing: in 2026, text to video AI tools can take that script and hand you back a finished video, with visuals, a natural-sounding voiceover, and captions, in less time than it takes to render a 4K export. One creator on Reddit asked the question that sums up this entire search: “Is there any AI that can make videos from a script?” The answer is yes, and there are three very different ways to do it.
In this guide, we are breaking down how text-to-video AI actually works, the three tool categories almost nobody explains properly, a 6-step workflow to convert script to video, an honest comparison of the tools dominating this space, and the limitations the landing pages will not tell you about.
What Is Text-to-Video AI and How Does It Work?
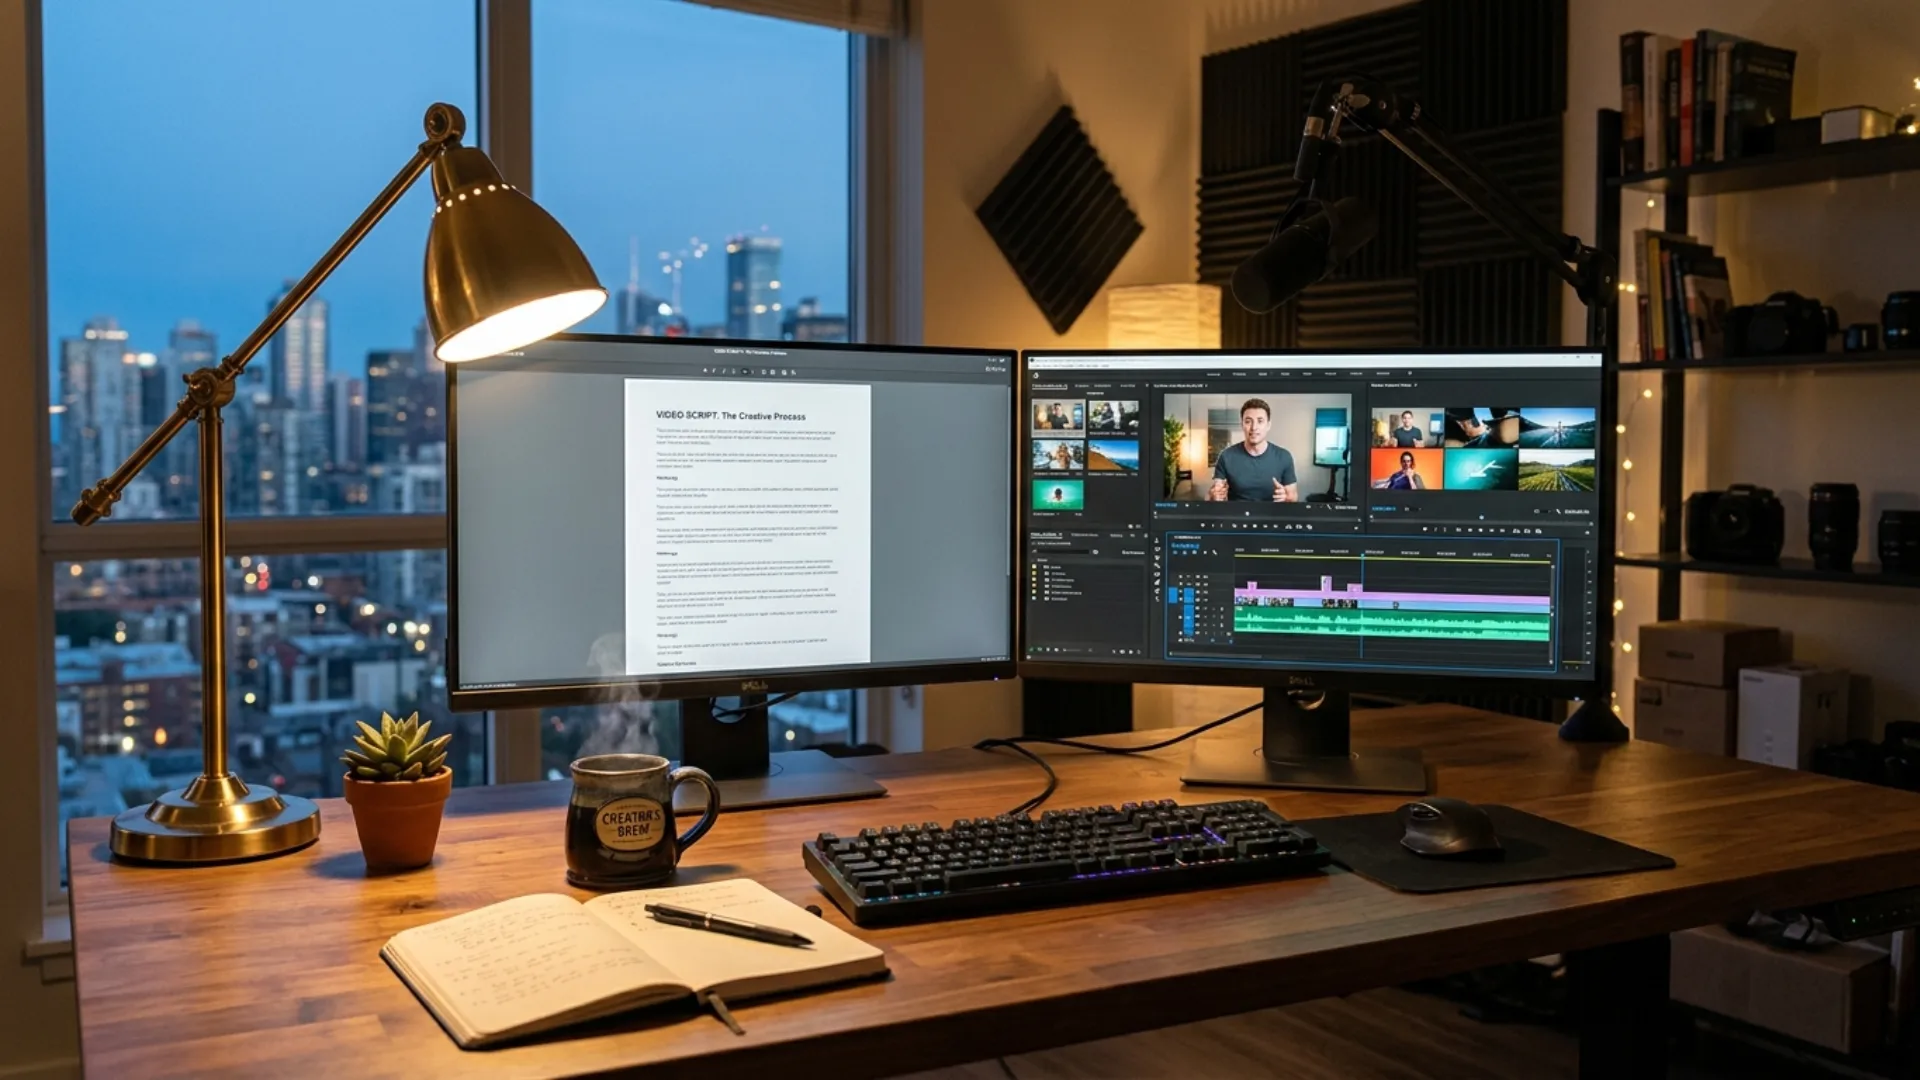
Under the hood, most tools follow the same pipeline:
- Script parsing: the AI splits your text into scenes. In Synthesia, for example, one paragraph becomes one scene, which is why script structure matters so much.
- Visual generation or matching: the tool either generates footage from scratch, matches your lines to stock clips, or places an AI avatar in front of a designed background.
- AI voiceover: a text-to-speech engine reads your script in a voice you choose (or a clone of your own).
- Assembly: music, captions, transitions, and branding get layered on automatically.
One quick distinction, because Google lumps these together: text-to-video usually means generating brand new footage from a prompt, while script-to-video means assembling a complete video around your existing script. Most creators searching for this actually want the second one. This guide covers both, so you can turn text into video whichever way your project needs.
The 3 Types of Text to Video AI Tools (and Why the Difference Matters)
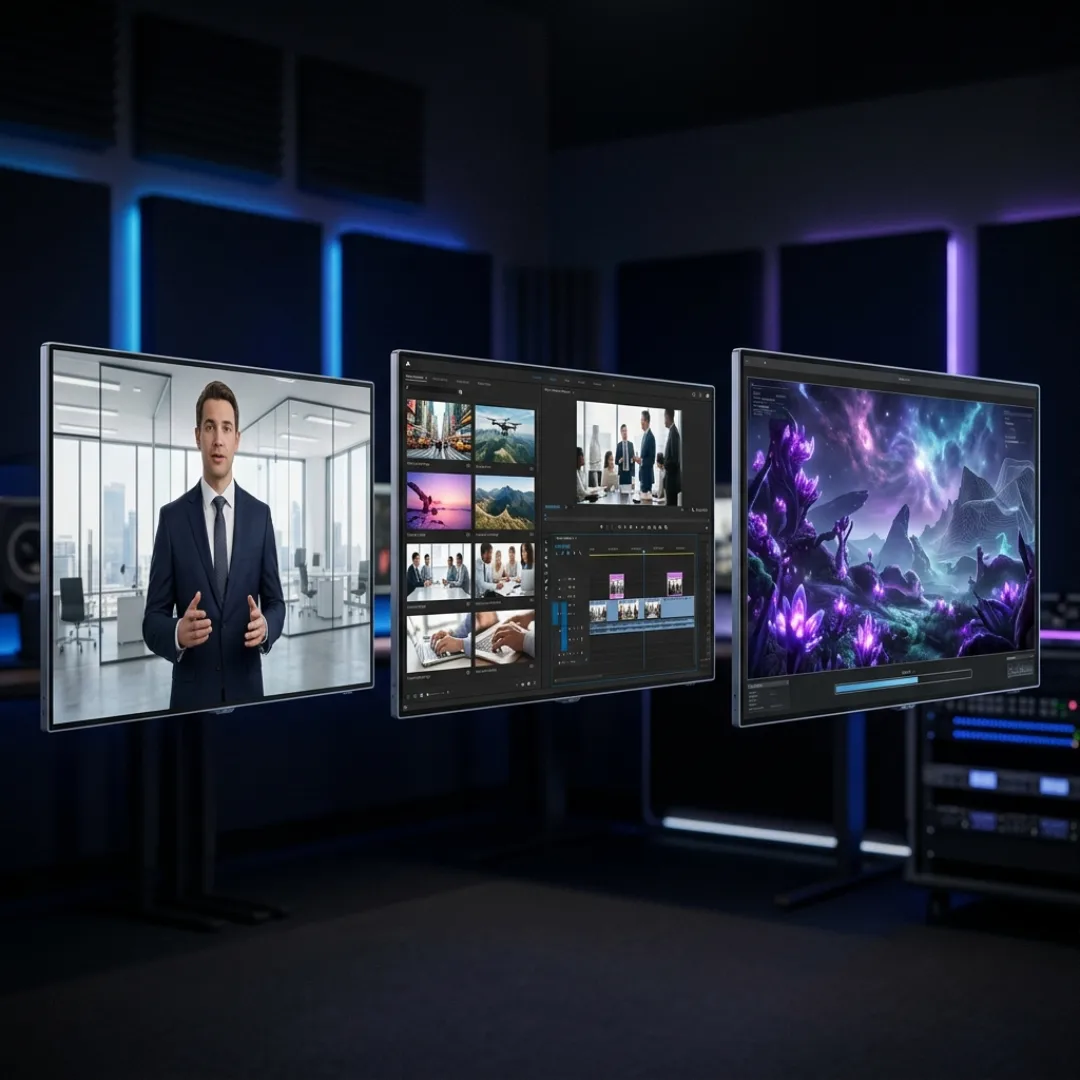
Know which category you need before you sign up for anything. It is the single biggest time-saver in this entire workflow.
How to Turn a Script into a Video: The 6-Step Workflow
Step 1: Structure your script into clear paragraphs
Before you touch any tool, break your script into short, digestible paragraphs. Almost every AI script to video maker treats one paragraph as one scene. Seven paragraphs means seven scenes. Merge two paragraphs and you lose a scene; split one and you gain one. Getting this right up front saves you from restructuring everything inside the editor later.
Step 2: Pick your tool category
Use the table above. Presenter-led content goes to an avatar tool, narrated faceless content goes to an assembler, and cinematic visuals go to a generative model. When in doubt, assemblers are the most forgiving starting point.
Step 3: Paste your script and set the parameters
Every tool gives you a handful of setup choices: template or visual style, aspect ratio (16:9 for YouTube, 9:16 for Shorts and TikTok), language, voice, and tone. Avatar tools like Synthesia also accept a brand kit, so your fonts, colors, and logo stay consistent across every video you generate. One practical tip from the Pictory workflow: strip out numbering and headings from your script before pasting, unless you want the voiceover to literally say “number one.”
Step 4: Review the scene breakdown and customize
The AI hands you a full video structure: scenes on the left, script at the bottom, canvas in the middle. Now you make it yours. Swap stock clips that miss the mark (search the built-in library by keyword), change the avatar or outfit, adjust text overlays, and rewrite any line that sounds off when spoken aloud. A script that reads well on paper does not always sound natural in a voiceover, so preview every scene.
Step 5: Add captions and make it accessible
Most viewers on social feeds watch with the sound off, so captions are not optional. Every major tool auto-generates them, but accuracy and styling vary a lot. We tested the main options across Premiere Pro, CapCut, and Resolve in our guide to AI automatic captions and subtitles, and the same rules apply here: check names, numbers, and technical terms before you export.
Step 6: Export for the right platform
Generate the final render (this is when avatar lip sync and gestures are applied), then export in the format each platform wants. Some tools add a bonus here: Synthesia can translate a finished video into 140+ languages with matching lip sync, which turns one script into a global content library.
How long does all this actually take? Here is a realistic time budget:

Text-to-Video AI Tools Compared (2026)
- Credits are the hidden cost. All-in-one tools meter generation with credits, and creators on r/aitubers consistently report burning through monthly allowances on regenerations and previews.
- Watermark policies differ. Some free tiers watermark everything, others only gate exports. Check before investing hours in a draft.
- Script fidelity varies. Some tools quietly rewrite your lines for pacing. If your wording is the product (scripted comedy, legal, medical), test this first.
Which Text-to-Video Tool Should You Choose? (By Use Case)
- Corporate training, onboarding, product explainers: avatar presenters. A consistent AI host, brand kit support, and one-click translation make these the default for internal comms teams.
- Faceless YouTube channels: stock-footage assemblers with strong AI voiceovers. This is the workflow behind most faceless YouTube videos with AI: script in ChatGPT, assembly in Pictory or Fliki, thumbnail elsewhere, publish.
- Marketing and social ads: assemblers with brand kits for volume, or a generative model when you need one hero shot that stock libraries simply do not have.
- Cinematic shorts and B-roll: generative models, full stop. If you mostly need supporting footage rather than full videos, our guide to AI B-roll generation covers the tools, prompts, and workflow.
- Mobile-first creators: you can run a lighter version of this entire workflow on your phone, and our CapCut vs Premiere Pro comparison breaks down when the mobile-first route actually wins.
The Truly Free Route: Running Text-to-Video Locally with ComfyUI
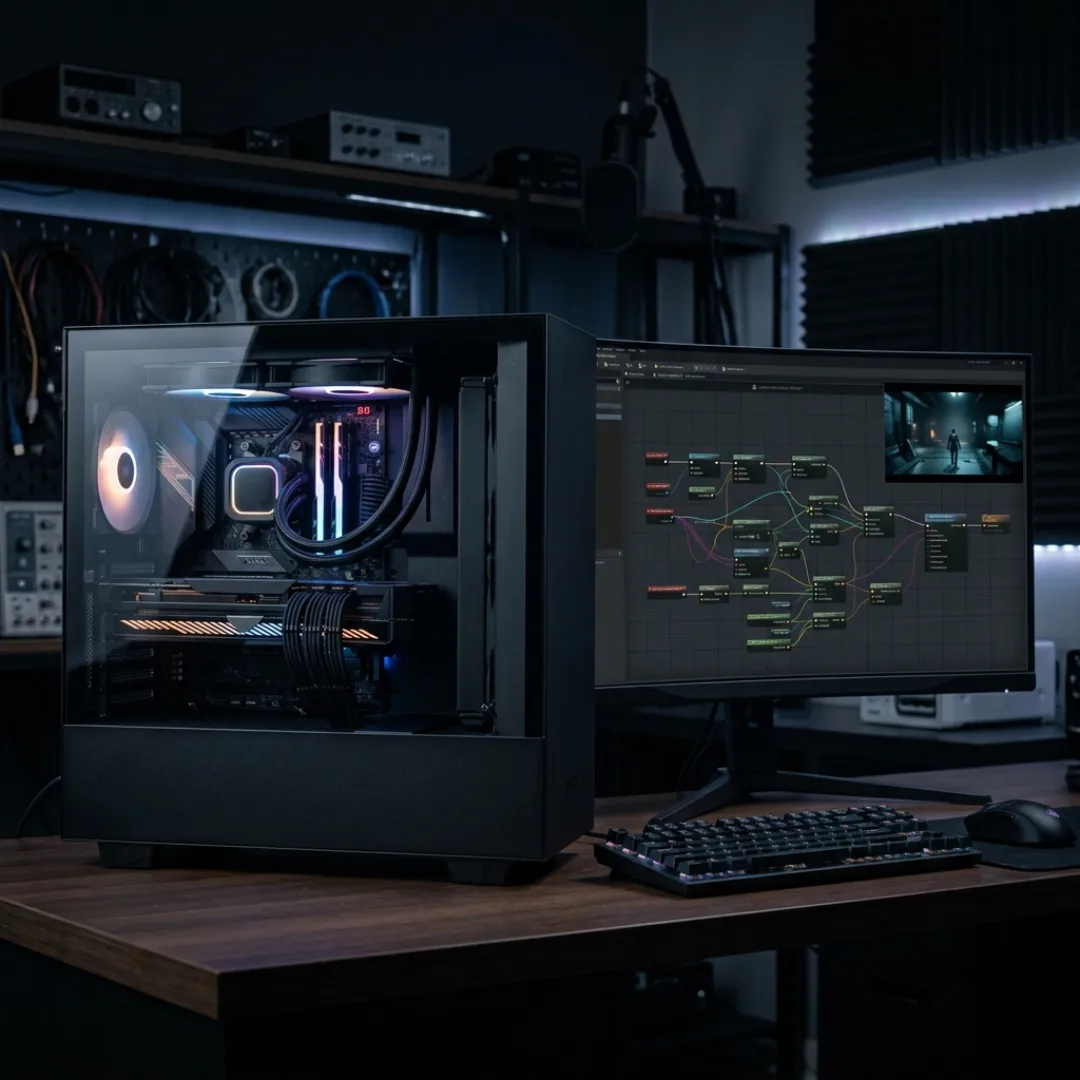
The honest requirements:
- A Windows PC with an NVIDIA RTX graphics card (the smoothest supported setup)
- Roughly 40 GB of free disk space for the model files
- Some patience for a node-based interface that looks intimidating for the first hour
Once installed, you pick a local video model (LTX 2.3 is a great starting point for speed and quality, with WAN 2.2 and Hunyuan as alternatives), type a prompt, set resolution, duration, and frame rate, and hit run. A few minutes later you have a video clip that cost you nothing but electricity. It also does image-to-video, so you can animate stills from your existing projects. If your machine cannot run these models, browser playgrounds like MuAPI offer image-to-video with the same open models.
Who is this for? Technical creators who generate a lot of footage and want zero recurring costs. If that is not you, the cloud tools above will get you publishing much faster. (Your GPU fans will also thank you.)
The Limitations of Text-to-Video AI (What Vendors Do Not Tell You)
- The uncanny valley is real. AI avatars have improved dramatically, but stiff gestures and slightly-off expressions still read as artificial in emotional or high-trust content. Expressive avatars help; they do not fully solve it.
- Long-form consistency collapses. Generative models lose characters, lighting, and style across longer runtimes. The workaround creators use for AI series is generating episode by episode with a consistent “visual bible” (character sheets, locations, props) that gets referenced in every generation.
- Stock visuals can feel generic. Assembler output sometimes looks like every other faceless video in your niche. Swapping key scenes for custom footage or generated B-roll fixes most of it.
- Credits and rendering limits shape your workflow. Iteration is where AI video gets expensive. Budget regenerations like you would budget revisions with a client.
- Platform policies are evolving. YouTube monetizes AI-assisted content that adds original value, but low-effort mass-produced uploads are exactly what its inauthentic content policies target. Add your own script, voice direction, and editing judgment.
The pattern behind every workaround is the same: treat AI output as a first draft, not a final cut. The creators winning with these tools polish that draft with real editing decisions, and that is a skill worth building. Our complete guide to AI video tools in 2026 maps the full toolkit, and our walkthrough of an AI video editing workflow with Premiere Pro and Resolve shows exactly how professionals finish AI-generated footage.
Conclusion
Pick one script you already have and run it through one tool this week. You will learn more in 30 minutes of doing than in another hour of comparison reading. (Your future publishing schedule will thank you.)
Disclaimer : If you buy something through our links, we may earn an affiliate commission or have a sponsored relationship with the brand, at no cost to you. We recommend only products we genuinely like. Thank you so much.
Blog Label:



Write for us
Publish a Guest Post on Pixflow
Pixflow welcomes guest posts from brands, agencies, and fellow creators who want to contribute genuinely useful content.
Fill the Form ✏