Sound Effects Layering: How to Build Rich, Cinematic Audio from Simple Sources

- What Is Sound Effects Layering?
- The Anatomy of a Layered Sound Effect
- The 4-Layer Method for Scoring a Whole Scene
- 5 Pro Techniques for Layering Sound Effects
- Building Rich Sounds from Simple Sources
- How to Layer Sound Effects in Premiere Pro
- How to Layer Sound Effects in DaVinci Resolve (Fairlight)
- Mixing Your Layers: Levels, EQ, Panning, and Glue
- Common Layering Mistakes to Avoid
- Conclusion
Here’s the thing: the punchy, larger-than-life audio you hear in trailers, action scenes, and slick b-roll almost never comes from one file. It is built, layer by layer, from several simple sources stacked and shaped until they feel huge. That process is called sound effects layering, and it is the single fastest way to make your edits feel cinematic.
In this guide we’ll break it all down: the anatomy of a layered sound, the four-layer method for scoring an entire scene, the five techniques pros actually use, and click-by-click workflows for both Premiere Pro and DaVinci Resolve. It’s part of our larger complete guide to sound design for film, so whether you’re scoring your first sequence or sharpening your craft, you’ll leave knowing how to turn thin, flat audio into rich, textured soundscapes. And if you’d rather build from clean, production-ready material instead of recording everything yourself, a deep library like the Pixflow sound effects collection gives you ready-to-layer elements to start from.
What Is Sound Effects Layering?
As the team at WhisperRoom puts it, layering lets you build depth within a track without a pile of competing elements fighting for attention. Done right, it adds dimension; done carelessly, it just adds mud. The difference comes down to intention, which is the theme you’ll see throughout this guide.
Think of it the way a colorist thinks about a grade. One flat sound is like an ungraded clip: technically there, emotionally absent. Layering is where you add contrast, depth, and mood. (If you want the bigger picture on building dramatic audio, our complete guide to cinematic sound effects is a great companion read.)
The Anatomy of a Layered Sound Effect
Here is the blueprint for a single “hero” sound, like an impact or a whoosh:

🎯 A simple rule of thumb: one layer should own the low end, one should own the attack, and one should give the sound its identity. Everything else is seasoning.
The 4-Layer Method for Scoring a Whole Scene
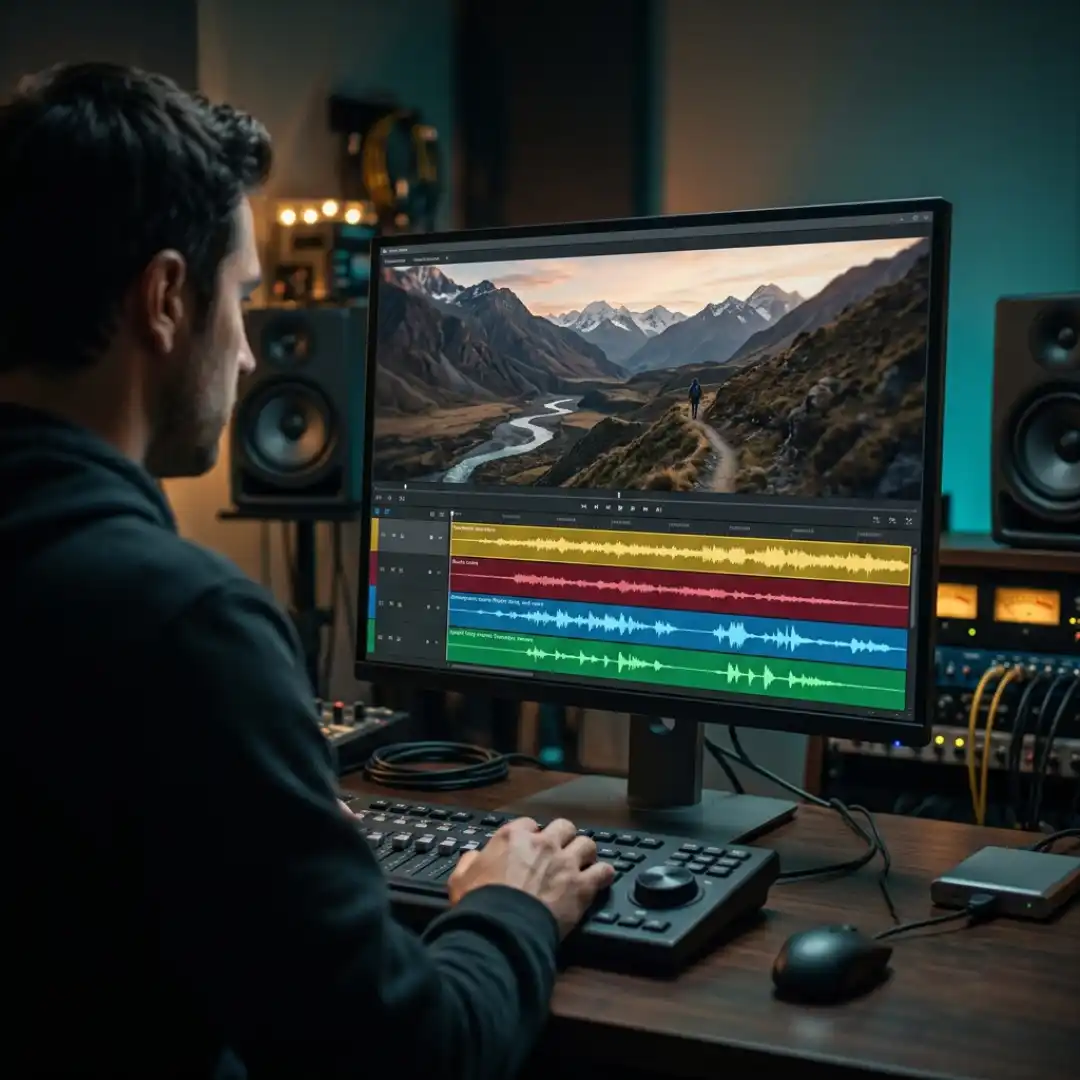
- Foundation (atmosphere & ambience). Before any flashy whooshes, ground the viewer in a real space. Room tone, a busy street, wind, or nature beds tell the ear “you are here.” This bed is so important it deserves its own deep dive, which we cover in layering ambient background audio.
- Movement (whooshes & transitions). Add motion to object movement, camera moves, and the cut between two scenes. Whooshes sell speed and direction. See our breakdown of cinematic whoosh sound effects for transitions for ready-made options.
- Emotion (risers & hits). Risers build anticipation; impacts and booms release it. This is the layer that makes a reveal feel earned. For heavy moments, layered punch and impact sound effects do a lot of the work.
- Detail (practical & spot effects). Footsteps, clicks, button presses, the small sounds an object “should” make, plus the occasional unexpected sound for delight. This layer is where personality lives, and it pairs naturally with transition sounds for motion graphics.
5 Pro Techniques for Layering Sound Effects
1. Manual stacking
The classic approach: choose a base sound, then add complementary clicks, metallic textures, and a distorted layer for width on top. You control each layer individually, so it’s easy to mute, swap, or fade any element. It gives the highest quality and the most control, at the cost of time.
2. Single-source layering
Take one sound, duplicate it, and process the copies differently. The most common move is to duplicate a sound and pitch the copy down (say, an octave) to add weight and fullness to something thin. Add compression and you instantly get a bigger, deeper version of the same sound without hunting through folders.
3. Frequency carving with EQ
This is the technique that separates muddy from professional. Give each layer its own lane: high-pass the layers that don’t need low end, and roll off the highs on layers that only provide body. Pro Sound Effects recommends focusing each layer in a different frequency range to avoid masking and clashing. More on this in the mixing section below.
4. Carrier / envelope morphing (advanced)
A more experimental method where one sound’s envelope triggers or shapes a group of others, often through a synth or sampler sidechain. It’s unpredictable in the best way, generating textures you’d never stumble on manually. Great for designing alien, magical, or sci-fi elements.
5. Randomized layering with samplers
Load a folder of samples into a sampler that randomizes selection, start time, pitch, and pan. Hit a button and audition combinations fast. As one approach in the Rogue Waves layering guide shows, this is a fast way to generate variations, though results can start to sound “samey” if you lean on it too hard.
Building Rich Sounds from Simple Sources
- Pitch and reverse: A common workflow is to record or grab a raw sample, then bounce several versions at different pitches, reverse one for a riser or whoosh, and layer them together. Tiny source, big result.
- Record your own foley: Everyday objects are a goldmine. Crushing celery for bone breaks, shaking an umbrella for wings, snapping vegetables for impacts. Our walkthrough on how to create foley sound effects at home shows how to capture clean source material with gear you already own.
- Combine the unexpected: Designers often layer a sound that “shouldn’t” fit (a sizzle under a fire reveal, for example) because together with the obvious sound it adds richness the literal recording can’t.
- Start from a clean library: Pristine, well-recorded source files make layering far easier because you spend less time cleaning and more time stacking. The Pixflow sound effects library is built for exactly this, with categorized booms, whooshes, risers, and textures that drop straight onto your timeline. If you want help choosing, our best sound effect libraries comparison breaks down the options.
How to Layer Sound Effects in Premiere Pro

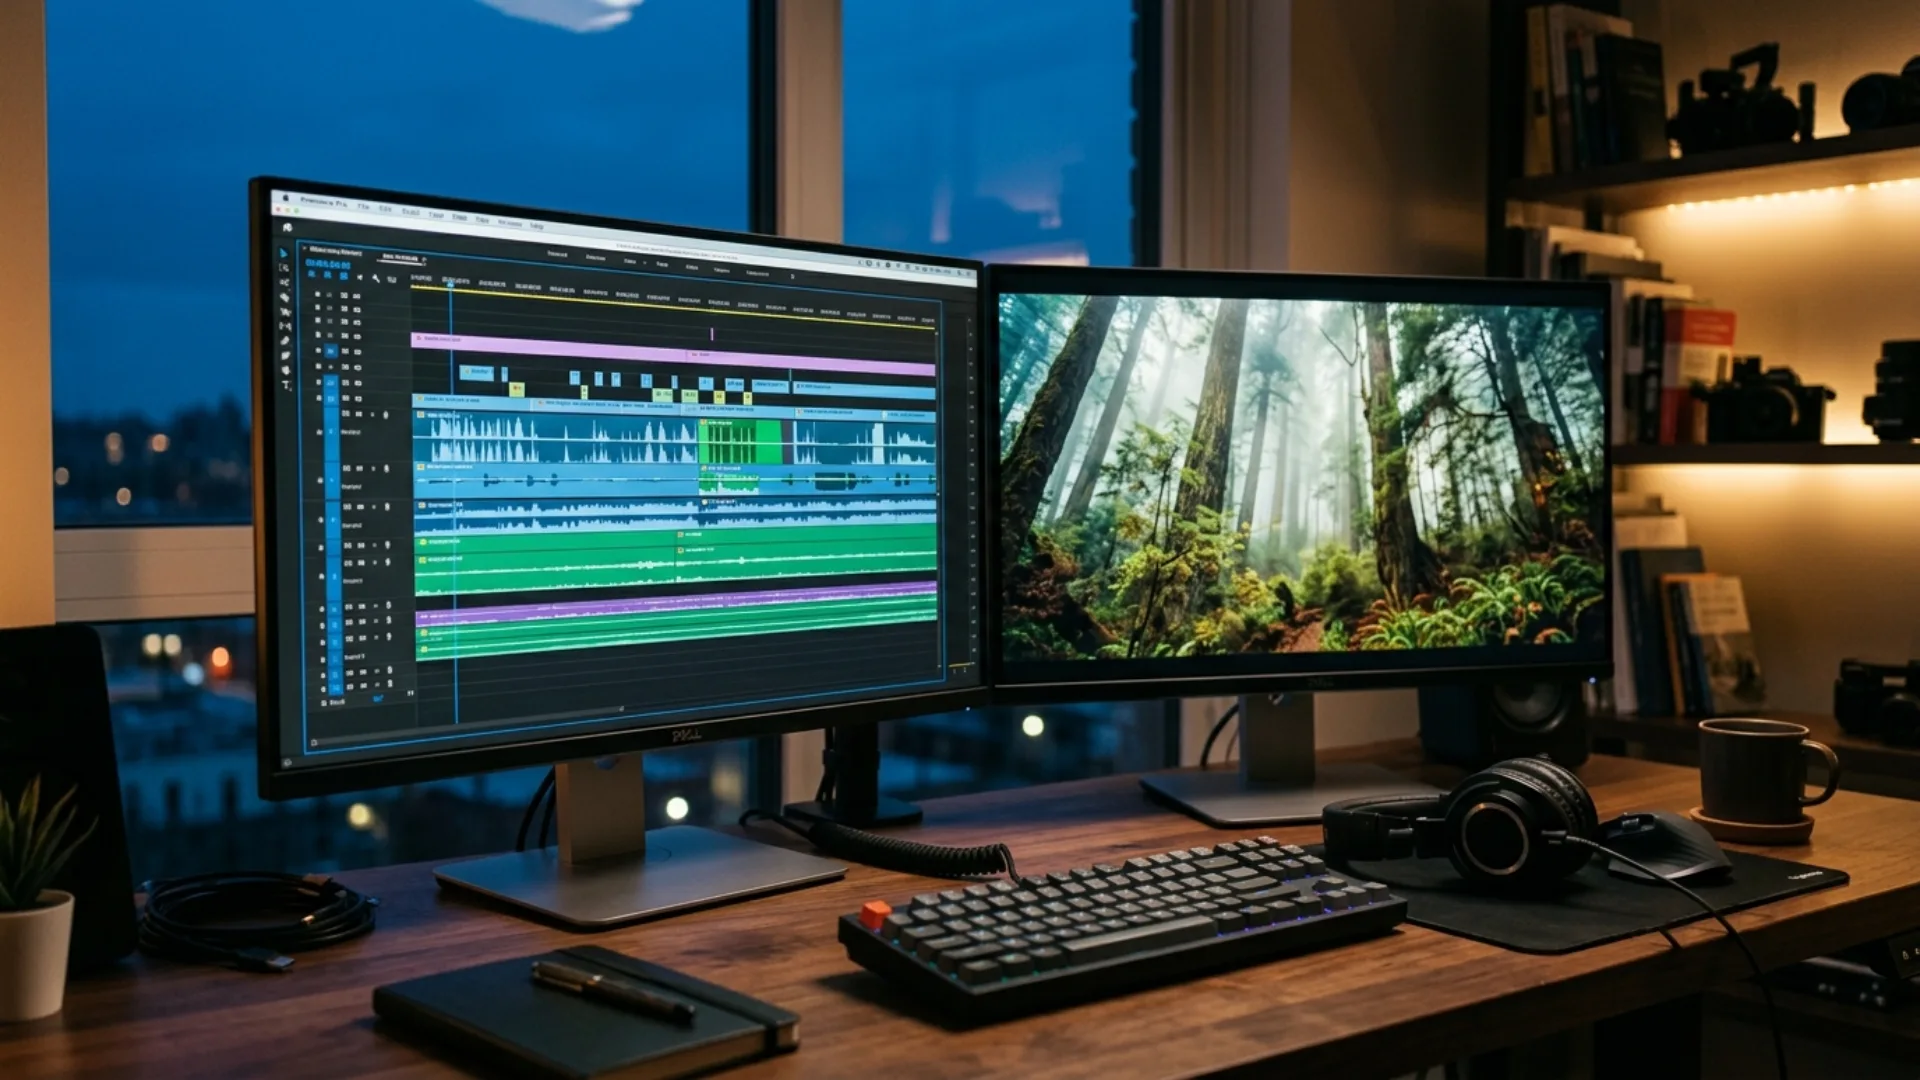
- Stack your audio tracks. Give each layer its own track (A1 ambience, A2 movement, A3 impacts, A4 detail). Organization is half the battle.
- Align the transients. Snap the loudest peak of each layer to the same point so they hit as one. Even a few milliseconds of drift can smear the impact.
- Carve with the parametric EQ. Use Premiere’s built-in EQ to high-pass the layers that don’t need lows and tame harsh peaks. Our roundup of essential Premiere Pro audio effects covers the plugins worth knowing.
- Balance levels and group. Send your layers to a submix or adjustment track and balance them so nothing peaks. For the full picture of blending effects with dialogue and music, see how to mix dialogue, music, and sound effects in Premiere Pro.
How to Layer Sound Effects in DaVinci Resolve (Fairlight)
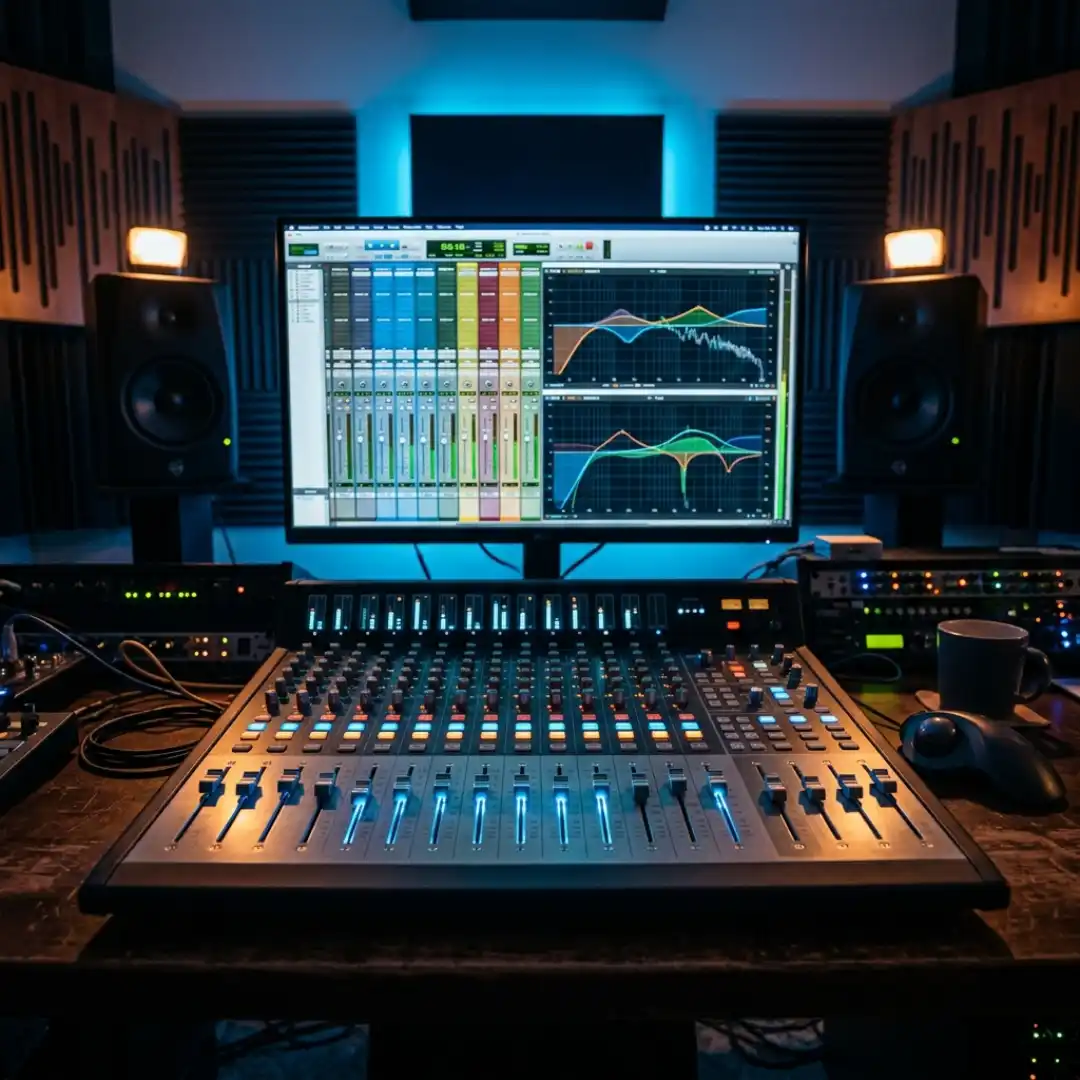
- Build dedicated tracks and buses. Create separate tracks for each layer role, then route them to a bus so you can process the whole stack together.
- Use the built-in SFX browser. Drag effects straight from the library onto the timeline, then duplicate and pitch-shift to add weight, just like single-source layering.
- EQ and dynamics per track. Fairlight’s channel strip gives each layer its own EQ and compressor so you can separate frequencies cleanly.
- Glue on the bus. Add gentle compression and a touch of reverb on the group to fuse the layers into one cohesive sound. Our DaVinci Resolve Fairlight audio guide goes deep on this workflow.
Mixing Your Layers: Levels, EQ, Panning, and Glue
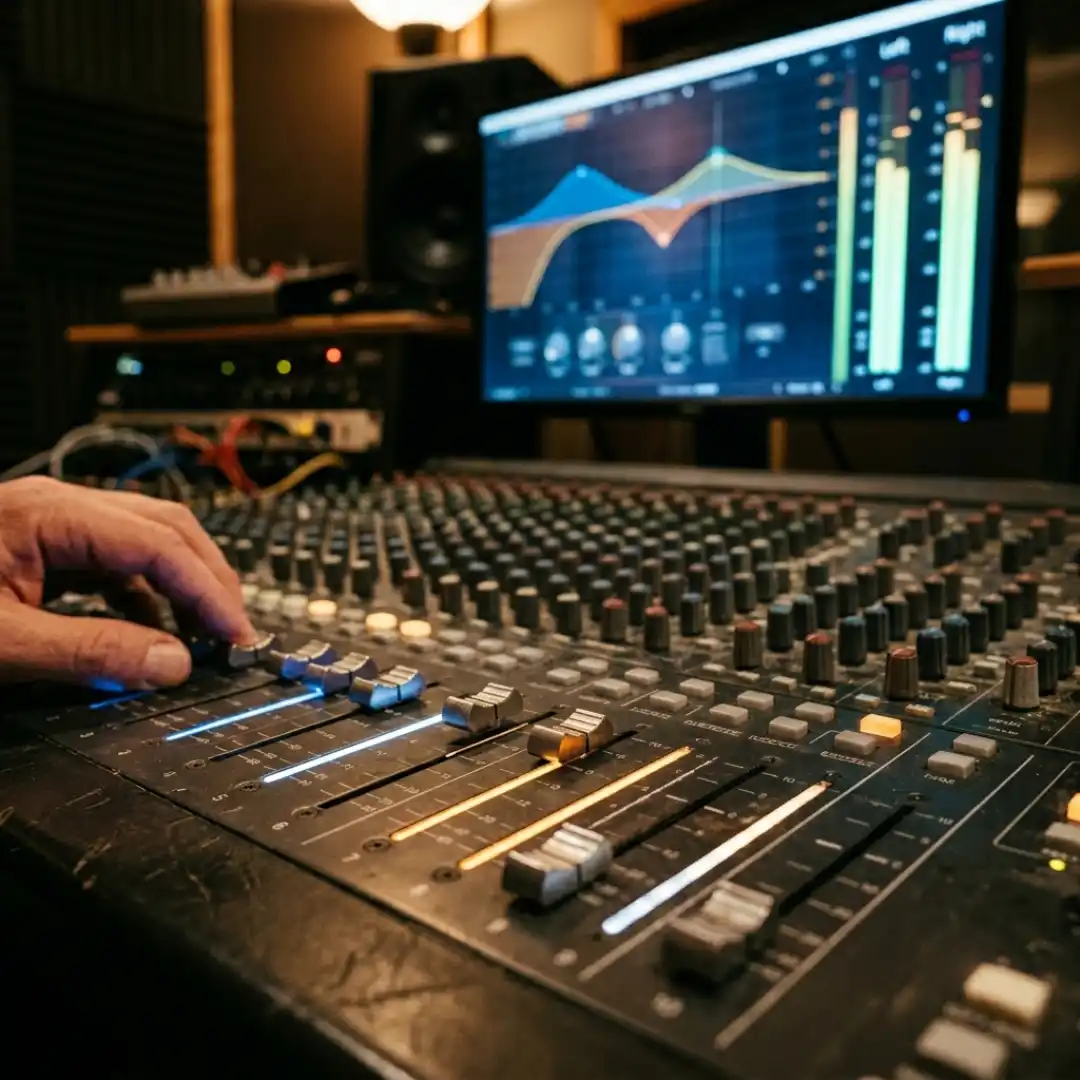
- Frequency separation comes first. If two layers fight in the same range, one will mask the other and the result turns muddy. Decide who owns the lows, mids, and highs, then EQ accordingly. If terms like EQ and compression are new, start with sound mixing basics for video editors.
- Level the stack. One layer should usually lead while the others add character underneath. Sweep through each layer in context and ask, honestly, whether it earns its place.
- Use the stereo field. Pan supporting layers left and right to create width and let the lead sit center. Keep sub frequencies mono so they stay solid and focused. For next-level immersion, explore spatial audio for video.
- Glue it together. Route every layer to one group and apply light bus compression (and optional reverb) so the separate elements read as a single sound rather than a pile of files.
Reference often. A layered sound can sound amazing soloed and terrible in the mix. Always judge it against the full sequence, not in isolation.
Common Layering Mistakes to Avoid
- Stacking without purpose. Adding layers mindlessly bloats the sound. Every layer should add something specific, even if it’s just a little character.
- Ignoring frequency masking. Two full-range sounds layered raw will clash. Carve space with EQ.
- Doubling the exact same sound. Layering an identical file just raises the volume; it doesn’t add depth. Vary pitch, timing, or processing.
- Forgetting the foundation. Flashy whooshes and hits fall flat without an ambience bed underneath.
- Misaligned transients. If the attacks don’t line up, the sound feels weak and smeared.
For more pitfalls and how to fix them, our guide on sound design mistakes to avoid is worth bookmarking. (And if you’d rather start from clean, organized source files, the Pixflow sound effects library removes a lot of these headaches before you even begin.)
Conclusion
The more you experiment, the faster your ear gets. And when you’re ready to skip the digging and build from clean, cinematic source material, the Pixflow sound effects library is stocked with booms, whooshes, risers, and textures made for exactly this kind of stacking. (Your timeline will thank you.)
Disclaimer : If you buy something through our links, we may earn an affiliate commission or have a sponsored relationship with the brand, at no cost to you. We recommend only products we genuinely like. Thank you so much.
Blog Label:



Write for us
Publish a Guest Post on Pixflow
Pixflow welcomes guest posts from brands, agencies, and fellow creators who want to contribute genuinely useful content.
Fill the Form ✏