Three-Point Lighting Setup: The Filmmaker’s Essential Lighting Guide
- What Is Three-Point Lighting?
- The Key Light: Your Main Source
- The Fill Light: Taming the Shadows
- The Backlight: Separation and Depth
- Putting It All Together: A Step-by-Step Setup
- Three-Point Lighting for Interviews and Talking-Head Videos
- Beyond the Basics: Popular Variations
- Gear and Modifiers That Make It Easier
- Adding Cinematic Polish in Post
- Wrapping Up
Here’s the thing: nine times out of ten, the culprit isn’t your camera or your lens. It’s your lighting. And the single most reliable fix, the one technique that separates footage that looks amateur from footage that looks intentional, is the three-point lighting setup.
It’s the foundation of professional lighting in film, video, and photography, and it has been for decades. Once you understand how the three lights work together, you’ll start spotting it everywhere: in interviews, talking-head YouTube videos, narrative scenes, product shots, you name it. Learn it once, and you’ll be able to walk into almost any room and light a subject with confidence (and a bit of post-production polish, like a few tasteful light leak overlays, never hurts the final look either).
Let’s break the whole thing down, light by light.
What Is Three-Point Lighting?
That’s really the whole point. A camera flattens the world. Three-point lighting fights back by sculpting your subject with light and shadow so they have height, width, and crucially, depth. The three lights are:
- The key light: your main, brightest source that defines the look.
- The fill light: a softer source that controls the shadows the key creates.
- The backlight (also called the rim or hair light): a source behind the subject that separates them from the background.
Think of it like sculpting. The key light carves the shape, the fill light decides how dramatic those carved shadows get, and the backlight traces a glowing outline so your subject doesn’t melt into whatever’s behind them.
The beauty of the setup is how flexible it is. As photographer Mark Wallace puts it, almost every lighting setup you’ll ever see, whether it uses one light or six, is really just a variation on these same three roles. Master the foundation and everything else becomes a remix. If you want the bigger-picture view of how lighting fits alongside framing, lenses, and movement, our guide on cinematography techniques ties it all together.

The Key Light: Your Main Source
Where to place it
The classic placement is at roughly a 45-degree angle to one side of your subject, raised a little above their eye level and angled down toward the face. Why 45 degrees? Because lighting your subject dead-on, straight from the camera, produces flat, shadowless light that kills all sense of depth. Pushing the key off to the side creates gentle shadows on the far side of the face, and those shadows are what give the image dimension.
When you nail the angle and height, you’ll often see a small triangle of light appear on the cheek on the shadow side of the face. That’s called Rembrandt lighting, and it’s a hallmark of flattering, cinematic portraiture. It’s no accident that “rembrandt lighting” is one of the most-searched lighting terms out there.
Soften it up
Here’s a rule that will instantly improve your footage: avoid hard, direct light on your subject’s face. Bare bulbs create harsh, unflattering shadows. Instead, you want soft light, which means passing your key through some kind of diffusion, usually a softbox.
The principle to remember is that the larger the light source relative to your subject, the softer the light. A big softbox close to your talent wraps around the face gently and smooths out skin and blemishes. A small, far-away light does the opposite. When in doubt, go bigger and closer.
Expose for the room first
One pro habit worth stealing: before you bring in your own lights, set your camera exposure for the ambient light you can’t control, like a window in the background. Once the background looks right, then introduce your key light and dial its intensity up or down to balance the subject against that scene. This keeps everything looking natural and motivated, as if the light is coming from a real source in the room.

The Fill Light: Taming the Shadows
Notice the word gently. You almost never want your fill to be as bright as your key, because then you’d erase all that lovely contrast and end up flat again. The relationship between the two is called your lighting ratio, and it’s where a lot of the mood lives.
- A subtle, even ratio (close to 1:1) gives a bright, friendly, commercial look. Great for beauty, corporate, and upbeat content.
- A stronger ratio (think 3:1 or higher, where the fill is much dimmer than the key) gives a moodier, more dramatic, contrast-heavy image. A widely cited starting point is the 3:1 ratio, three parts key to one part fill.
You don’t even need a third light
Here’s a budget-friendly secret straight out of the pros’ playbooks: your fill doesn’t have to be a light at all. A simple reflector (or even a white foam board) placed on the shadow side will bounce some of your key light back onto the face, filling the shadows for free. Plenty of working filmmakers use this every single day. So yes, you can absolutely pull off a convincing three-point look with just two lights and a bounce.
Going the other direction: negative fill
Want more drama instead of less? Do the opposite of filling. Place a black flag or any dark material on the shadow side to absorb stray light and deepen the contrast. This negative fill technique is perfect for moody, emotional, or tense scenes where you want those shadows to really sink in. For a deeper look at how contrast shapes mood, our breakdown of high key vs low key lighting is a great companion read.

The Backlight: Separation and Depth
Place it opposite your key light, behind the subject and angled down so it catches the hair, neckline, and shoulders. You don’t need much. A backlight metered a stop or two below your key is usually plenty. The goal is a clean edge of light, not a glowing halo that screams “lighting setup.”
A quick troubleshooting note from real-world shooters: in cramped rooms or with high-backed chairs, you sometimes physically can’t fit a backlight. Don’t panic. You can fake separation by simply having your subject wear a color that contrasts with the background. A light shirt against a dark backdrop reads as separation just fine. It’s not a perfect substitute, but it works in a pinch.
This light is also where a lot of the cinematic “glow” comes from, and it pairs beautifully with practical lights and background color, which we’ll get to in a moment.

Putting It All Together: A Step-by-Step Setup
- Place and pose your subject. Find a spot with good framing and, ideally, a bit of distance between subject and background so you can create depth (and a nice soft background if your lens allows).
- Expose for the ambient light. Set your camera for any uncontrollable light, like a window, so the background reads correctly first.
- Bring in the key light. Position it at 45 degrees, raise it slightly, soften it with a softbox, and balance its intensity against the scene.
- Add the backlight. Place it behind the subject, opposite the key, and bring it up just enough to rim the edges.
- Finish with the fill. Add a soft fill (or a bounce) on the shadow side, and adjust the ratio to taste, brighter for friendly, dimmer for dramatic.
- Refine. Step back, watch the monitor, and tweak. Lighting is iterative, and small moves make big differences.
A handy tip if you like to be precise: because adding lights stacks exposure, your final image will always be a touch brighter than your key light alone. If you want to land at a specific exposure, start your key slightly under and let the fill and back bring you up to target.

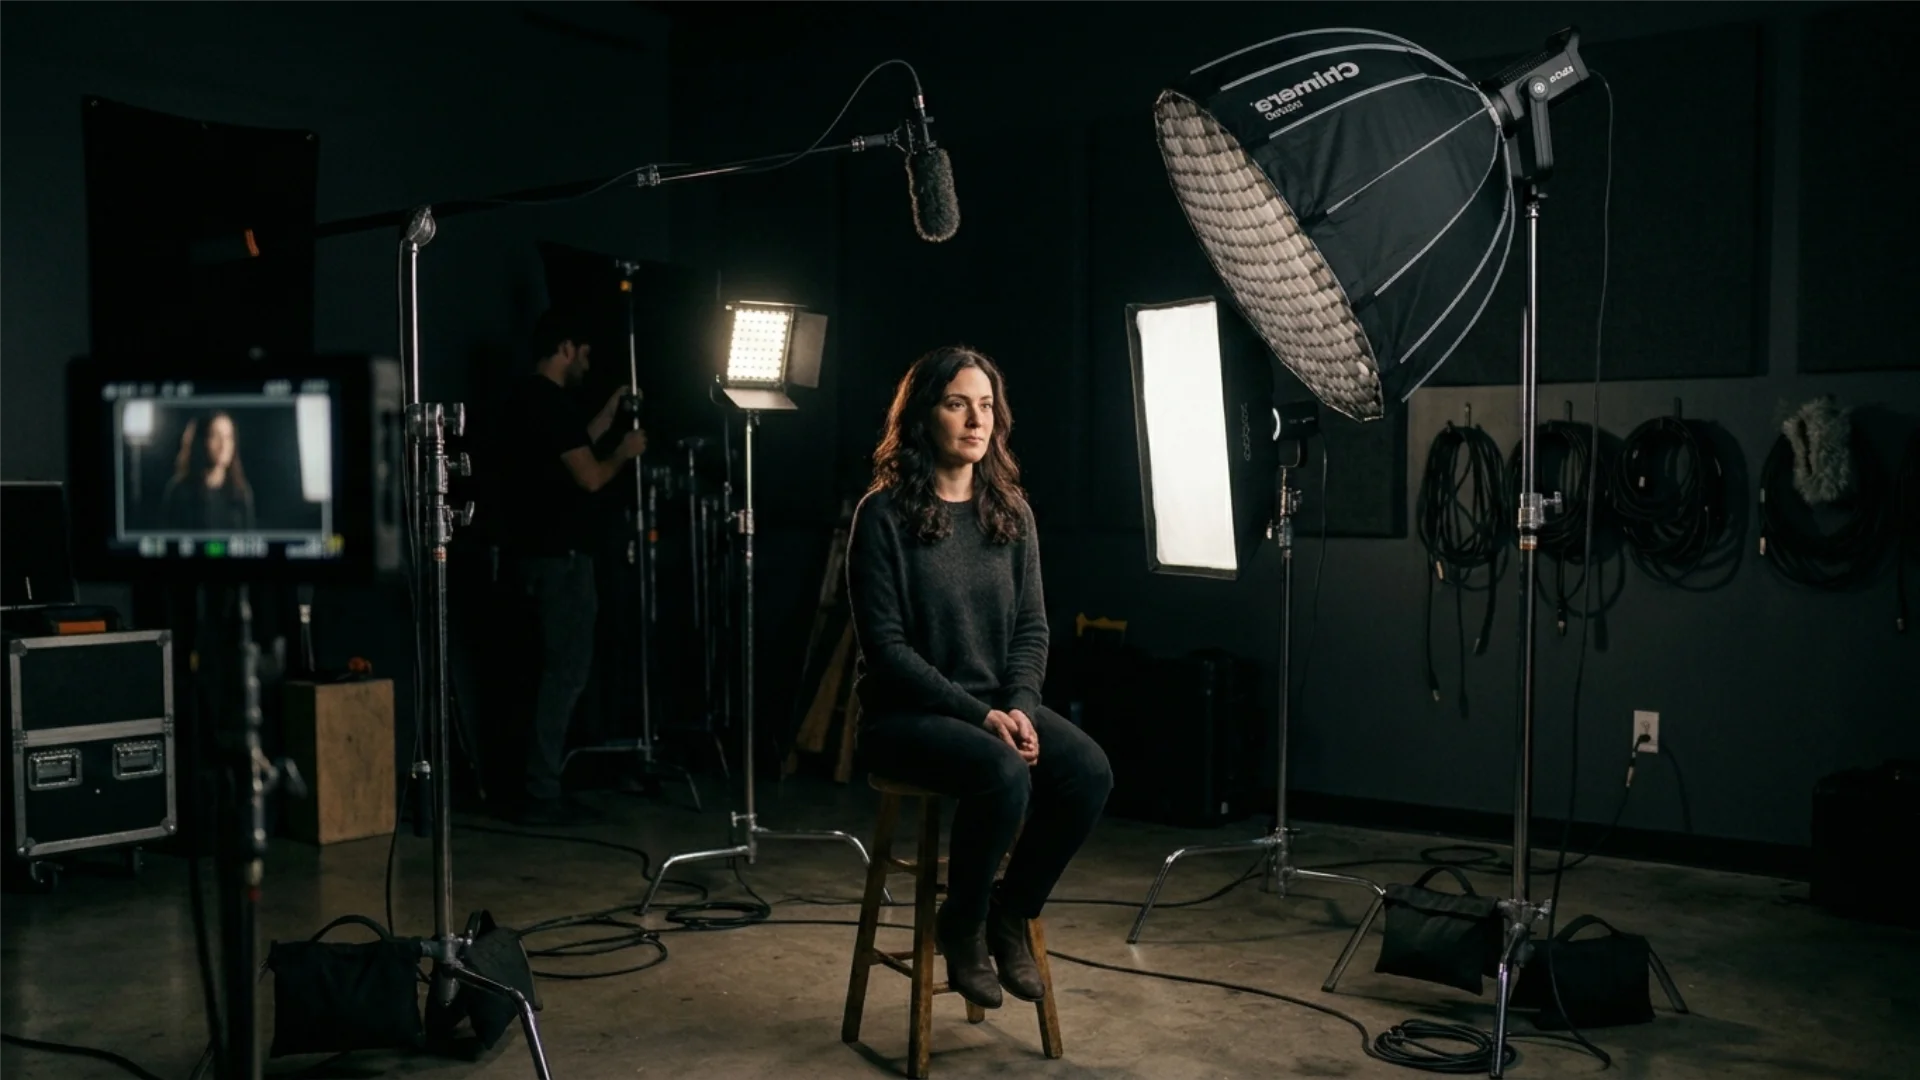
Three-Point Lighting for Interviews and Talking-Head Videos
There’s one decision that changes the whole feel: which side of your subject the camera sits on relative to the key light. The pro move for interviews is to shoot the “shadow side,” meaning you position the camera on the opposite side from the key so you’re filming into the slightly shadowed side of the face. This adds depth and contrast and looks far more cinematic than lighting the camera-facing side, which tends to look flat.
For a traditional interview, your subject looks slightly off-camera at an interviewer, so the camera sits around 45 degrees off their eyeline. For a direct-to-camera tutorial, they look right down the lens and the camera is more centered. Either way, the three lights do the same jobs.
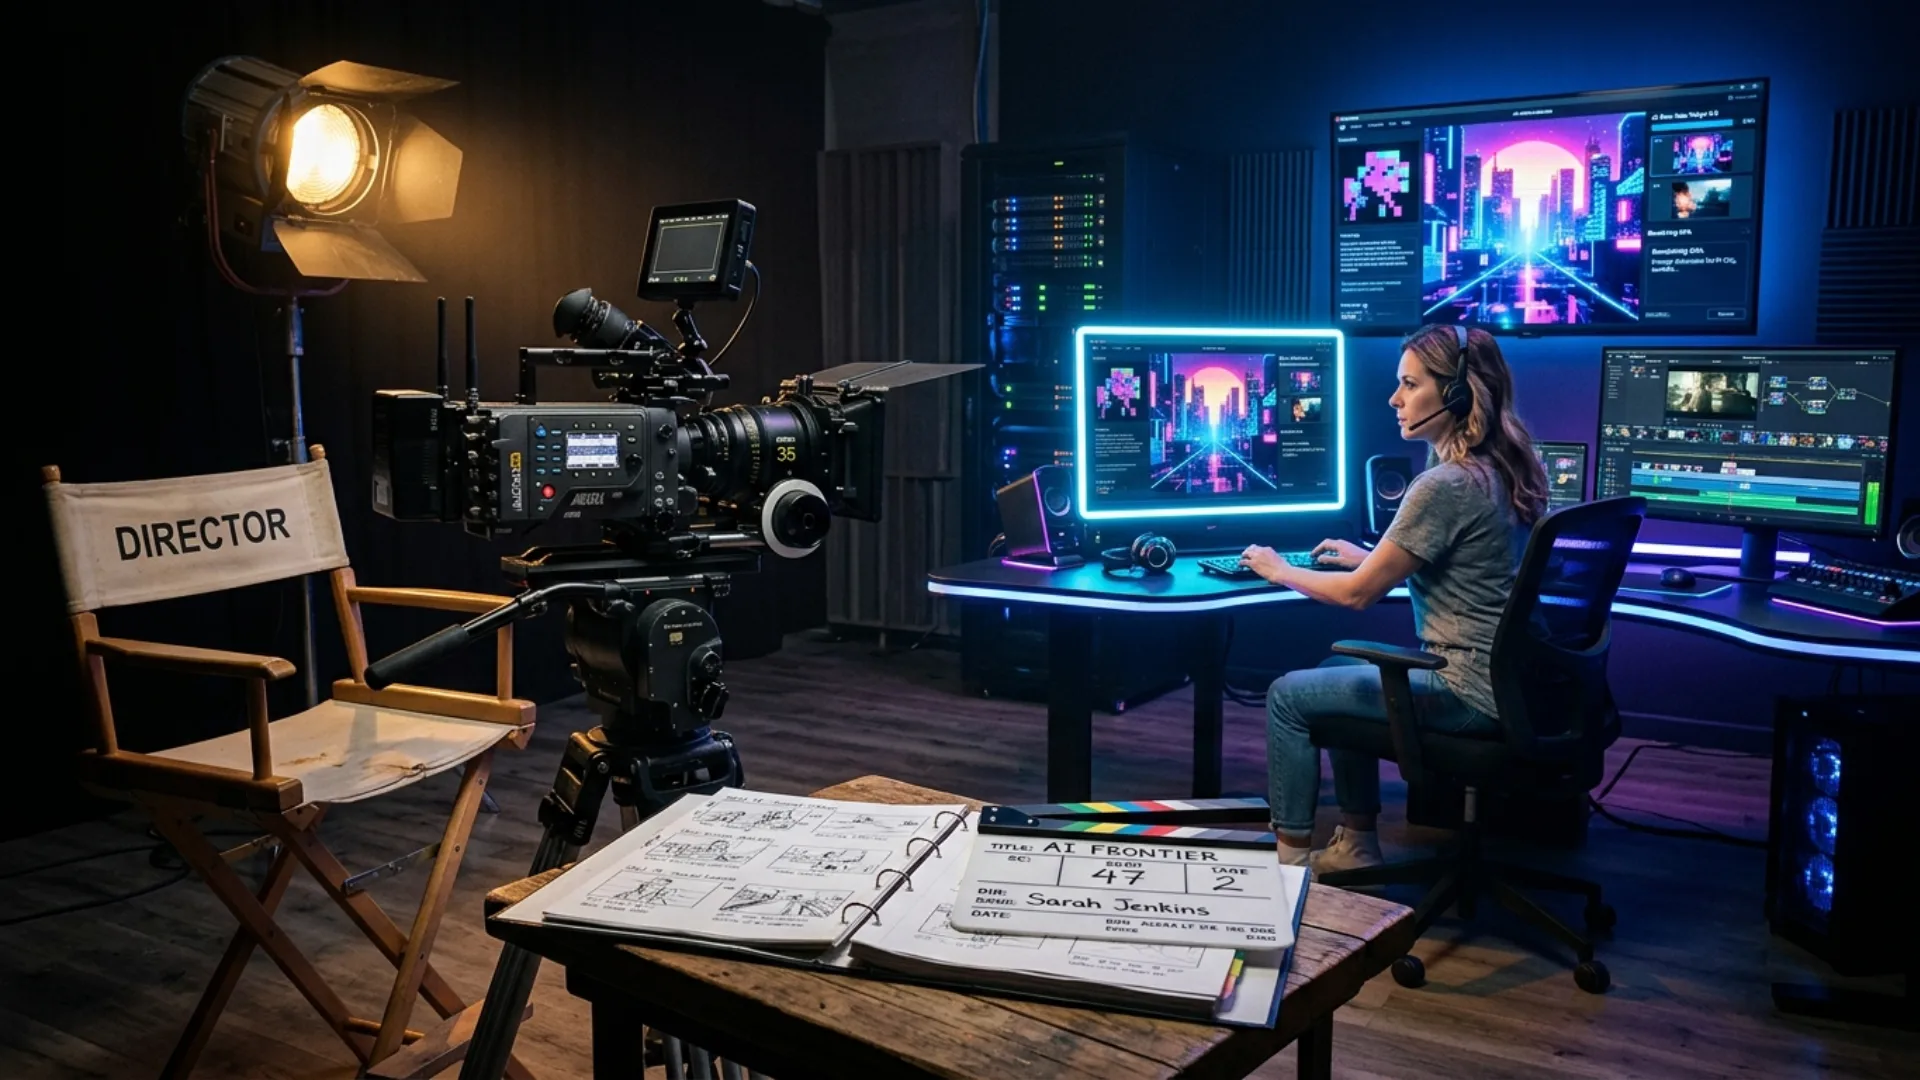
Don’t forget practical lights, those visible-in-frame sources like a lamp, an LED strip, or a neon sign in the background. They aren’t part of the core three-point setup, but they add color, depth, and personality to your scene. Just don’t overdo it and pull focus from your subject. Pairing practicals with intentional background color temperature choices (warm vs cool) is an easy way to make a simple setup look expensive.
Beyond the Basics: Popular Variations
- Rembrandt lighting: the classic key-light position that produces that signature triangle of light on the cheek. Flattering and dramatic.
- Butterfly (or beauty) lighting: the key is boomed high and directly in front of the subject, creating a small butterfly-shaped shadow under the nose. It elevates cheekbones and smooths the face, which is why it’s a favorite for beauty content. Watch out for raccoon eyes if you go too high.
- Clamshell lighting: a beauty variation that sandwiches the face between a key from above and a fill or reflector from below for ultra-soft, glamorous results.
- High key vs low key: less about position and more about ratio and mood, bright and shadow-free versus dark and contrast-heavy.
The takeaway: there are firm guidelines but no rigid rules. Once you understand why each light exists, you’re free to break the pattern on purpose.
Gear and Modifiers That Make It Easier
- Lights: Modern LED and COB lights are compact, controllable, and great for beginners. Many let you adjust intensity and color temperature from an app. Continuous lights (versus flash) are beginner-friendly because you see exactly what you’re getting in real time.
- Softboxes and diffusion: Your most important modifier. A softbox, lantern, or diffusion frame turns harsh light into flattering soft light. Bigger equals softer.
- Reflectors: The cheapest “third light” you’ll ever own. Bounce your key back onto the shadow side for instant fill.
- Flags and negative fill: Black material to subtract light and deepen shadows when you want drama.
- Practical lights: Lamps, LED tubes, and signs that live in the frame and add atmosphere.
If you’re choosing between a softbox and an umbrella, both soften light beautifully; a softbox gives you more control over spill, while an umbrella spreads light wide and is more forgiving for beginners.
Adding Cinematic Polish in Post
This is exactly what Real Light Leaks are built for. They’re high-resolution light leaks recorded on an Alexa Mini camera, so they blend naturally over real footage as overlays or transitions, no plugins or fake-looking presets required. Drop one over your interview backlight and watch the whole shot warm up. If you’d rather build the effect yourself inside your editor, our tutorial on lens flare effects in After Effects walks through it step by step.
Just remember the golden rule of post polish: restraint. The lighting should still be the star. The overlays are seasoning, not the meal.
Wrapping Up
Start simple. Grab one light and a reflector, find your 45-degree key, and build from there. Then experiment, push your ratios, try a moody negative fill, boom your key for a beauty look. Your eye will sharpen fast, and so will your footage.
Ready to add that final cinematic touch once your lighting is dialed in? Pixflow’s Real Light Leaks give you authentic, camera-shot overlays that make beautifully lit shots glow even brighter. (Your timeline is going to thank you.)
And if you want to keep leveling up your craft, our complete guide to lighting any scene like a pro picks up right where this one leaves off.
Disclaimer : If you buy something through our links, we may earn an affiliate commission or have a sponsored relationship with the brand, at no cost to you. We recommend only products we genuinely like. Thank you so much.
Blog Label:


Write for us
Publish a Guest Post on Pixflow
Pixflow welcomes guest posts from brands, agencies, and fellow creators who want to contribute genuinely useful content.
Fill the Form ✏